How to Troubleshoot Uneven Baking and Oven Temperature Accuracy
What Causes Uneven Baking?
Before reaching for adjustments or workarounds, it helps to identify which symptom you’re actually dealing with. Uneven baking and poor temperature accuracy are related but distinct problems, and they point to different causes.
One side browns faster than the other
Usually points to hot spots in the cavity or uneven airflow. More common in conventional ovens without a fan.
Food consistently over or undercooked
Suggests the thermostat is running hotter or cooler than the display shows. Confirm with an oven thermometer.
Bottom burns before top is done
Typically a shelf position issue, or the lower heating element is running too aggressively for the selected function.
Results vary unpredictably between uses
Often caused by a worn door seal losing heat, or a thermostat that’s beginning to fail and cycle inconsistently.
The four most common underlying causes are worth understanding in detail, because each has a different fix.
- Hot spots: All ovens have areas that run slightly hotter or cooler than others. In fan ovens, the fan distributes heat more evenly, but the element position still creates some variation. In conventional ovens without a fan, stratification is much more pronounced — the top of the cavity is typically hotter than the bottom.
- Inaccurate thermostat: Domestic ovens are manufactured to a tolerance of roughly ±15–30°C from the set temperature and still fall within specification. Thermostats also drift over time with use, meaning an oven that was once accurate may gradually run hotter or cooler as it ages.
- Door seal degradation: A damaged, cracked, or loose door seal allows heat to escape during cooking, reducing the effective temperature inside the cavity and causing it to fluctuate more widely than normal.
- Overcrowding and incorrect shelf position: Blocking airflow with too many dishes, or placing food on the wrong shelf for the recipe and function, produces uneven results that are often mistaken for a faulty oven.
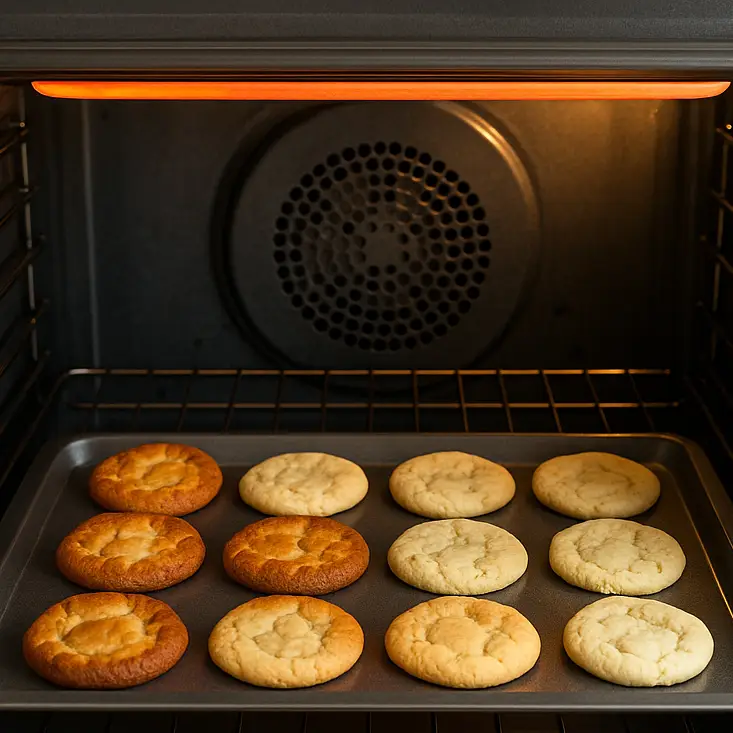
Uneven browning across a single tray is a reliable indicator of hot spots — areas of the cavity running significantly hotter than others.
How to Test Oven Temperature Accuracy
Your oven’s display is not a reliable guide to what’s actually happening inside the cavity. Manufacturers build ovens to a tolerance, and thermostats drift over time — which means the number on the panel and the real internal temperature can differ by a meaningful margin. A standalone oven thermometerA simple dial or digital probe thermometer designed to sit inside the oven cavity. Available from most kitchen shops for a few pounds. is the most straightforward way to find out what your oven is actually doing.
Place the thermometer at the centre of the middle shelfThis is the most representative position. Avoid placing it near the door, near a heating element, or against the cavity wall, as all of these give skewed readings.
Set the oven to 180°C and allow it to fully preheatThe “ready” indicator light often triggers before the oven has fully stabilised. Give it a further 10–15 minutes after the light comes on before reading the thermometer — this allows the temperature to settle into its normal cycling range.
Read and record the thermometerNote the reading and compare it to the set temperature. Then repeat at 200°C to check whether the discrepancy is consistent across different settings.
Interpret the resultA variation of up to ±10–15°C is considered good for a domestic oven. Deviations of ±15–25°C are within manufacturers’ specification but worth compensating for in recipes. If your oven is consistently off by more than 25°C, recalibration or a component fault is likely.
Approximate deviation from set temperature: 0–10°C | 10–25°C | 25°C+
How to Find Hot Spots in Your Oven
Temperature accuracy and evenness are separate things: your oven could read correctly on average but still have areas that cook food significantly faster than others. The bread slice test is the simplest way to map your oven’s heat distribution.
Lay slices of white bread across a baking trayUse equal-sized slices and arrange them in a grid covering the full surface of the tray — typically six to eight slices. White bread works best because its browning is easy to read and consistent.
Place the tray on the middle shelf and bake at 160°C for 5–8 minutesUse a conventional (non-fan) setting if your oven has one, as this makes hot spots more visible. Fan ovens distribute heat more actively, which can mask the true extent of any unevenness.
Remove and compare the browningSlices that are noticeably darker have been exposed to more heat. Note their positions — particularly whether the back of the oven runs hotter than the front (very common), or whether one side browns faster than the other.
Uneven cooking in a single dish often reveals more about shelf position and oven heat distribution than recipe error.
In most ovens, the back of the cavity runs hotter than the front because the heating element and fan are positioned at the rear. Knowing this means you can rotate trays and dishes partway through cooking to compensate — a practical habit that makes a real difference to the consistency of your results.
Fixes for Uneven Baking
Once you know what your oven is doing, most uneven baking can be corrected with straightforward adjustments. The right fix depends on whether the issue is your oven type, your cooking habits, or a combination of both.
Getting more from a fan-assisted oven
Fan ovens circulate hot air continuously, which reduces hot spots and generally produces more even results. They also tend to cook slightly faster and at lower effective temperatures than the setting suggests.
- Reduce the recipe temperature by 10–20°C compared to conventional oven instructions — fan ovens cook more efficiently and can over-brown at full temperature.
- The back of the cavity is still likely to run slightly hotter. Rotate trays by 180° at the halfway point for the most consistent browning.
- Avoid blocking the fan with large dishes or foil, as this interrupts air circulation and reintroduces uneven spots.
- You can often bake on multiple shelves simultaneously in a fan oven without the quality loss you’d see in a conventional model — useful for batch baking.
Getting more from a conventional oven
Conventional ovens heat from fixed elements (usually top and bottom) without active air circulation. Heat stratifies naturally, with the top of the cavity running hotter than the bottom. Working with this behaviour rather than against it gives better results.
- The middle shelf is the most balanced position for most baking. The top shelf is suitable for gratins, browning, and anything needing a crust. The bottom shelf suits pastry bases and pizza where a crisper underside is needed.
- Rotate trays halfway through cooking — front to back and, if using multiple shelves, swap their positions.
- Use light-coloured metal baking tins where possible. Dark tins absorb more radiant heat from the element below and can cause burning on the underside before the top is cooked.
- If your oven has a fan-assisted setting as well as conventional, switch to fan for anything where evenness matters more than browning intensity.
General adjustments that help regardless of oven type
Always allow the oven to fully preheat before adding food. Even after the ready indicator activates, it can take a further 10–15 minutes for the entire cavity to stabilise at the set temperature. Placing food in too early results in the first part of the cook happening at a lower-than-intended temperature, which throws off timing and browning.
Avoid overcrowding the shelves. Each dish or tray needs clear space around it for air or radiant heat to circulate properly. Cramming multiple items onto one shelf is one of the most common causes of pale, slow, or unevenly cooked food.
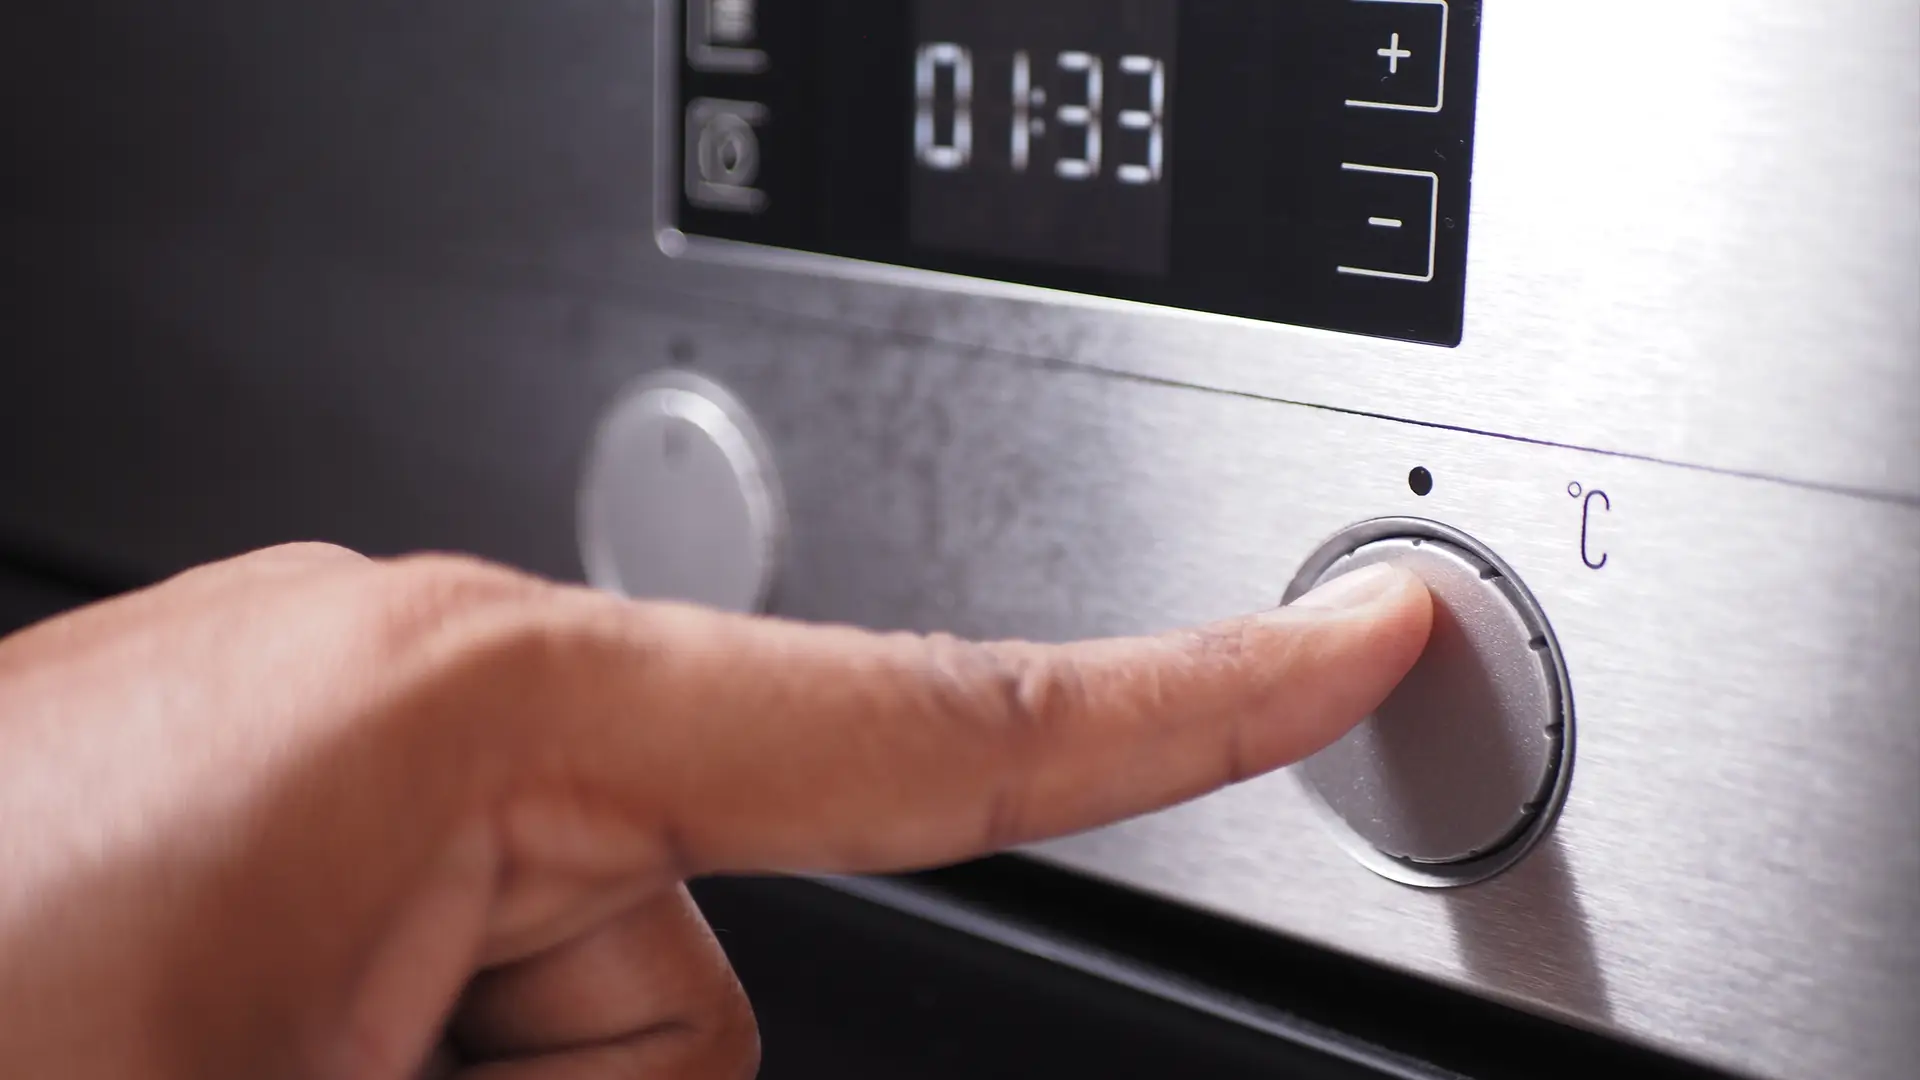
Calibrating or Adjusting Your Oven
If your thermometer test reveals a consistent offset — for example, your oven reliably runs 20°C hotter than the display — calibration is the most precise solution. Many modern electric ovens allow you to adjust the temperature offset directly through the control panel, typically in increments of 5°C. The process varies by model, so your user manual is the place to start.
Older models without digital calibration options often have a physical adjustment screw inside or behind the temperature control dial. This requires a small flathead screwdriver and careful incremental adjustment — again, the manual will confirm whether this applies to your specific appliance.
In the meantime, if you know your oven runs consistently hot or cold, the simplest workaround is to adjust your recipe temperatures accordingly and use an oven thermometer as your real guide rather than the display. For more guidance on oven functions and settings, the CATA guide to grill and fan-grill settings covers how different heat modes behave and when to use them.
Maintenance Tips to Keep Temperature Accuracy High
Temperature accuracy and cooking evenness both degrade gradually when an oven isn’t maintained. The two most impactful things to stay on top of are the door seal and the interior cleanliness.
The door seal (also called the door gasket) runs around the perimeter of the oven opening and creates an airtight closure when the door is shut. Over time it can harden, crack, or pull away from its channel. A degraded seal allows heat to escape during cooking, causing the oven to work harder, cycle more frequently, and produce less consistent temperatures. Checking the seal is straightforward: close the oven door on a piece of paper and try to pull it out. If it slides free easily, the seal isn’t providing adequate compression. Replacement seals are inexpensive and widely available for most models.
Grease and food debris built up on the cavity walls, the fan guard, and the heating element can impede heat distribution in ways that are easy to underestimate. A thick layer of carbonised grease on the oven floor or walls insulates those surfaces and redirects heat unevenly. Keeping the oven clean — and in particular making sure the fan vent isn’t partially blocked — maintains the airflow pattern the oven was designed to deliver. For a full breakdown of cleaning approaches including catalytic and pyrolytic options, see our guide to how self-cleaning ovens work.
Repair or Replace?
Most temperature and evenness problems are worth addressing with the fixes above before considering replacement. That said, there are circumstances where continuing to pour effort into an older oven doesn’t make practical sense.
Worth repairing or adjusting
- Temperature offset is consistent and can be compensated for with calibration
- Hot spots are manageable by rotating trays
- Door seal is worn but replaceable (usually under £20)
- Fan is noisy or sluggish — motor replacement is typically affordable
- Temperature sensor has failed — usually a straightforward part swap
Consider replacing when
- Temperature swings are erratic and unfixable through calibration
- Heating elements have failed more than once in a short period
- Control board faults make the oven unreliable regardless of repairs
- The oven consistently underperforms even after all adjustments are made
- Repair costs approach 50% or more of the price of an equivalent new model
Modern fan-assisted ovens have measurably better heat distribution than older conventional models, and current electric ovens typically have more precise thermostats and better insulation than appliances from a decade ago. If your oven is old, frequently unreliable, and repairs are becoming routine, replacement is likely the more cost-effective long-term decision.
Frequently Asked Questions
Key Takeaways
- Most uneven baking is caused by hot spots, thermostat inaccuracy, a worn door seal, or incorrect shelf position — all diagnosable at home.
- Use a standalone oven thermometer to test accuracy. A variation of ±10–15°C is good; ±15–25°C is within specification but worth compensating for. Over 25°C consistently suggests calibration or a component fault.
- The bread test reliably maps hot spots. In most ovens the back of the cavity runs hotter than the front — rotate trays halfway through cooking to compensate.
- Fan ovens cook more evenly and efficiently than conventional ovens. Reduce recipe temperatures by 10–20°C when using a fan setting.
- Erratic temperature swings (rather than a consistent offset) usually indicate a failing temperature sensor or thermostat and require a repair technician.
- Keep the door seal in good condition and the oven interior clean — both have a measurable effect on temperature consistency and energy efficiency.