How to Use Oven Grill and Fan-Grill Settings for Crisp, Even Results
The grill setting uses direct radiant heat from the top element to brown and crisp the surface of food quickly. The fan-grill setting combines that top heat with circulating air, which cooks food more evenly all the way through while still producing a crisp finish. Use the grill for quick finishing tasks; use fan-grill when food needs to be cooked through as well as browned.
What the grill setting does
The grill element sits at the top of the oven cavity and produces intense radiant heat directed downward onto the food. The heat is concentrated and fast, which is why grilling is ideal for tasks where you want surface browning without prolonged cooking: melting cheese, toasting bread, finishing a gratin, or adding colour to the top of a dish that is already mostly cooked.
Because the heat comes only from above and does not circulate, it acts on the surface of food directly facing the element. Food positioned further from the element receives progressively less heat. This makes the grill highly effective for thin items such as rashers, sliced bread, halved tomatoes, and cheese toppings, but less suitable for anything thicker than about 2cm where cooking all the way through matters.
Most ovens offer the grill at either full power or a reduced setting. Full grill uses the entire element; half grill (where available) activates only the central portion, which suits smaller portions or food placed centrally on the shelf. Preheat the grill for five minutes before loading so the element is fully up to temperature when food goes in.
Best uses for the grill setting
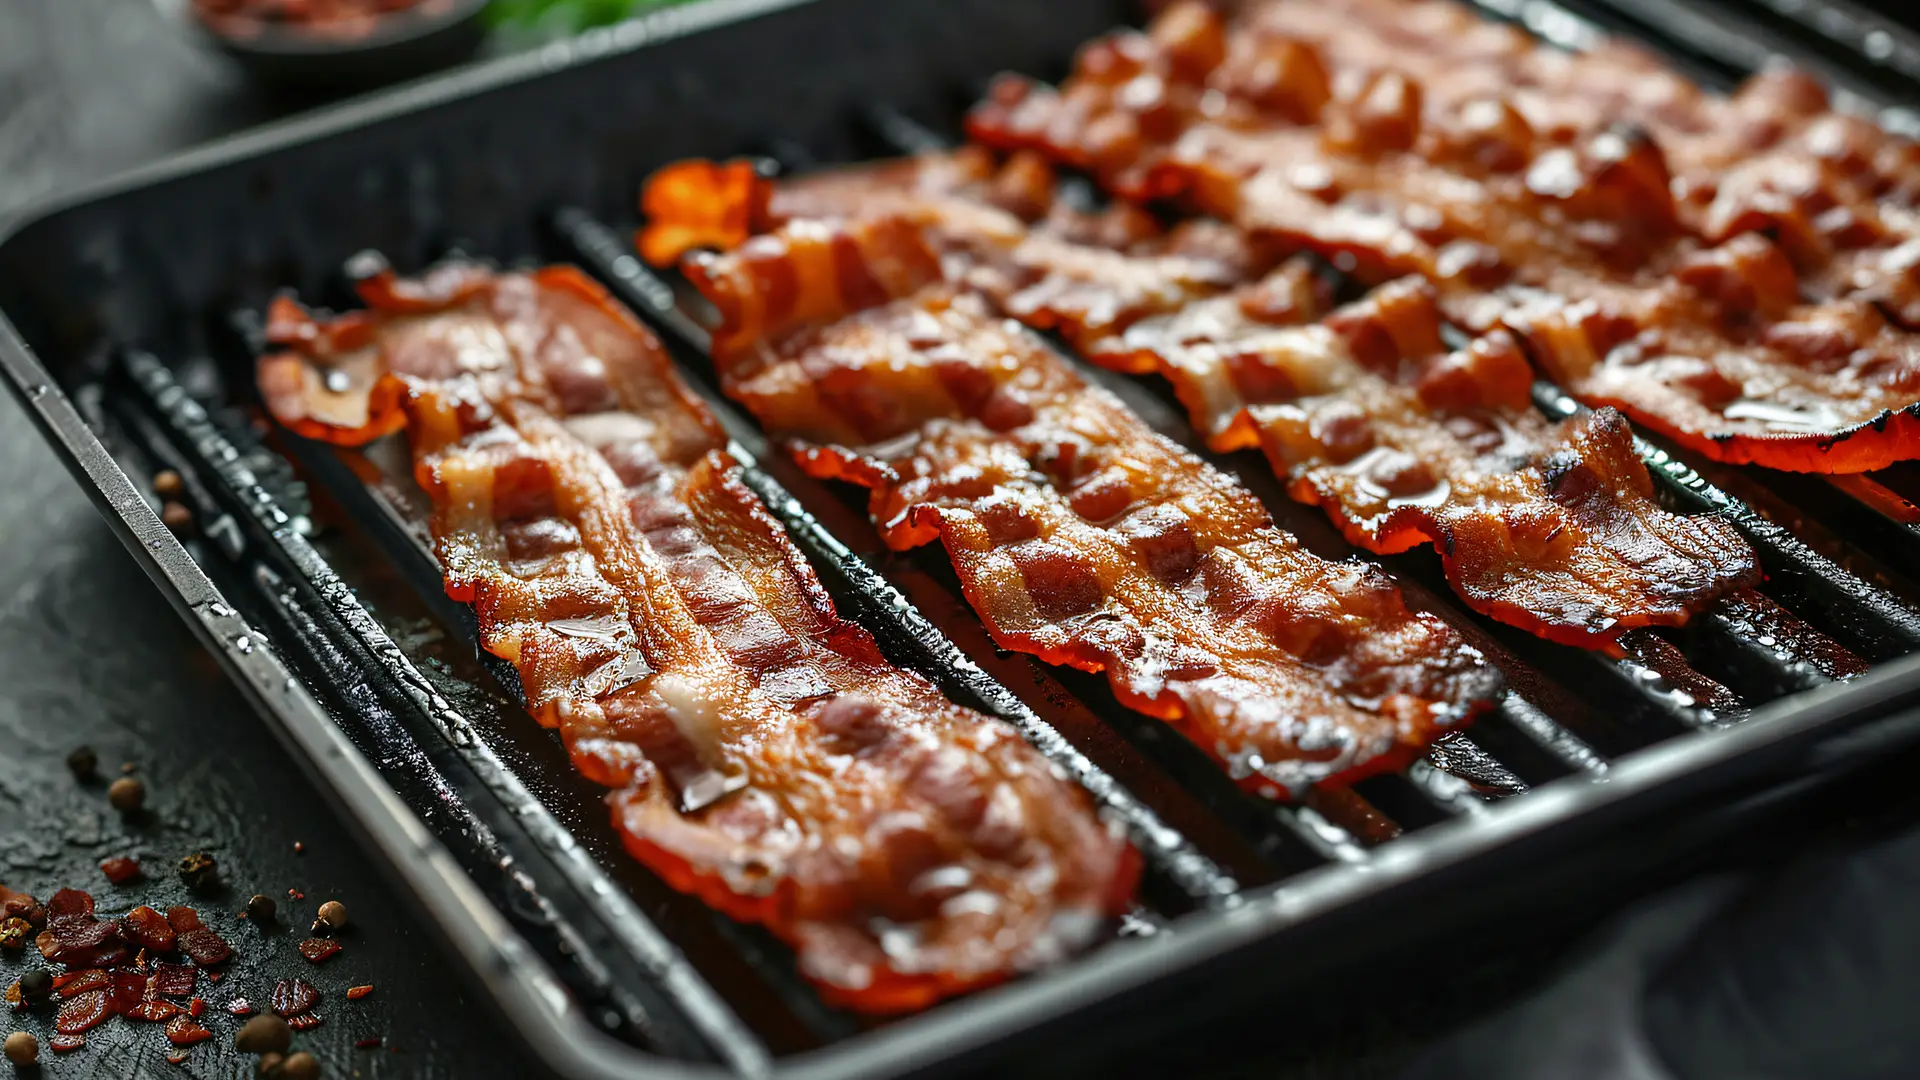
Toast, melted cheese on pasta or pizza, browning the top of a lasagne or gratin, finishing a crème brûlée, crisping bacon rashers, charring sliced peppers or courgettes quickly, and toasting the cut side of bread rolls. For anything requiring more cooking depth, fan-grill is the better choice.
What the fan-grill setting does
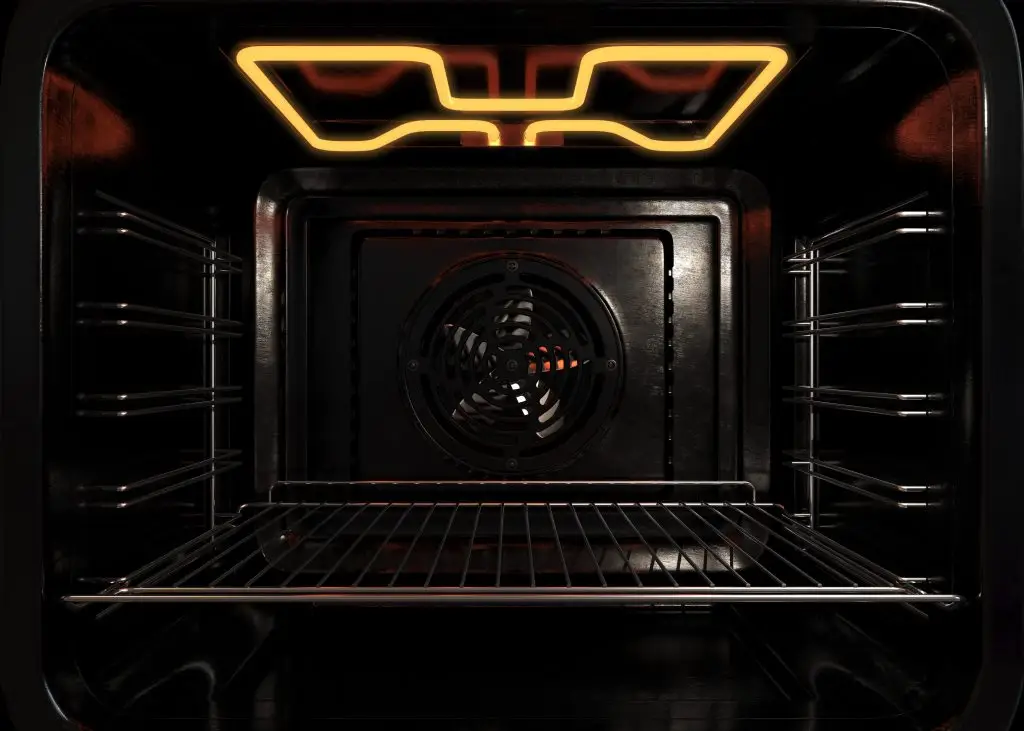
Fan-grill combines top-element heat with circulating air, producing a crisp surface finish and more even cooking throughout the food than grill alone.
Fan-grill uses the top element in combination with the oven’s rear fan. The fan circulates the hot air produced by the grill element around the entire cavity, which has two effects: it distributes heat more evenly across the food rather than concentrating it only on the surface facing the element, and it extends the effective heat reach so that thicker items receive enough heat to cook through while still developing a browned, crisp exterior.
The circulating air also speeds up the Maillard reaction (the browning process) slightly more uniformly across the food surface compared to static grill heat, which tends to brown unevenly when food is not perfectly flat or positioned at a consistent distance from the element.
Fan-grill typically runs at a lower temperature than the standalone grill: often between 170°C and 200°C rather than the near-maximum temperatures used for direct grilling. This lower temperature combined with air circulation is what allows thicker food to cook through without the surface burning before the inside is done.
Best uses for the fan-grill setting
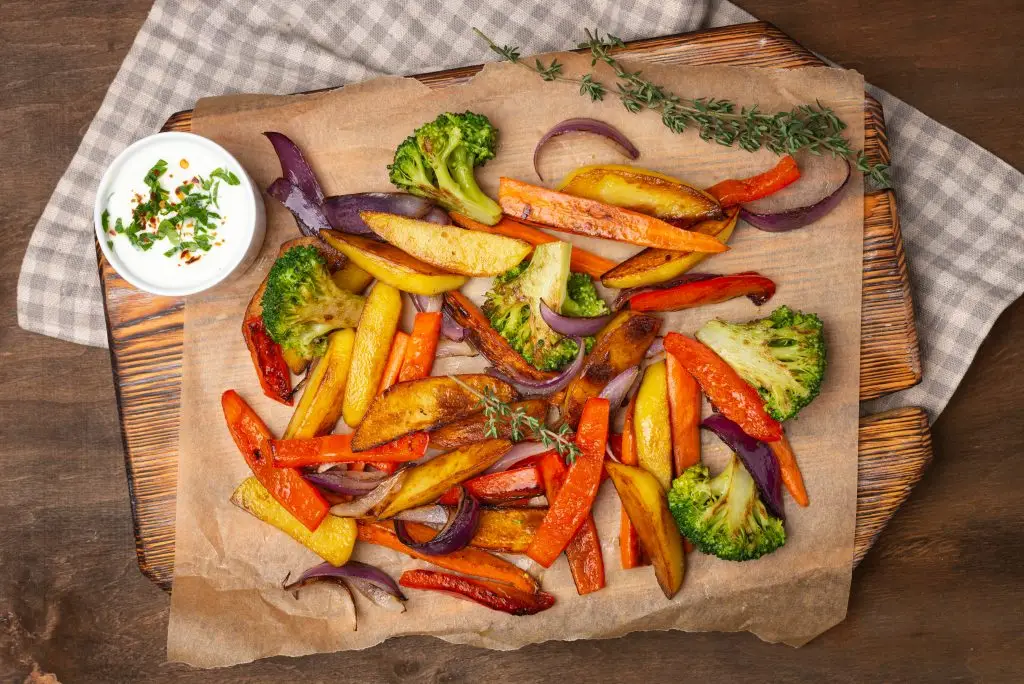
Chicken thighs or drumsticks with crispy skin, whole fish or thick fillets, pork chops, sausages, stuffed peppers, and root vegetables that need both caramelisation and cooking through. Fan-grill is also effective for reheating cooked dishes where you want to restore a crisp top, and for anything that benefits from an oven-roasted finish rather than a raw-grill char.
Grill vs fan-grill: comparison
| Feature | Grill | Fan-grill |
|---|---|---|
| Heat source | Top element only, radiant heat | Top element plus circulating fan |
| Heat distribution | Concentrated from above; uneven on thicker food | More even; air carries heat around the cavity |
| Typical temperature | Maximum (220°C to 250°C) | 170°C to 200°C |
| Speed | Very fast (minutes) | Moderate (20 to 40 minutes depending on food) |
| Browning | Intense surface crust; can burn quickly | Even golden colour with less risk of charring |
| Cooking through | Poor for anything over ~2cm thick | Good for cuts up to 4–5cm thick |
| Best for | Toast, cheese toppings, finishing, thin items | Chicken, fish, chops, vegetables, reheating |
| Monitoring required | Constant; burns happen in seconds | Periodic; lower risk of burning |
How to use each setting effectively
Using the grill
The element needs time to reach full temperature. Placing food under a cold element produces steaming rather than browning at the start, which delays the crust you are trying to achieve.
Place the shelf in the top third of the oven for most grilling tasks. Closer to the element means faster, more intense browning; one shelf lower gives you slightly more control and suits items that need a little more time without burning. As a guide, keep the surface of the food around 7 to 10cm from the element.
A wire rack raises food off the tray surface so hot air can reach underneath, and allows fat and juices to drip away rather than pooling and steaming. A solid baking tray underneath the rack catches any drips and makes cleaning easier.
The grill works fast. Cheese on toast can go from melted to burnt in under a minute; bacon and thin fish fillets need turning at the halfway point. Keep the oven door slightly ajar if your oven recommends it, as some models specify this to prevent the thermostat cutting out the element prematurely.
Using the fan-grill
Fan-grill works at a lower temperature than grill. The circulating air compensates for the reduced element temperature by carrying heat continuously to all surfaces of the food. Setting it too high, above 200°C, risks burning the outside before the inside is cooked through.
Unlike the grill, fan-grill distributes heat through the whole cavity, so the middle shelf is usually the best position. This allows even airflow around the food on all sides.
Airflow underneath the food is what gives fan-grill its advantage over a standard grill. Placing food directly on a solid tray blocks this and reduces the crispness of the underside. A wire rack makes a noticeable difference to the finished texture.
Even with circulating air, fan-grill still produces more heat on the side closest to the top element. Turning chicken pieces, chops, or fish fillets halfway through the cooking time ensures both sides develop an even colour and the food cooks consistently throughout.
If the food is fully cooked through but the top needs more colour, switch to the standard grill for the final two to three minutes with the shelf moved up a position. This combination (fan-grill to cook through, grill to finish) produces some of the best results from a domestic oven.
Useful combination
Fan-grill followed by a two-minute blast under the standard grill is particularly effective for chicken: the fan-grill cooks the meat through and renders the fat, then the grill crisps the skin to a deep golden finish that the fan-grill alone would take much longer to achieve.
Do and don’t
A wire rack over a tray is one of the simplest ways to improve results under both the grill and fan-grill settings.
Do
- Preheat the grill before loading food
- Use a wire rack over a tray to allow airflow
- Keep the oven door slightly ajar under grill if the manual advises it
- Turn food halfway through fan-grill cooking
- Use fan-grill for food thicker than 2cm that needs cooking through
- Pat meat or fish dry before grilling for better browning
- Finish fan-grilled food with a brief grill blast for extra crispness
Don’t
- Leave food unattended under the grill
- Place food directly on a solid tray, which blocks airflow underneath
- Use grill alone for thick cuts of meat expecting them to cook through
- Run fan-grill at maximum temperature: it dries and burns the surface
- Open the door repeatedly; it lets heat escape and extends cooking time
- Position food too close to the element without monitoring carefully
Frequently asked questions
The grill uses only the top element and produces direct, intense radiant heat from above. It browns and crisps the surface of food quickly but has limited reach for cooking thicker items through. Fan-grill combines the top element with the oven fan, circulating hot air around the cavity for more even heat distribution. Fan-grill is more versatile for thicker food; the grill is faster for finishing tasks.
Yes. The grill element needs five minutes to reach operating temperature before food goes in. A cold element produces steam and moisture rather than the dry radiant heat that creates a crust. Preheating ensures the browning process starts immediately when food is loaded, which gives you more control over the result and reduces the risk of the surface drying out without colouring.
For many dishes, yes. Fan-grill at 180°C to 200°C produces results very similar to fan-assisted roasting for chicken pieces, fish, pork chops, and most vegetables: the food cooks through evenly and develops a browned, crisp surface. The main difference from conventional fan roasting is that fan-grill runs the top element more actively, which produces a slightly more intense browning on the top surface. For whole large joints where very long, slow cooking is needed, a conventional fan oven setting is often better as it provides gentler, more consistent heat over a longer period.
Between 170°C and 200°C for most food. Chicken pieces and chops work well at 190°C to 200°C. Fish fillets are better at 170°C to 180°C to prevent the outside overcooking before the inside is done. Vegetables can take 190°C to 200°C for good caramelisation. Running fan-grill above 200°C tends to produce uneven results, with the top surface burning before the rest of the food catches up.
This is the classic limitation of the standard grill setting with thicker food. The top element browns the surface facing it very quickly, but the heat does not penetrate deeply enough to cook through a thick piece of meat or fish before the top is overdone. The solution is to use fan-grill instead of grill, which circulates heat to cook the food more evenly from all sides. Alternatively, start the food in the oven on a fan-assisted setting to cook it through, then switch to the grill for the final few minutes to finish the surface.
Check your oven manual. Some manufacturers specify leaving the door slightly ajar when using the grill to prevent the thermal cut-out from turning the element off as the cavity overheats. Other ovens are designed to grill with the door closed. Running the grill with the door open when the manual does not recommend it wastes energy and can affect cooking results. For fan-grill, the door should always be kept closed so the circulating air is not lost.
Key takeaways
- The grill setting uses top radiant heat only: fast, intense, and ideal for browning surfaces, melting cheese, and finishing dishes. It is not effective for cooking thick food through.
- Fan-grill combines the top element with circulating air, producing more even browning and cooking food through as well as crisping the surface. Use it for chicken, fish, chops, and vegetables.
- Preheat the grill for at least five minutes before loading food.
- Use a wire rack over a tray for both settings. It allows airflow underneath the food and produces a crispier result than cooking on a solid surface.
- Fan-grill works best between 170°C and 200°C. Running it above 200°C risks burning the surface before the food is cooked through.
- For the best results on chicken, use fan-grill to cook through at 190°C, then switch to standard grill for the final two minutes to crisp the skin.
For more guidance on getting the most from your oven, explore the CATA oven guides and advice hub.