Home » Cooker Hood Guides & Advice » What Size Ducting Should I Use for My Cooker Hood?
What Size Ducting Should I Use for My Cooker Hood?
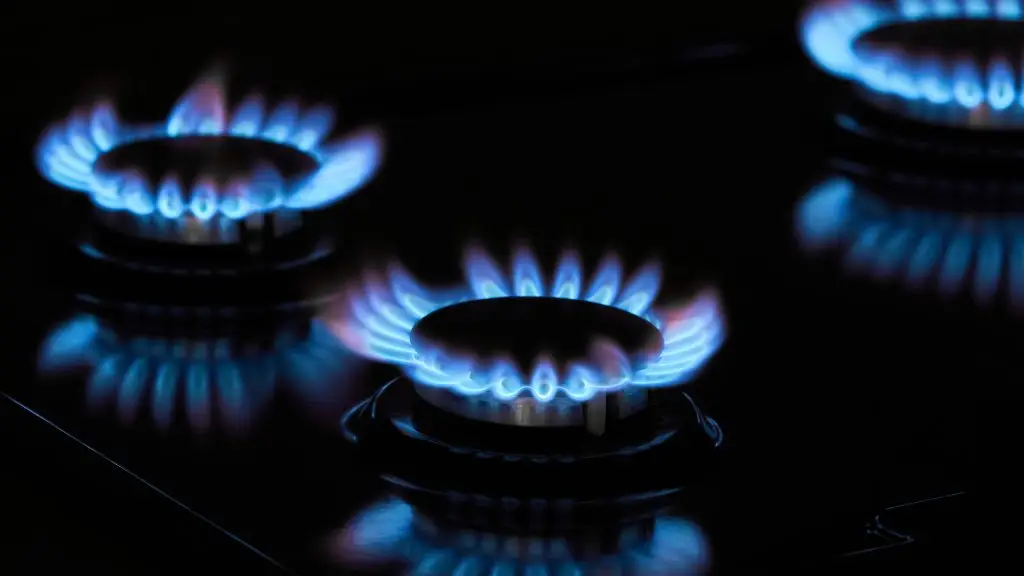
For most modern domestic cooker hoods, you should use the largest ducting diameter your manufacturer specifies: typically 150mm (6 inch) for standard models, and 200mm (8 inch) for high-powered or island hoods. Using the maximum recommended duct size reduces airflow resistance, lowers operating noise, and ensures your hood delivers the extraction performance it was designed for.
Why ducting size matters more than you might think
It is easy to think of ducting as a simple pipe carrying air from one place to another. In practice, the diameter of that pipe has an enormous influence on how well your cooker hood performs. Air moving through ducting behaves much like water through a hose: narrow it down and the flow slows, pressure builds, and the motor has to work considerably harder to push the same volume through. The result is reduced extraction, more noise, and a motor running closer to its operational limits.
The cross-sectional areaThe internal area of a duct’s opening. A 150mm duct has roughly 50% more cross-sectional area than a 125mm duct, meaning air flows more freely at lower velocity. of a 150mm duct is approximately 50% greater than that of a 125mm duct. That single difference translates directly into how freely air travels through the system. A hood rated at 700 m³/h connected to undersized ducting will never come close to that figure in real-world conditions. The restriction simply will not allow it.
More airflow area: 150mm vs 125mm
Standard for most modern hoods
Recommended max duct run length
UK Building Regs minimum extract
Which ducting size do I need?
The right ducting diameter depends on your hood’s motor output, measured in m³/h (cubic metres per hour)How much air the hood moves in one hour. You’ll find this figure in the product specification or installation manual.. Select your motor’s extraction rate below to see which duct size applies to your installation.
✓ Recommended for most installations
Always cross-reference the selector above with your manufacturer’s installation manual. Where the manual specifies a single size, that specification takes precedence. Where it offers a range, use the largest option listed.
Always use the largest size your manufacturer recommends
This is the single most important rule in planning a cooker hood installation. If the installation manual states 150mm, that is not a suggestion. It is the specification the motor was designed around. Fitting a reducer to step down to 125mm because a smaller hole was already drilled is a compromise that affects performance and, in many cases, voids the warranty.
For more on getting the most from your extraction system, including how to calculate the right motor power for your kitchen volume, the CATA guide to recommended extraction rates explains the relationship between motor power, room volume, and ducting specification in detail.
How duct run length and bends affect performance
Even correctly-sized ducting underperforms if the run is poorly planned. Length and bends compound each other to restrict airflow, and both effects are more damaging through narrower ducting than wider. Use the checker below to see whether your planned run will cause problems.
🛠 Duct run checker
The table below shows how each element of a duct run contributes to resistance. Where bends are unavoidable, two 45° elbows create a smoother curve than a single 90° turn and add significantly less equivalent length.
| Run element | Equivalent length added | Notes |
|---|---|---|
| 1m of straight rigid duct | 1.0m | Smooth bore preferred; corrugated adds up to 1.5× resistance |
| One 90° bend | +1.2m | Avoid where possible; position as far from the hood outlet as practical |
| Two 45° bends (one curve) | +0.6m | Preferred alternative to a single 90° bend wherever layout allows |
| Transition: round to flat channel | +0.3–0.5m | Only if poorly fitted; smooth airtight joints add minimal resistance |
| External wall grille (gravity flap) | +0.5m | Fixed louvre grilles add more resistance than gravity-operated shutters |
| 1m of corrugated flexible hose | ~1.5–2m | Use rigid ducting for all main runs; flexible only at hood spigot connection |
For a detailed look at how 45° versus 90° bends affect airflow in practice, the CATA guide to ducting bend angles covers the pressure loss figures in full.
Round ducting vs flat channel ducting
Round ducting is the most aerodynamically efficient cross-section for moving air, but it is not always practical. Ceiling voids and the space above kitchen wall units often favour flat rectangular channel ducting. The key is to match the cross-sectional area as closely as possible to your round duct equivalent. Never step down in area at the transition point.
Round → Flat equivalents
Transition rules
UK Building Regulations and extraction requirements
Ducting size is a practical performance consideration, but the extraction system as a whole is also governed by UK building regulations. Under Approved Document F (Ventilation), a ducted cooker hood installed directly above the hob must achieve a minimum extraction rate of 30 litres per second (108 m³/h) to satisfy ventilation requirements in new builds, extensions, and major refurbishments. If the hood is not positioned directly above the hob, that minimum rises to 60 litres per second.
Common installation mistakes to avoid
Reducing from the specified diameter
The most frequent error: a smaller hole is drilled and a reducer fitted rather than re-drilling. The performance compromise lasts the entire lifetime of the installation. Re-drill to the correct size: 162mm for 150mm ducting, 135–140mm for 125mm ducting.
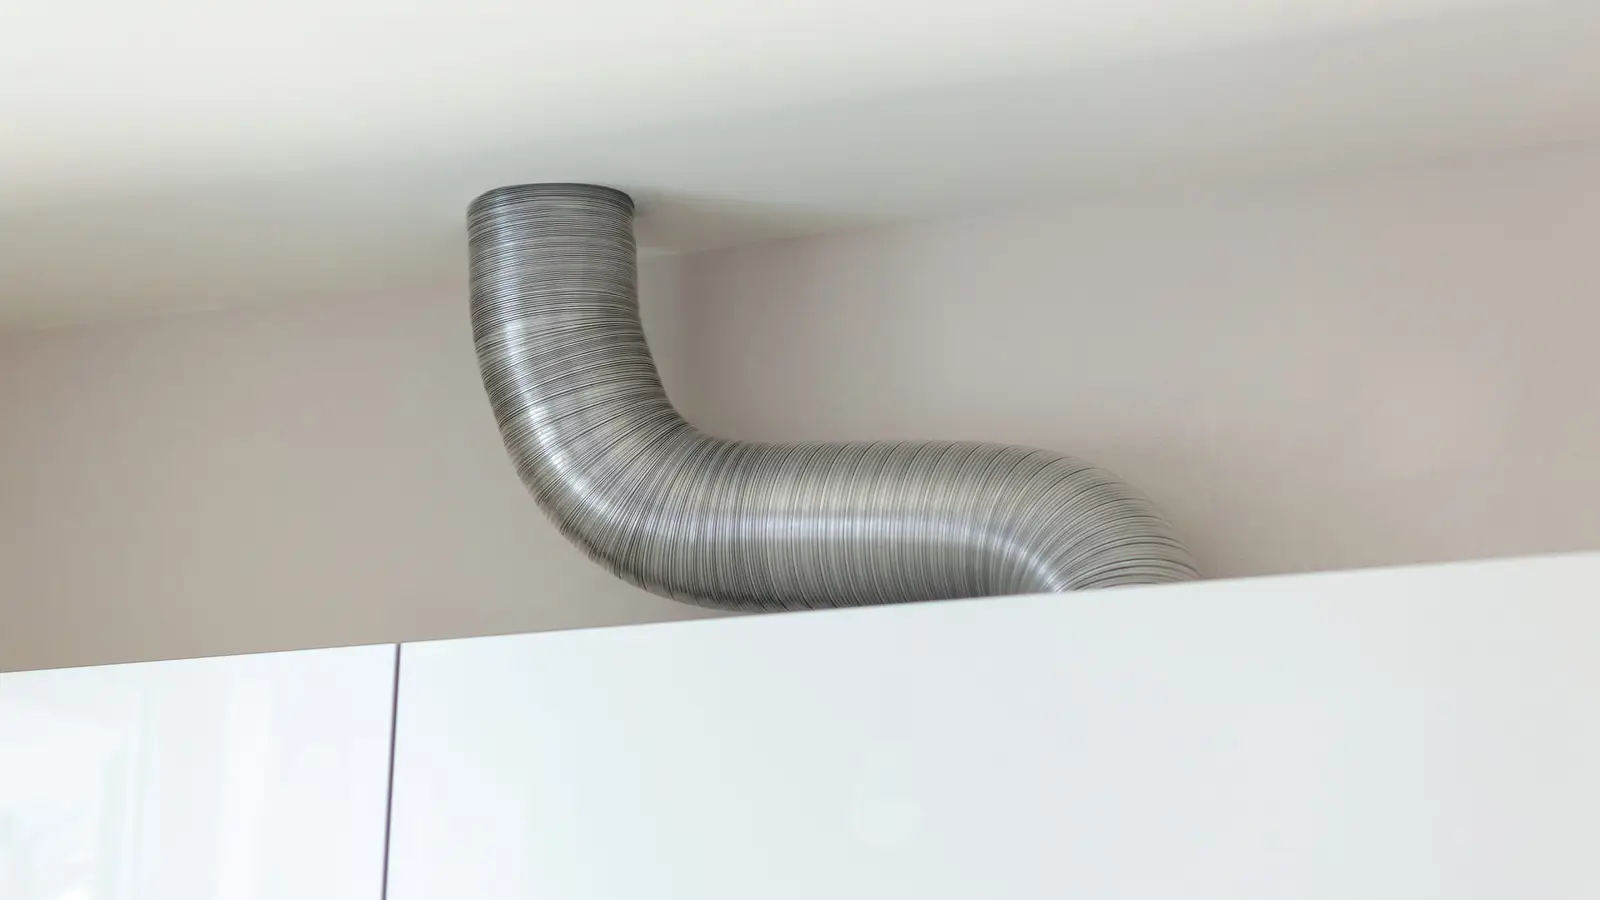
Using flexible corrugated hose for the full run
Corrugated hose creates turbulence and traps grease inside its ridges. It is only appropriate as a short final connection at the hood spigot. Use smooth rigid duct for all main runs.
Undersizing the external wall termination
A grille or cowl that is too small creates backpressure that counteracts correctly-sized internal ducting. The terminal’s free area should be at least 90% of the duct’s internal area. Gravity-operated backdraught shutters are preferable to fixed louvre grilles.
Not planning the route before drilling
Keep runs to a maximum of five metres effective length. Each 90° bend adds 1.2m to that figure. Plan the full route, including how many bends are unavoidable, before any drilling begins.
Leaving ducting uninsulated in cold voids
In loft spaces or unheated wall cavities, an uninsulated duct allows condensation to form inside and drip back into the hood body. Use lagged duct pipe in any exposed or cold section of the run.
For a broader look at how ducting choices affect day-to-day performance, including what persistently weak airflow signals about your installation, the CATA guide to common cooker hood problems is a useful companion read.
Frequently asked questions
You can physically connect 125mm ducting using a reducer, but it is not recommended and will likely invalidate your warranty. The smaller diameter restricts extraction efficiency and increases operating noise. If the specification states 150mm, re-drill the wall hole to the correct size. The extra effort at installation is far preferable to permanently degraded performance.
Undersized ducting increases resistance throughout the system, forcing the motor to work harder for less airflow. The practical results are reduced extraction (cooking smells and steam linger longer), increased noise from the motor straining against backpressure, and higher wear over time. The hood’s rated extraction figures, measured under ideal test conditions, will not be achieved in real-world use.
Short lengths of flexible ducting are acceptable for the final connection between the hood’s spigot and the main rigid run, where it aids alignment. It should never be used for the full run. Corrugated flexible hose creates turbulence, reduces airflow, and its ridged interior collects grease more readily than smooth rigid pipe. Keep any flexible section as short as possible and ensure it is neither kinked nor compressed.
There is no absolute maximum, but each bend adds resistance that reduces effective extraction. Keep the total effective run under five metres, counting each 90° bend as an additional 1.2m. Where bends are unavoidable, use two 45° elbows instead of a single 90° turn to reduce pressure loss. The wider the duct diameter, the better it tolerates unavoidable bends.
Yes, significantly. When air is forced through a duct narrower than the motor was designed for, it moves at higher velocity, creating more turbulence and noise at both the hood and the external outlet. Correctly-sized ducting allows air to move at lower velocity for the same volume output, reducing noise at all fan speeds. Fitting the largest specified diameter is one of the most effective steps towards quieter operation.
You need a 162mm core-drilled hole for 150mm round ducting. The extra clearance accounts for the duct’s outer wall diameter and allows a seating ring or clamping collar to be fitted for an airtight seal. Drilling exactly 150mm leaves no room to seat the duct correctly. For 125mm ducting, a 135–140mm hole is typically required for the same reason.
In most straightforward domestic replacement installations, a separate Building Regulations application is not required. However, if the ducting is part of a new build, extension, or major refurbishment, the work falls within the scope of Approved Document F and must comply. If in doubt, contact your local authority Building Control team or consult a qualified installer.
Summary
When it comes to cooker hood ducting, bigger is consistently better, up to the maximum your manufacturer specifies. For most modern domestic hoods this means 150mm round ducting; for high-powered island or ceiling models it may mean 200mm. Always follow the manufacturer’s installation guidance, and where a choice of sizes is listed, fit the largest option without compromise.
Keep duct runs short and as straight as possible, use smooth rigid duct for the main run, choose 45° bends over 90° wherever layout allows, and ensure the external wall termination is correctly sized. Getting the ducting right at the point of installation costs very little extra effort compared to living with a hood that never performs as it should, or one that fails a warranty claim when you need it most.
For further guidance on choosing the right model and understanding how installation affects real-world performance, visit the CATA Appliances Blog.
Explore More Kitchen Advice & Buying Guides
Browse our latest articles covering appliance tips, energy-saving advice, and expert guidance – designed to help you choose, use, and get the most from your kitchen appliances.