Common Cooker Hood Problems and How to Fix Them
The Five Most Common Cooker Hood Problems
Before diving into fixes, it helps to quickly identify which category your problem falls into. The cards below give you an at-a-glance diagnosis starting point.
Problem 1: Cooker Hood Not Extracting Properly
Weak airflow is the most reported cooker hood fault, and the cause is almost always the same: dirty filters, restricted ducting, or the hood being set to the wrong mode. Tackling these in order takes only a few minutes and resolves the majority of cases without any specialist knowledge.
The first check is deceptively simple. Make sure the hood is set to extraction mode rather than recirculation. Some models ship in recirculating modeAir is cleaned through carbon filters and returned to the kitchen. No duct required, but odour removal is less effective than ducted extraction. and remain there unless you manually change the setting. A hood in recirculation mode will never vent outside no matter how clean the filters are.
If the mode is correct, focus on the grease filtersAluminium mesh panels that trap airborne grease before it reaches the fan. Clogged filters are the most common cause of reduced extraction.. Saturated filters can reduce airflow dramatically, and most manufacturers recommend cleaning them every two to four weeks depending on cooking frequency. For ducted models, also check the external wall grille and ensure the back-draft flapA one-way valve in the duct outlet that prevents cold air from entering when the hood is off. It should open freely when the fan runs. opens freely when the fan is running.
Ducted extraction: what to inspect
Ducting size matters. Hoods with motors rated up to around 450 m³/hr typically use 100 mm or 125 mm ducting, while more powerful motors (450–750 m³/hr) are usually rated for 125 mm or 150 mm. Using ducting narrower than the manufacturer specifies reduces airflow and can increase noise. Always follow the installation instructions for your specific model rather than assuming a standard size applies.
Beyond diameter, check for crushed or kinked flexible duct sections, especially behind cabinets. Every 90-degree bend adds resistance equivalent to roughly a metre of straight duct, so minimising bends and keeping runs as short as possible makes a real difference to extraction performance.
How to restore airflow in a ducted cooker hood
- Wash aluminium grease filters in warm soapy water, rinse thoroughly, and dry completely before refitting.
- Check that the extraction mode selector (often a baffle plate or switch inside the hood) is set to duct-out, not recirculation.
- Inspect the full duct run for kinks, crushed sections, or disconnected joints. Re-seal any gaps with aluminium foil tape.
- Clean the external wall grille and confirm the back-draft flap opens freely when the fan runs.
- If ducting diameter is smaller than the hood specifies, consult the installation manual. Undersized ducting may be restricting performance.
How to restore airflow in a recirculating cooker hood
- Wash aluminium grease filters as above and dry fully before replacing.
- Replace carbon filtersActivated carbon absorbs cooking odours before recirculated air returns to the kitchen. Most standard carbon filters cannot be washed and must be replaced when saturated.. Standard disposable carbon filters typically last three to six months with regular cooking, though manufacturers’ guidance varies. Check your hood’s manual for the recommended interval.
- Run the hood on its highest speed and hold a piece of tissue near the front edge: you should see it drawn inward. If there’s no movement, the issue is likely the motor rather than the filters.
- Ensure kitchen ventilation is adequate. Without a small opening (a window ajar, or a trickle vent), negative air pressure can reduce extraction.
Problem 2: Excessive Noise or Vibration
Some increase in noise at higher fan speeds is normal. What warrants attention is a change in character: a rattle that wasn’t there before, a grinding undertone, or a vibration that travels into the cabinets. Each has a different cause and a different fix.
The most common source of new noise is grease accumulation on the fan blades. As grease builds up unevenly, the fan becomes unbalanced and starts to vibrate, which amplifies through the hood housing and surrounding cabinetry. A thorough clean of the blades often resolves this immediately. Always disconnect the power before removing filters to access the fan area.
Diagnosing the sound
A rattle or clicking noise usually points to something loose: mounting screws, a panel that has worked free, or a duct section touching a cabinet wall. Add foam pipe lagging or adhesive foam tape where ducting contacts hard surfaces. A deep hum that increases with fan speed and cannot be attributed to loose fittings is more likely to indicate worn motor bearingsBall bearings inside the fan motor that allow it to spin smoothly. Over time they wear and can produce grinding, whirring, or humming sounds., which generally requires a motor replacement by a qualified engineer.
Problem 3: Cooker Hood Lights Not Working
When the lights stop working, the fix is usually straightforward. The most common cause is a blown bulb, which takes a minute to replace. If new bulbs don’t resolve it, the issue moves further into the electrical system.
Modern cooker hoods use either halogen or LED bulbs. If you have halogen fittings, consider replacing them with compatible LED alternatives when the bulbs fail. LEDs run cooler, use less energy, and last considerably longer, which reduces the frequency of replacements near a hot cooking environment.
When it isn’t the bulb
If both lights fail simultaneously on a twin-light hood, a single blown bulb becomes unlikely. The more probable causes are a faulty light switch, a loose wiring connector at the bulb holder, or a fault on the PCBPrinted Circuit Board. The control board that manages fan speeds, lighting circuits, and any timer functions within the hood.. Inspect the bulb holders for corrosion, which can interrupt the circuit without the bulb itself failing. If the socket tests fine with a known working bulb and the fault persists, the switch or PCB will need attention from an engineer.
Safety — always do this first
- Switch off at the wall socket or isolate at the fuse board before removing any bulb cover.
- Wait for the hood to cool if it has been running recently. Halogen bulbs reach high temperatures and remain hot briefly after switching off.
- Never handle halogen bulbs with bare fingers. Skin oils cause hot spots that shorten bulb life. Use a clean cloth or gloves.
Problem 4: Buttons or Touch Controls Not Responding
Unresponsive controls often have a simple explanation: cooking generates steam and grease vapour that settles on touch panels and mechanical buttons, interfering with detection or physical travel. A controlled power reset combined with a careful clean resolves many cases without any parts replacement.
After heavy boiling or frying, it’s worth running the hood for an additional five to ten minutes to clear residual humidity. Moisture drawn into the control area can temporarily disable touch sensors, but in most cases the controls recover once the hood dries out. If an intermittent fault only appears after steamy cooking sessions, moisture ingress is the most likely explanation.
Problem 5: Persistent Smells or Grease Drips
A cooker hood that smells — or worse, drips — is usually one that hasn’t been cleaned thoroughly enough, or one whose filters have reached the end of their useful life. The hood is doing its job of capturing grease, but that grease has nowhere to go if the filters are already saturated.
For recirculating models, saturated carbon filters are the primary culprit for persistent odours. Unlike grease filters, standard carbon filters cannot be washed; once they are full, they must be replaced. Running a hood with expired carbon filters is counterproductive as the filter begins to release trapped odours rather than capturing new ones.
Grease drips from the underside of the hood indicate that the inner surfaces of the hood body have accumulated enough grease to run. This happens most commonly when filter cleaning has been infrequent. A degreaser applied to the interior cavity and fan cover, followed by a thorough rinse and dry, resolves this. You can find guidance on cleaning and maintaining your cooker hood in the CATA guides section.
Condensation drips from the duct
If the dripping appears to be water rather than oily grease, condensation in the duct is the more likely cause. This happens when warm moist air from cooking travels through an uninsulated duct in an external or cold wall and condenses before it reaches the outlet. Insulating the duct run and ensuring the external grille isn’t partially blocked so moisture can escape freely both help to reduce this.
Maintenance Schedule: What to Do and When
The majority of cooker hood problems are preventable with a consistent routine. The schedule below is a practical framework; always defer to your hood’s instruction manual as manufacturers may specify different intervals for your particular model.
Keeping a spare set of grease filters and carbon filters in a kitchen drawer makes it easier to stick to the schedule. Swapping them in takes only a couple of minutes, and having replacements on hand removes the temptation to defer maintenance. You can read more about choosing the right extraction rate for your kitchen in our guide on what size ducting to use for your cooker hood.
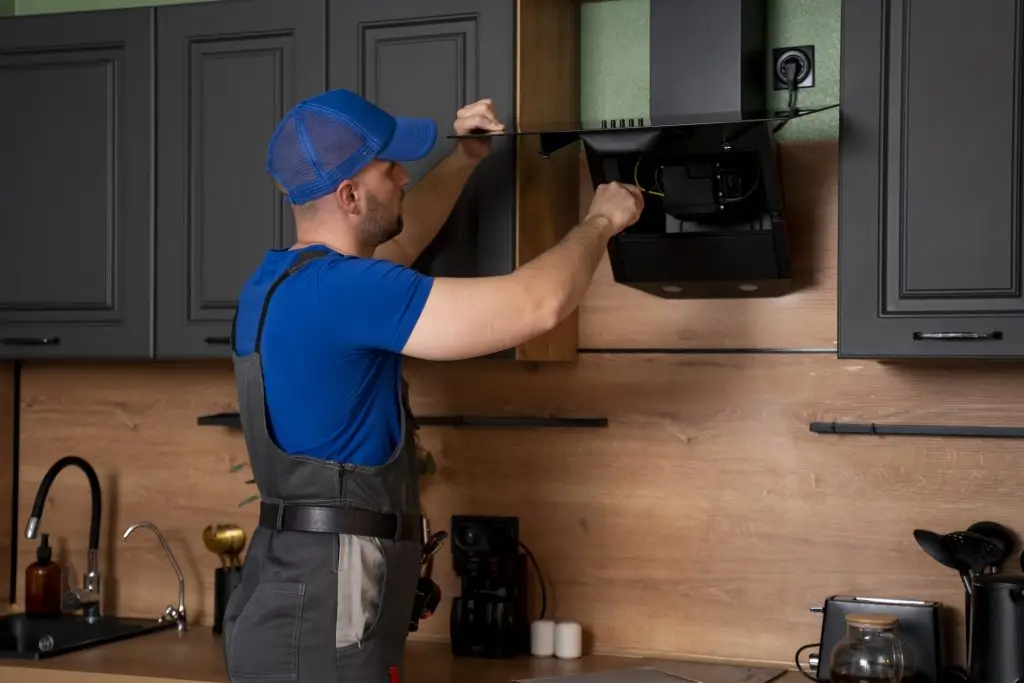
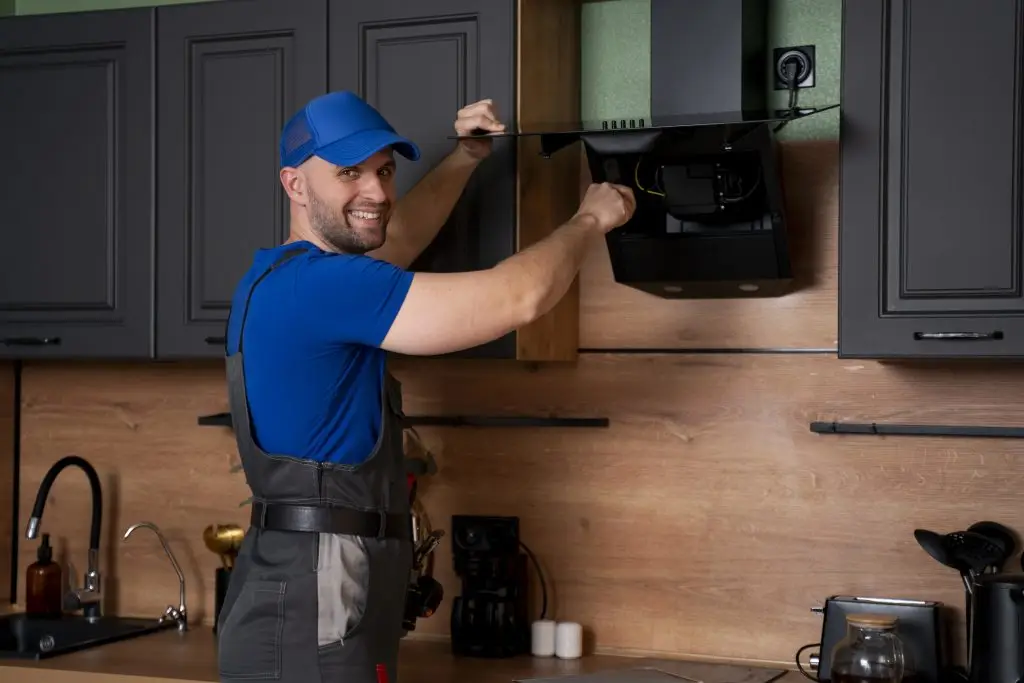
When to Call a Professional
Most cooker hood faults are within the reach of a careful homeowner. There are, however, situations where calling a qualified appliance engineer is the right decision, both for safety and to avoid making a fault worse.
Call an engineer if you notice any of the following
- The fan motor won’t start, hums at start-up without the fan turning, or causes the circuit breaker to trip.
- A burning smell or any visible smoke or sparking from inside the hood.
- Flickering controls or a completely unresponsive panel after the hood has been allowed to dry out fully.
- Persistent extraction failure after cleaning filters and inspecting ducting.
- Water or condensation reaching the electrical components inside the hood.
If the hood is still within the manufacturer’s warranty period, contact the authorised service team before attempting any repair. Many component replacements are covered free of charge, but only if an unauthorised repair hasn’t voided the warranty. The Which? guide to faulty goods rights is a useful reference if you’re unsure of your consumer rights when a relatively new appliance develops a fault.
For older hoods with repeated faults or a motor replacement quote that approaches the cost of a new unit, replacement is often the more practical option. Current CATA cooker hood models include quieter motor technology, LED lighting as standard, and filter saturation indicators on selected ranges, which take the guesswork out of maintenance timing.
Frequently Asked Questions
Summary
The vast majority of cooker hood faults trace back to one of two root causes: filters that need cleaning or replacing, and ducting that’s blocked, kinked, or the wrong size. Working through the checks in this guide in order — extraction mode, grease filters, carbon filters, ducting, fixings — resolves most issues without any tools or spare parts.
For electrical faults such as motor failure, a tripped circuit, burning smells, or unresponsive controls that don’t recover after drying out, a qualified engineer is the safer and usually more cost-effective route. If the hood is still under warranty, the manufacturer’s service team should always be the first call.
A consistent maintenance routine is the most reliable prevention: clean grease filters every two to four weeks, replace carbon filters at the interval your manual specifies, and run the fan for a few minutes after cooking to clear moisture from the duct and housing.