
The Best Oven Settings for Baking Bread at Home
There’s nothing quite like the aroma of freshly baked bread filling your kitchen. But if you’ve ever pulled a loaf out of the oven only to find it flat, pale, or disappointingly dense, you’re not alone. The truth is, mastering homemade bread isn’t just about the recipe—it’s about using the best oven settings for baking bread.
Whether you’re making a rustic sourdough, a soft white loaf, or a rich brioche, the way your oven is set up can make the difference between bakery-quality bread and a baking flop. Temperature, heat distribution, and even steam play a crucial role in achieving the perfect crust, crumb, and rise.
In this guide, we’ll explore how to use your oven to its full potential, looking at the best settings for different types of bread, when to use fan or conventional heat, and how to get that professional-looking golden crust at home. By the end, you’ll know exactly how to set your oven for bread that tastes as good as it looks.
Why Oven Settings Matter for Bread
When it comes to baking, your oven is just as important as your ingredients. Getting the oven settings for bread right determines how your dough transforms in the heat, shaping everything from its rise to its crust.
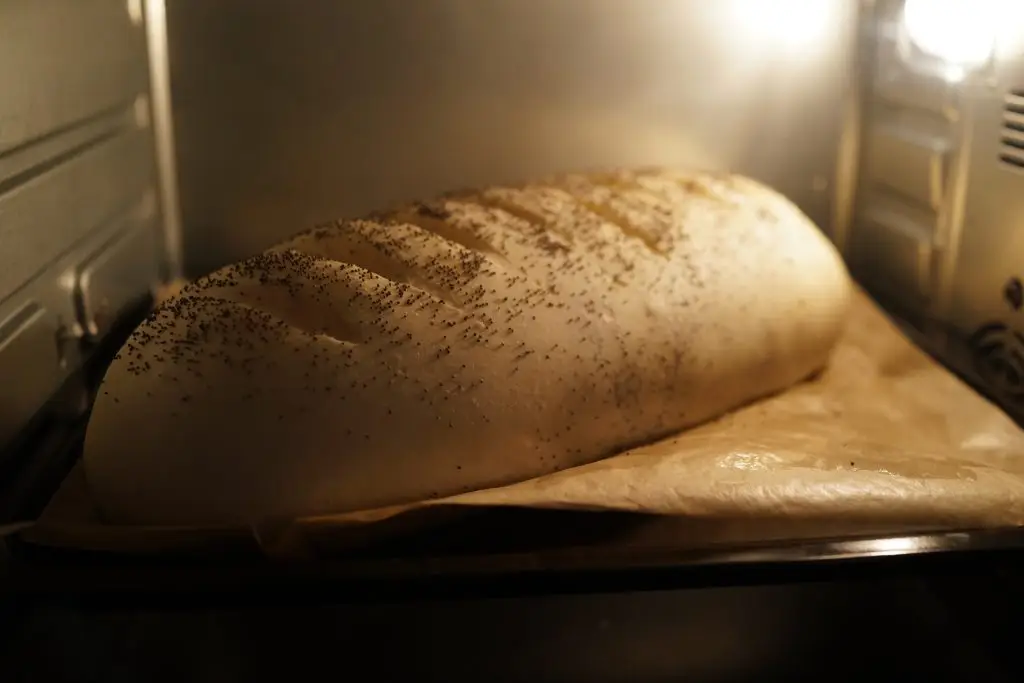
One of the most crucial stages is called oven spring—the dramatic rise that happens in the first 10–15 minutes of baking. If your oven is hot enough and set correctly, the yeast works at full power before dying off, giving your loaf a light, airy structure. If the settings aren’t right, your bread can end up flat and dense instead.
Equally important is crust formation. The type of heat—whether fan, conventional, or with added steam—affects how the outside of the loaf hardens and browns. Steam, for instance, slows down the crust setting, allowing the bread to expand fully before crisping up beautifully.
Finally, the choice of oven mode affects the crumb texture. A well-calibrated oven setting ensures even heat distribution, meaning no gummy centres or over-browned edges. By understanding how different oven functions work, you can control the results and achieve consistently delicious bread at home.
Common Oven Settings Explained
Modern ovens come with a variety of functions, and knowing which one to use for bread can be confusing. Each setting affects how heat moves around your loaf, changing its rise, crust, and texture. Here’s a breakdown of the most common oven settings for baking bread:
Conventional (Top and Bottom Heat)
This classic bread-baking setting provides steady heat from above and below, giving you an even bake. It’s ideal for rustic loaves, sourdough, and artisan breads that need a strong rise and a well-developed crust.
Fan / Convection
Fan ovens circulate hot air throughout the cavity, which speeds up baking. Because this setting can dry dough out faster, lower the temperature by around 20°C compared with conventional baking. It’s a good choice when baking multiple loaves at once, as the airflow distributes heat evenly.
Steam Baking
If your oven includes a steam function, it can greatly improve your results. Steam keeps the dough surface moist during the initial rise, delaying crust formation and allowing maximum oven spring. The outcome is bread with a crisp, glossy crust and a soft, open crumb.
Pizza or Bread Mode (Specialist Functions)
Some modern ovens feature dedicated bread or pizza settings that combine strong bottom heat with circulating air or steam. These modes help recreate professional baking conditions. If your oven offers them, experimenting can reveal noticeable improvements in rise and crust quality.

Ideal Temperatures for Different Types of Bread
Not all breads bake at the same temperature. A light white loaf needs a strong initial burst of heat, while enriched doughs benefit from a gentler bake to stop the sugar and butter from burning. Getting the oven temperature for bread right ensures a balanced rise, a cooked-through crumb, and the perfect crust.
Below is a handy guide to the best oven temperatures for common types of bread:
| Type of Bread | Recommended Temperature | Notes |
|---|---|---|
| White loaf | 220°C (then reduce to 190°C) | Start hot for oven spring, then lower heat for an even bake. |
| Wholemeal bread | 200–210°C | Denser dough needs a steady, slightly lower bake. |
| Sourdough | 230–240°C (then reduce to 200–210°C) | High heat builds a strong crust and open crumb. |
| Enriched doughs (brioche, challah) | 180–190°C | Lower heat prevents burning from added sugar, butter, and eggs. |
| Flatbreads (naan, pita) | 240°C+ | Very high heat helps them puff quickly and stay soft inside. |
Remember, every oven behaves slightly differently. Use these temperatures as a guide, then adjust based on how your loaf looks, rises, and tastes.
Using Steam in the Oven
One of the secrets to professional-quality bread is steam. Adding moisture to the oven during the first stage of baking keeps the surface of the dough flexible, allowing it to rise fully before the crust sets. The result is better oven spring, a shinier crust, and that satisfying crackle when you cut into your loaf.
Why Steam Matters
Without steam, the crust can harden too quickly, trapping the dough and stopping it from expanding. Steam slows this process, giving your bread time to reach maximum volume while also forming a thin, crisp outer shell.
Ways to Add Steam
- Built-in steam function – Many modern ovens offer a steam setting designed for bread. Select it for bakery-style results.
- Tray of water – Place a metal tray in the bottom of the oven as it preheats, then add boiling water when the dough goes in.
- Spraying the dough – Lightly mist the loaf and oven walls with a spray bottle just before baking.
- Ice cubes on a hot tray – An easy way to create instant steam as the cubes melt and evaporate.
When to Release Steam
Steam is only needed during the first 10–15 minutes of baking, when the dough rises rapidly. After this stage, allow the moisture to escape so the crust can crisp properly. If your oven does not vent automatically, briefly open the door to release excess steam.
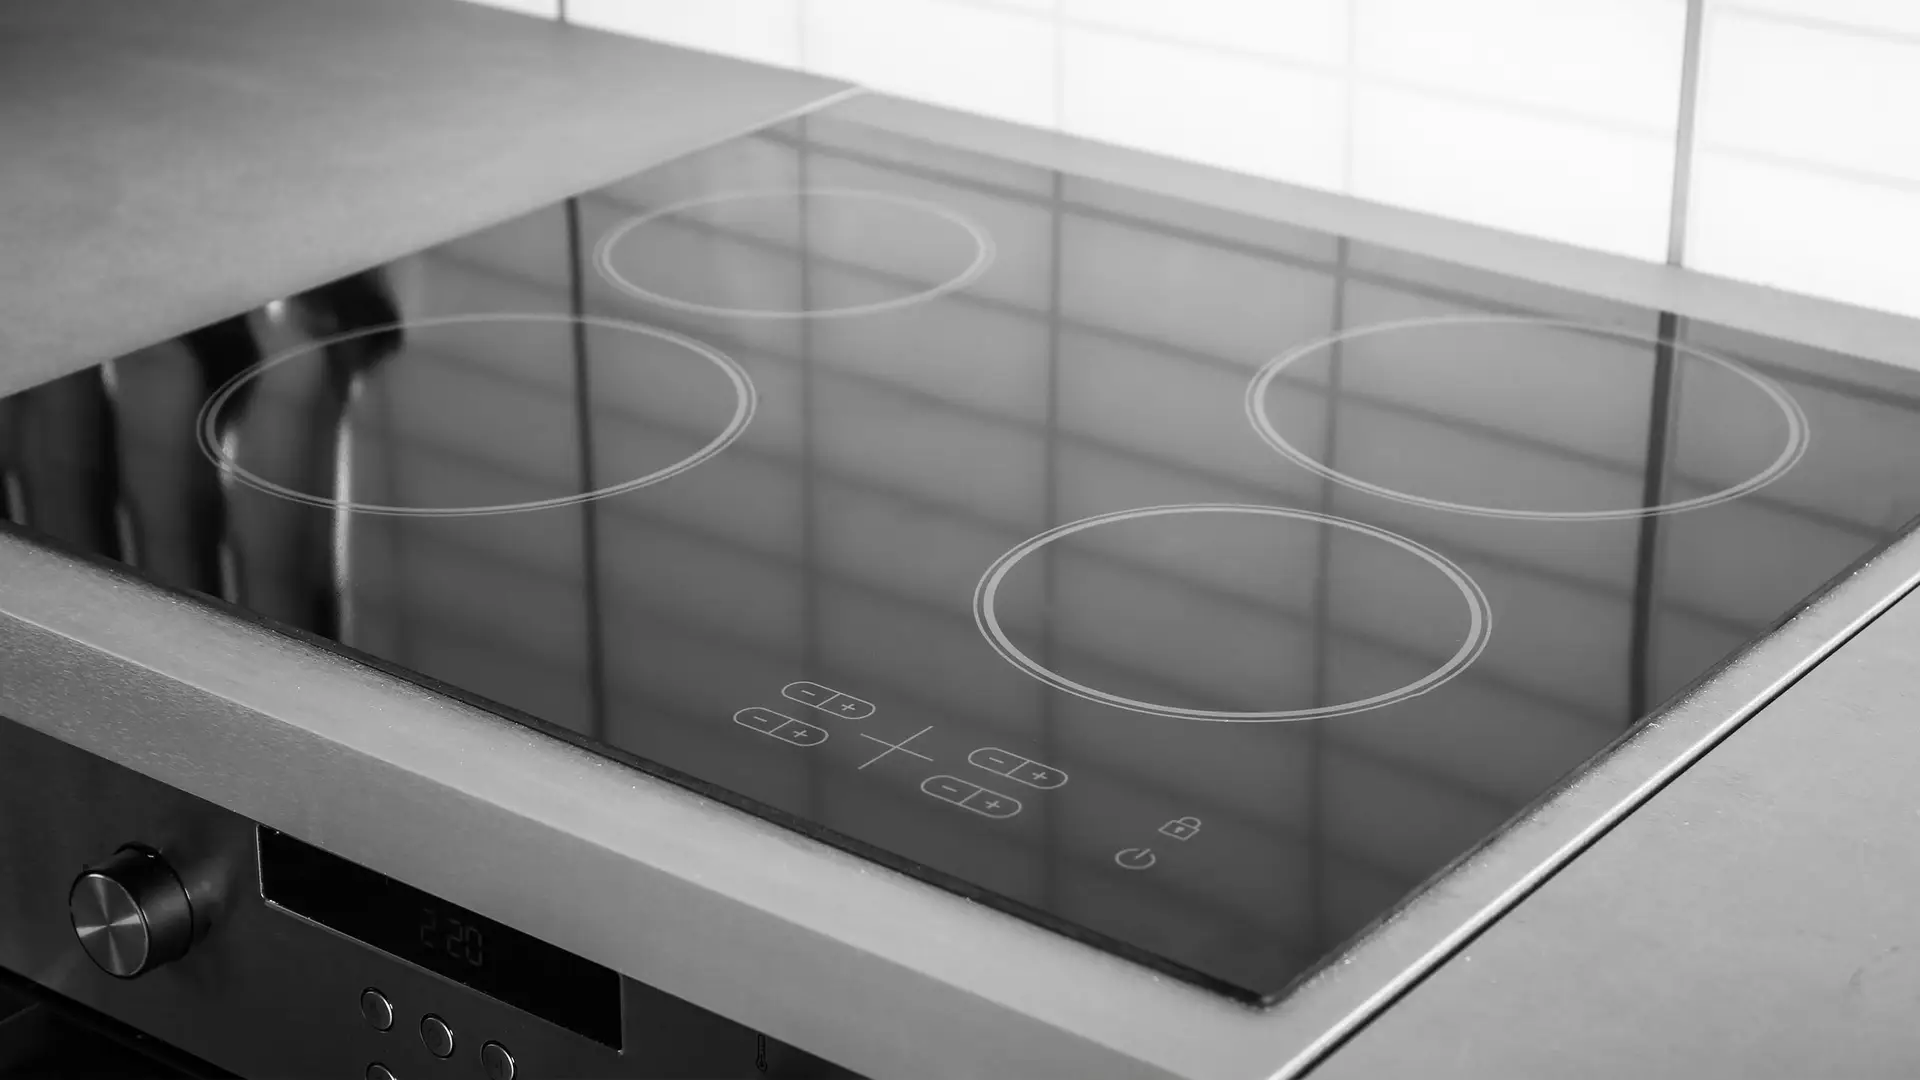
Fan vs Non-Fan Ovens for Bread
One of the most common questions home bakers ask is whether to use the fan setting when baking bread. Both fan ovens and conventional ovens can produce excellent results, but they behave differently in terms of heat distribution and moisture retention.
Fan Ovens
Fan (or convection) ovens circulate hot air evenly, which can speed up cooking times and make them useful if you’re baking more than one loaf at once. However, they tend to dry out dough more quickly, which may result in a tougher crust or reduced oven spring. To compensate, lower the temperature by around 20°C compared to a conventional bake, and consider adding extra steam at the start.
Non-Fan / Conventional Ovens
Conventional ovens heat from the top and bottom, creating a more humid environment that’s well suited to bread. The moisture helps with oven spring and gives a gentler bake, making this the preferred option for rustic loaves, sourdoughs, and artisan breads. If you only have this type of oven, you’re in luck—it’s the most traditional and reliable method for baking bread.
Which Should You Use?
If your oven has both options, use conventional (non-fan) for single loaves and artisan breads, and fan for batch baking or flatter styles such as rolls. Always adjust the temperature slightly and keep an eye on the loaf, as every oven behaves differently.
Pro Tips for Perfect Bread
Once you’ve mastered the right oven settings for bread, a few small tweaks can take your loaves from good to great. These professional baking tips will help you get consistent, bakery-style results at home:
- Preheat thoroughly – Give your oven at least 20 minutes to heat fully. Bread needs an immediate, steady burst of heat for proper oven spring.
- Use a baking stone or steel – These store and deliver intense heat directly to the dough, improving base crispness and overall bake quality.
- Rotate the loaf – If your oven has hot spots, turn the bread halfway through baking to avoid uneven browning.
- Check doneness – Tap the bottom for a hollow sound, or check with a thermometer (aim for 90–95°C internally).
- Let it rest before slicing – Bread continues to set as it cools. Cutting too soon leads to a gummy crumb, so allow at least 30 minutes of resting time.
By combining the right settings with these simple habits, you’ll achieve bread that not only looks good but also tastes incredible every time.
Troubleshooting Common Problems
Even with the right oven settings for bread, things don’t always go to plan. Here are some of the most common issues home bakers face and how to fix them:
- Pale crust – Your oven may not be hot enough, or you’re not using steam. Preheat thoroughly and add moisture at the start of baking.
- Dough collapsed – Usually caused by overproofing or opening the oven door too early. Bake sooner and avoid sudden temperature changes.
- Burnt outside, raw inside – The oven temperature is too high. Reduce the heat slightly and extend the baking time so the crumb cooks through.
- Uneven baking – Hot spots can lead to patchy results. Rotate the loaf halfway through and experiment with shelf positions.
- Crust too hard – Caused by too little steam or overbaking. Add steam at the start and avoid leaving the bread in too long.
- Soft crust after cooling – Bread stored while warm will sweat. Let it cool fully on a wire rack before storing.
By understanding these common pitfalls, you can adjust your approach and enjoy more consistent, reliable results with every loaf.
Conclusion
Baking bread at home is one of the most rewarding kitchen skills, but success depends on more than just the ingredients you mix. Getting the best oven settings for bread ensures the perfect balance of rise, crust, and crumb, turning simple dough into a bakery-quality loaf.
From using steam for a glossy crust to adjusting temperatures for different styles of bread, these techniques will help you unlock your oven’s full potential. Remember, every oven behaves a little differently, so don’t be afraid to experiment and make small adjustments until you find what works best for you.
With the right settings and a little practice, your homemade bread will not only taste amazing but also look like it came straight from an artisan bakery.
Frequently Asked Questions
- All Posts
- Cooker Hood Guides & Advice
- Dishwasher Guides & Advice
- General Appliance Guides & Advice
- Hob Guides & Advice
- Laundry Guides & Advice
- Microwave Guides & Advice
- Oven Guides & Advice
- Wine Cooler Guides & Advice
Learn whether you can install an oven under an induction hob safely. Find out spacing, ventilation and wiring tips. Read...
Learn when to use Power Boost on your induction hob for fast results and when it wastes energy. Get smart...
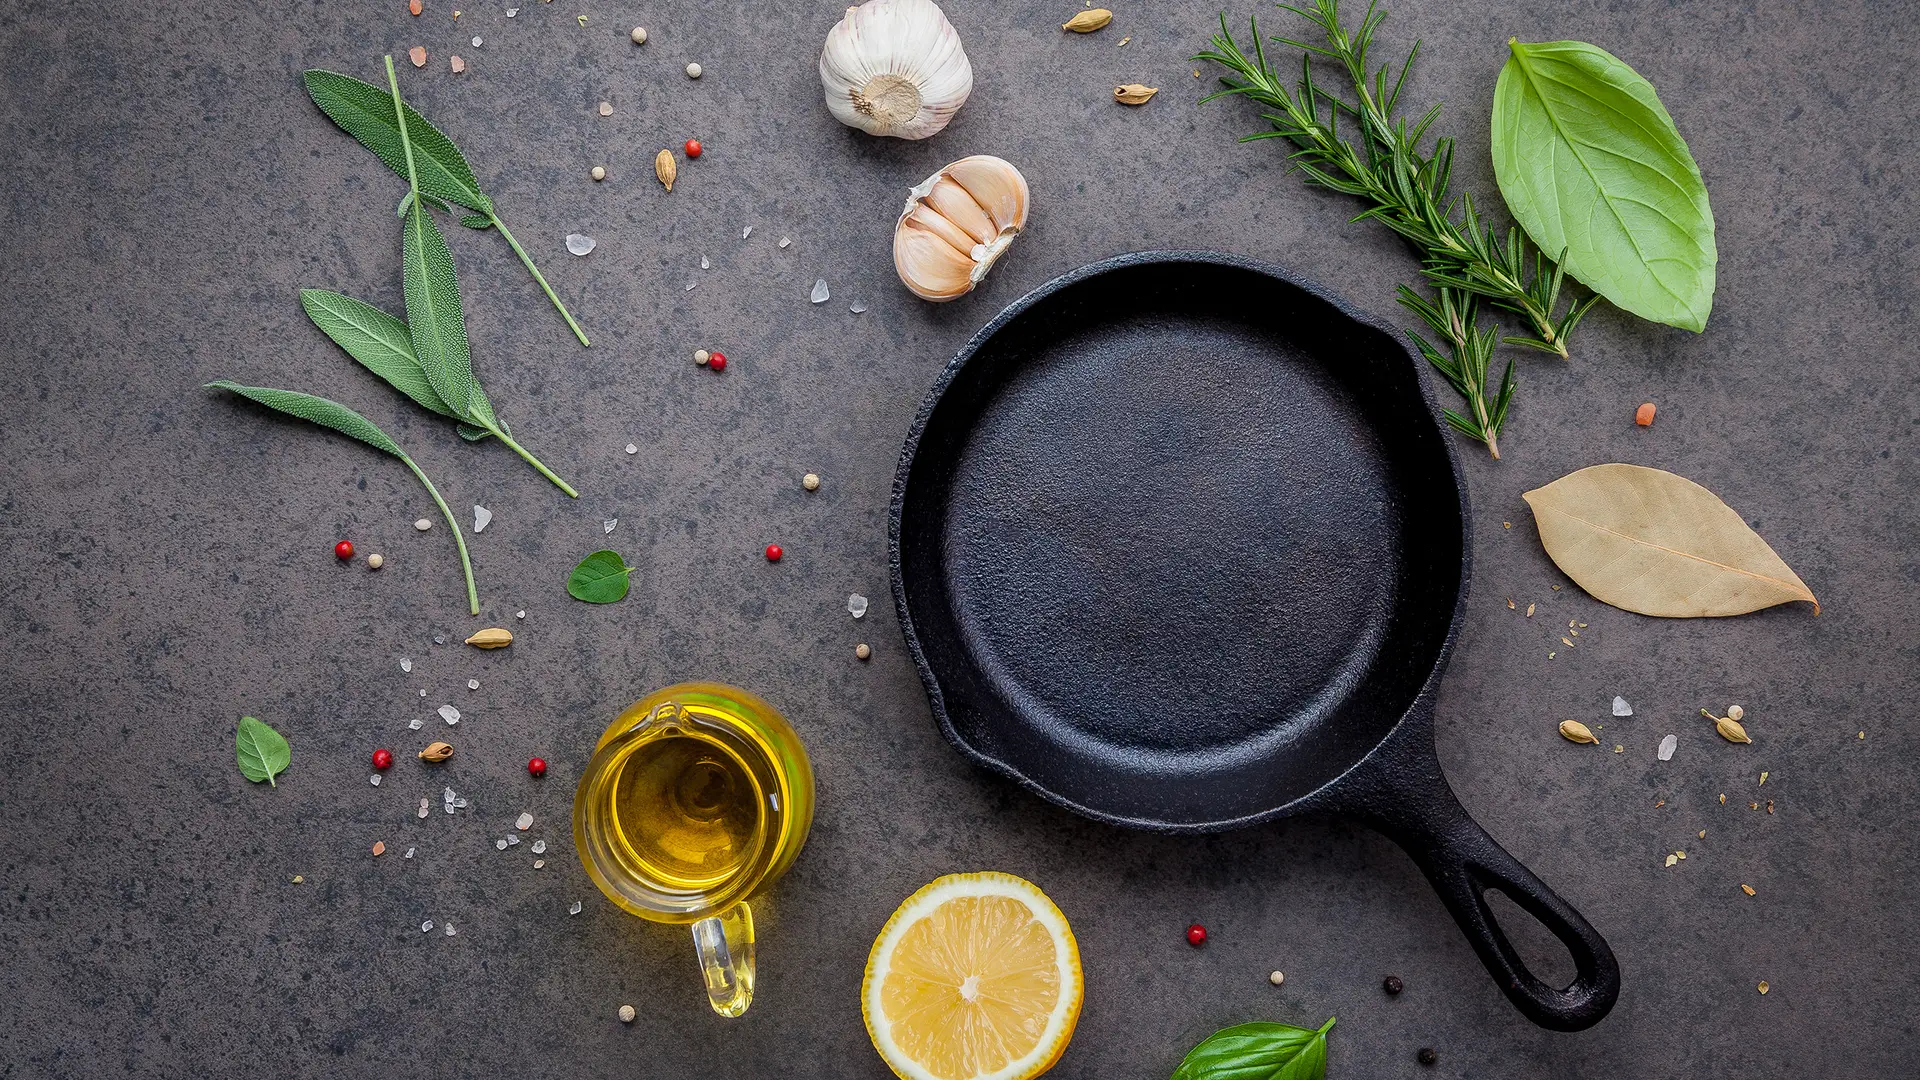
Cooking with cast iron pans is a tradition many home chefs love. Their durability, heat retention, and even results make...