Home » Cooker Hood Guides & Advice » 90° vs 45° Ducting Bends: The Hidden Airflow Drop Explained
90° vs 45° Ducting Bends: The Hidden Airflow Drop Explained
Why Ducting Bends Matter More Than You Think
When a cooker hood is tested for its rated extraction performance — quoted in cubic metres per hour (m³/h) — that figure is measured under laboratory conditions with minimal or no ducting resistance. The moment you run real ductwork through a kitchen wall or ceiling, that number starts to fall. Duct length, diameter, surface texture, and the number of bends all add what engineers call resistanceResistance (or pressure drop) is the friction and turbulence that opposing forces place on airflow, measured in Pascals (Pa). More resistance means the motor works harder for less airflow output. to the system.
Of all these factors, bends are the most commonly underestimated. A straight metre of smooth rigid ducting adds relatively modest resistance. A single elbow at 90° can add the equivalent of 1–1.5 metres of additional straight pipe — and in a short duct run, that proportion is enormous.
For installers and homeowners alike, the practical consequence is straightforward: a hood rated at 600 m³/h might deliver only 350–400 m³/h through a poorly routed duct run with two or three sharp bends. The motor runs louder trying to compensate, grease filters clog faster, and cooking smells linger longer than they should.
The Physics: What Happens at a Bend
Air flowing through a duct behaves predictably when the path is straight: it moves in parallel streams with minimal internal friction. A bend disrupts this. As airflow hits a change in direction, it separates from the outer wall of the elbow, creating turbulence and recirculation zonesAreas where airflow doubles back on itself rather than moving forward, dramatically increasing energy loss at that point in the duct. that rob the system of energy.
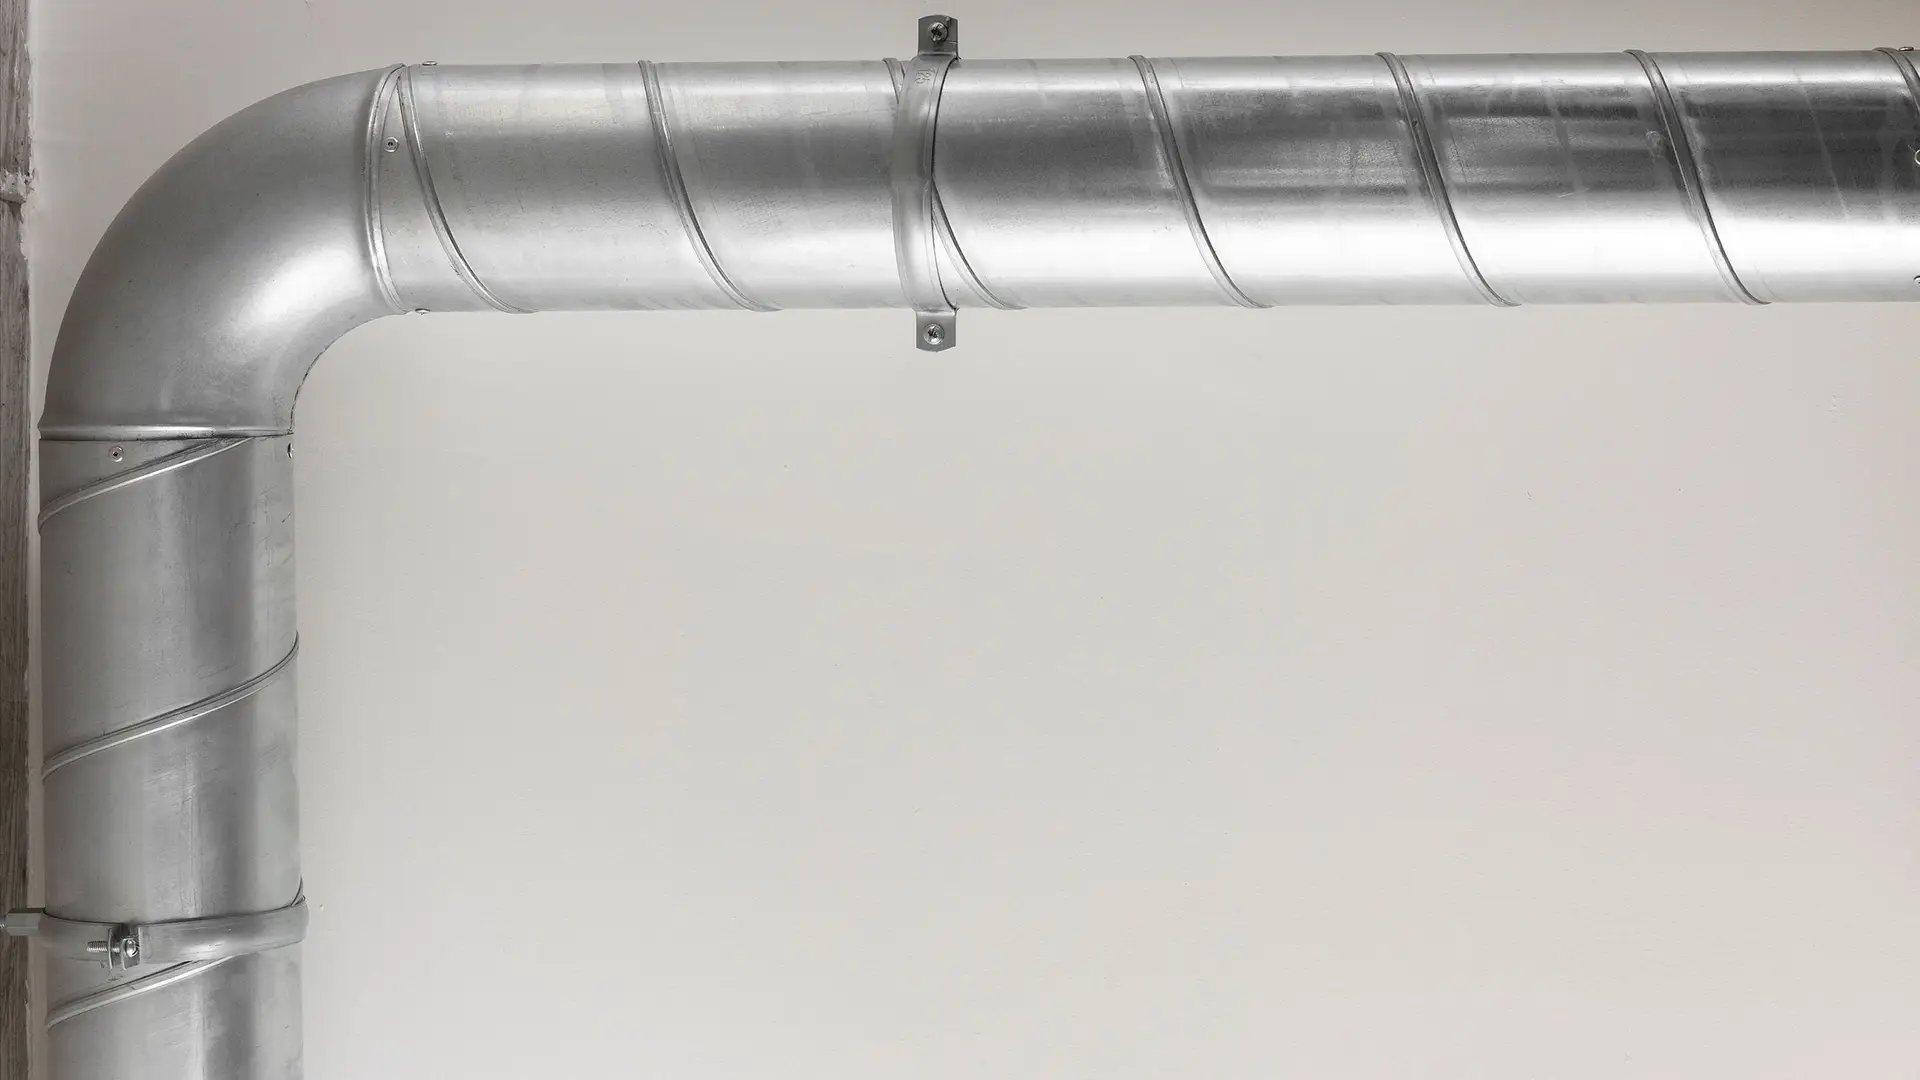
The sharper the bend, the more violent this disruption. A 90° elbow forces the entire airstream through a tight right angle. The air has nowhere to go gradually — it slams into the outer wall, compresses, and then expands again on the far side of the bend, creating a chaotic pocket of pressure that the motor has to work against.
Two 45° bends covering the same directional change allow the airstream to curve more gently. Although the total turning is identical (45° + 45° = 90°), the airflow never encounters a single abrupt wall. It redirects progressively, keeping the boundary layer attached to the duct wall for longer and losing far less energy in the process.
The role of duct diameter
Diameter compounds the effect. Narrower ducting means higher air velocity for the same volume, which increases the energy lost at every bend. This is why CATA recommends using the widest practical duct diameter for your installation — typically 150mm for most chimney and integrated hoods — and never reducing diameter to fit awkward spaces if it can be avoided. You can read more about choosing the right duct size in our guide to what size ducting to use for your cooker hood.
90° vs 45° — A Direct Comparison
The table below compares the key performance characteristics of both bend types across a typical domestic installation scenario.
| Factor | 90° Bend | Two 45° Bends |
|---|---|---|
| Directional change achieved | 90° | 90° (combined) |
| Typical pressure drop (150mm duct) | High — equiv. ~1.5m straight | Low — equiv. ~0.9m combined |
| Turbulence created | Significant — recirculation zone at outer wall | Minimal — airflow stays attached |
| Airflow loss (short 2m run) | Up to 50% | 15–25% |
| Noise impact | Increases turbulent noise, especially at higher speeds | Noticeably quieter at equivalent speeds |
| Space required | Compact — fits tight corners | Needs slightly more linear space for both fittings |
| Best used when | Space constraints leave no alternative | Wherever geometry allows even slight planning |
Performance at a glance
To illustrate the airflow impact in a typical 2-metre duct run, the figures below reflect estimated extraction performance relative to a hood’s rated output.
Approximate figures for 150mm rigid smooth ducting. Results vary with duct length, hood power, and duct material.
Equivalent Duct Length: The Industry Calculation
The building services and ventilation industries use a concept called equivalent lengthEquivalent length converts the resistance of fittings (bends, offsets, terminal grilles) into metres of straight duct with the same pressure drop. This allows installers to assess total system resistance in a single figure. to account for the resistance that bends add to a duct system. Rather than calculating complex fluid dynamics, you convert each fitting into an additional number of equivalent straight metres, add them to your actual duct length, and check the total against your hood’s performance curve.
For 150mm rigid circular ducting, commonly used equivalent lengths are:
- 90° elbow: approximately 1.5m equivalent
- 45° elbow: approximately 0.6m equivalent (so two 45° bends = ~1.2m)
- Flat offset (two 45° bends pre-assembled): approximately 1.0–1.2m equivalent
- Wall terminal / louvre grille: approximately 1.5m equivalent
- In-line duct fan: negligible additional resistance (it adds power rather than resistance)
If your physical duct run is 2 metres of straight pipe and you need one 90° bend and a wall terminal, your effective total is approximately 2 + 1.5 + 1.5 = 5m equivalent. That is a very different picture from the raw 2 metres — and it explains why so many installed hoods fail to meet their rated performance. The UK Government’s Approved Document F covers ventilation standards for dwellings and provides useful context on acceptable system resistance for domestic extraction.
Airflow Impact Calculator
Estimate Your Duct System’s Effective Airflow
Enter your hood’s rated airflow and duct configuration to see the estimated real-world output after resistance losses.
When a 90° Bend Is Unavoidable
Real kitchens rarely offer the luxury of ideal duct routing. Structural beams, existing pipe runs, awkward wall positions, and compact integrated hood designs often make a 90° bend inevitable. In these situations, the goal shifts from elimination to mitigation.
Common mistakes that compound 90° bend losses
- Positioning a 90° bend immediately at the hood outlet, where air velocity is at its highest
- Using flexible corrugated ducting around bends — the accordion surface dramatically amplifies resistance
- Reducing duct diameter before a bend to fit a smaller elbow
- Installing two 90° bends back to back without a straight run between them
- Using an undersized wall terminal that constricts airflow at the final exit point
How to minimise the impact
If you are working with one unavoidable 90° bend, a few practical choices can limit the damage. Position the bend as far along the duct run as possible, away from the hood outlet, so the highest-velocity air has time to slow and stabilise before hitting the change in direction. Use a swept elbow rather than a sharp mitre-cut fitting — a swept elbow has a larger radius and produces meaningfully less turbulence. Keep both the duct section before and after the bend as straight and as long as practically possible. And ensure you compensate by specifying a hood with sufficient headroom in its rated airflow to absorb the efficiency loss.
Planning Your Duct Run for Maximum Performance
The best time to address ducting bends is before installation begins. Once a hood is fitted and ducting is run through finished cabinetry or walls, making changes is expensive and disruptive. A few minutes spent with a pencil and the steps below can prevent performance problems that persist for the life of the appliance.
-
1
Map every direction change Sketch the planned duct route from hood outlet to external wall or roof. Mark every point where the duct changes direction, even gentle ones. This gives you a complete picture of bend count before committing to a layout.
-
2
Calculate equivalent length Add up your straight duct length plus the equivalent metres for each fitting. Use the figures above: 1.5m per 90° bend, 0.6m per 45° bend, 1.5m for the wall terminal. The total should ideally stay under 5m equivalent for most domestic hoods.
-
3
Replace 90° bends with 45° pairs where possible On paper, this is a straightforward swap. In practice, it may require shifting the outlet position slightly or adjusting cabinetry, but even a single substitution delivers a measurable improvement in airflow and noise.
-
4
Choose rigid smooth ducting throughout Flexible corrugated duct is convenient but costly in performance terms. Use rigid round or flat-channel duct for the bulk of the run and limit flexible sections to short, straight connections at the hood outlet only.
-
5
Verify your hood’s rated output allows for the planned resistance If your equivalent length exceeds 5m, check that the hood’s rated m³/h at higher resistance settings — sometimes listed in the product datasheet — still meets the ventilation requirement for your kitchen. A hood rated at 600 m³/h under ideal conditions may only deliver 300 m³/h through a demanding duct run. Our guide to cooker hoods and kitchen condensation explores why adequate extraction rates matter beyond just cooking odours.
Frequently Asked Questions
Key Takeaways
- A single 90° bend can reduce cooker hood airflow by up to 50% — far more than most people account for during installation planning.
- Two 45° bends achieve the same 90° direction change with roughly half the pressure drop of a single sharp elbow.
- Use equivalent duct length calculations (1.5m per 90° bend, 0.6m per 45° bend, 1.5m for the wall terminal) to understand your system’s true resistance before specifying a hood.
- Rigid smooth ducting consistently outperforms flexible corrugated alternatives, especially around bends.
- Position any unavoidable 90° bends as far from the hood outlet as possible, and use swept elbows rather than sharp mitre fittings.
- If your total equivalent duct length exceeds 5m, upgrade the hood’s rated airflow or add an in-line duct fan rather than accepting the performance loss.
Explore More Kitchen Advice & Buying Guides
Browse our latest articles covering appliance tips, energy-saving advice, and expert guidance – designed to help you choose, use, and get the most from your kitchen appliances.