Home » Hob Guides & Advice » Bridge Zones on Induction Hobs Explained – Cook Big Pans Evenly
Bridge Zones on Induction Hobs Explained
A bridge zone links two adjacent induction zones so they operate as a single unified cooking area at one shared power setting. Place a griddle pan, fish kettle, or roasting tray across both zones, activate the bridge, and the hob treats the whole surface as one — no hot spot under one zone and cool patch under the other. It is a simple feature that makes a significant practical difference when cooking with large or rectangular cookware.
How Bridging Works
Without bridging, two zones can run at different power levels — the pan heats unevenly. With bridging active, both zones share a single setting and heat the pan uniformly from edge to edge.
Each induction zone is served by its own copper coil, operating at its own power level. Under normal use, the left side of a griddle pan positioned over zone one heats at one intensity while the right side, over zone two, heats at whatever separate setting that zone happens to be on. This mismatch is why large pans on standard hobs often produce food that is more cooked on one side than the other.
When you activate the bridge, the hob’s control electronics synchronise the two coils so they respond to a single power control as a unit. Adjust the setting up or down and both zones change together, immediately and equally. The temperature remains consistent across the whole cooking surface regardless of which end of the pan you measure.
It is worth being clear about what bridging does and does not do. It synchronises power output across two zones — it does not physically extend either zone’s coil. The glass surface between the zones continues to have no electromagnetic activity directly beneath it, but because the coils on either side are matched, the pan’s own thermal conductivity distributes heat across that gap evenly. For pans with a good, heavy base this works very well. For thin, lightweight pans it is less effective.
When to Use the Bridge Zone
Bridge zones earn their keep in specific situations. They are not a feature you need for a standard round saucepan on a normal zone, but for certain cookware and cooking styles the difference is substantial.
Griddle pans and flat irons
The original use case. A cast iron or carbon steel griddle pan that spans the full width of two zones will produce dramatically more consistent results with bridging than without. The difference is visible in the sear marks — consistent crosshatching across the full surface rather than heavy marks on one half and pale marks on the other.
Fish kettles and oval casseroles
Oval cookware designed for whole fish, duck legs, or long roasting cuts has always been awkward on standard hobs. Bridging two zones gives the even heat distribution that oval cookware requires — particularly important when searing or deglazing at high heat where hot spots immediately show.
Large paella pans
A proper paella pan for four to six people is wider than any single induction zone. Bridging two zones allows even heat across the full base of the pan, which matters for paella specifically because the rice needs uniform heat from below to develop the socarrat (the toasted base) evenly rather than burning in one spot.
High-volume batch cooking
When cooking for large numbers, a single bridged surface allows a large sauté pan or wide rondeau to sit securely with consistent heat. More practical than trying to manage two separate zones at matched settings manually, particularly when cooking demands attention on multiple fronts simultaneously.
How to Activate a Bridge Zone
The exact procedure varies by model, but the process is broadly consistent across most induction hobs with a bridge function. Always check the manual for your specific model.
Position your pan across both zones
The pan base needs to cover both zones that will be bridged. Most hobs require the pan to be detected on both zones before the bridge function becomes available. Place the pan centrally across the two zones and ensure it is making good contact with the glass surface.
Locate the bridge button or symbol
Most hobs mark the bridge function with a rectangle or oval spanning two zone symbols, or with the word “Bridge”. On touch-control models it appears as a touch zone on the control strip. On some models it is a dedicated physical button.
Press to activate
Press the bridge control. The hob should indicate the bridged state — typically by lighting both zone indicators simultaneously or displaying a combined zone symbol. The two zones now respond to a single power control.
Adjust power using the single bridged control
Once bridged, use whichever control the hob designates for the bridged zone — usually the left zone’s control, or a dedicated bridged zone selector. Both zones respond together. To return to independent zone operation, press the bridge button again or switch the hob off and back on.
Bridge Zones vs Flex Zones: What Is the Difference?
These two terms describe different technologies that solve similar problems in different ways. They are sometimes confused — particularly because both are described as making large pans easier to cook with.
Bridge zones
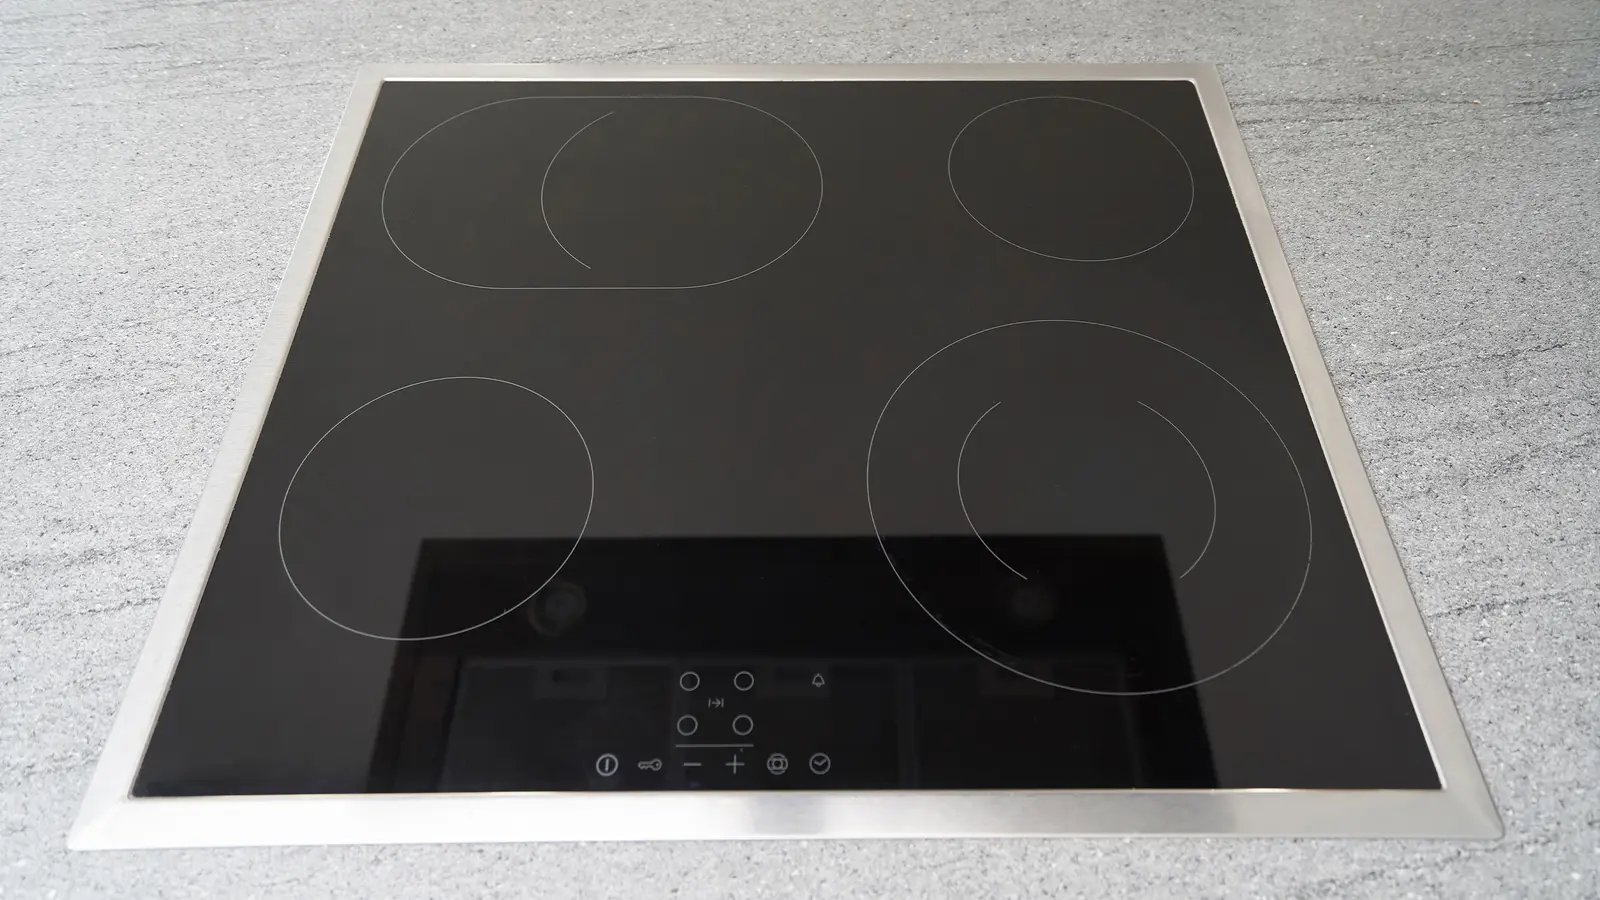
A bridge zone links two discrete, fixed circular zones. Each zone has its own dedicated coil. The bridge function synchronises their power output so they operate at the same setting simultaneously.
The zones themselves do not change. The glass still has a gap between the two coil positions. What changes is the control — one setting governs both. The pan’s base conducts heat across the gap.
Bridge zones are typically found on standard four-zone hobs where two zones are positioned close enough to bridge — usually left-front and left-rear, or the two zones on one side of the hob.
Flex zones
A flex zone replaces the fixed circular zone arrangement with a matrix of smaller coils distributed across a larger rectangular area. The hob detects where a pan is placed and activates only the coils beneath the pan’s detected footprint.
This means the heating area adapts to the pan’s shape and position, rather than requiring the pan to be centred on a fixed circle. There is no gap in the active coil area beneath the pan.
Flex zones are more technologically advanced and typically found on higher-specification hobs. They deliver more genuinely even heat beneath the pan because the active coils directly underlie the full contact area of the base.
In practice: a bridge zone is a practical and effective solution for large rectangular cookware on a standard hob. A flex zone is more sophisticated — the active heating area physically matches the pan’s footprint. Both are significantly better than trying to use two independent zones at manually matched settings for large pans.
CATA’s induction hob range includes models with both bridge zone and flex zone capability. For a full technical explanation of how flex zones detect pan position and adapt the active coil area, see the guide to how flex zone induction hobs work.
Common questions answered
Can I bridge any two zones on the hob?
Only the zones the manufacturer has designated as bridgeable — usually two zones on the same side of the hob, positioned close together. Not all adjacent zones can bridge, and you cannot bridge a front-left zone with a rear-right zone. Check the manual for which zone pairs support the bridge function.
Do I have to centre my pan exactly across both zones?
The pan needs to cover both zones enough for the hob to detect it on both coil positions. Exact centring is not required, but a pan positioned mostly over one zone may only activate that zone. Position it so both coil circles are substantially beneath the pan base.
Will bridging work with any pan material?
Yes, provided the pan is induction-compatible. The bridging function does not change the material requirements — a ferromagnetic base is still needed on both zones. A pan with a small induction disc may not generate sufficient load across both coils simultaneously to hold the bridged state reliably.
Can I still use the hob’s other zones while one pair is bridged?
Yes. Bridging only affects the two linked zones. The remaining zones on the hob operate completely independently at their own settings. You can bridge one pair for a griddle pan and use the other zones normally for saucepans simultaneously.
Explore More Kitchen Advice & Buying Guides
Browse our latest articles covering appliance tips, energy-saving advice, and expert guidance – designed to help you choose, use, and get the most from your kitchen appliances.