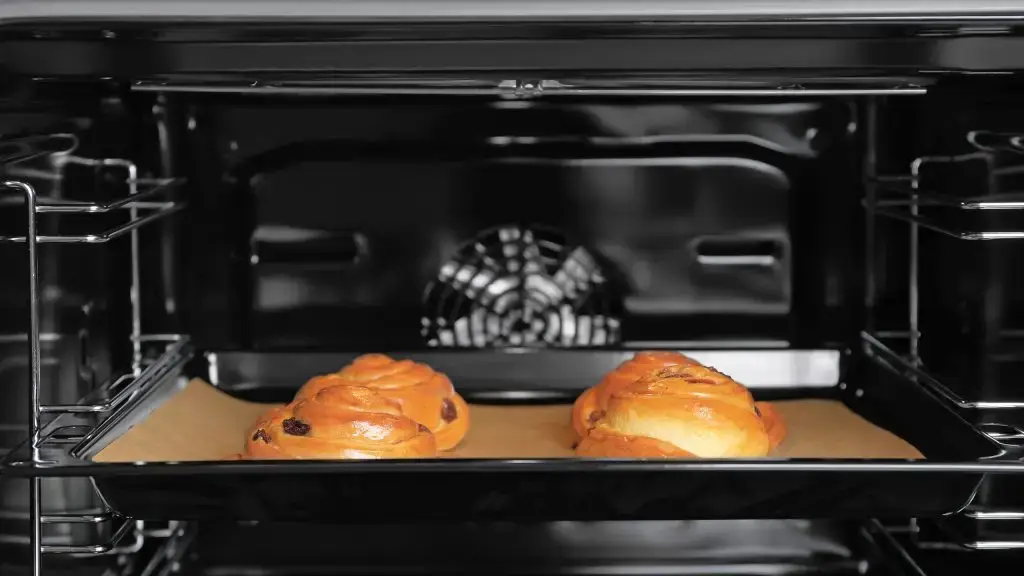
Can I Plug a Cooker Hood into a Normal Socket?
How Much Power a Cooker Hood Uses
A cooker hood’s electrical load comes from two sources: the fan motor and the lighting. The fan motor is the dominant draw, and it varies by fan speed — most hoods have two or three speed settings, with the motor drawing progressively more current at higher speeds. LED lighting, now standard on most models, adds very little to the total.
Even the most powerful domestic hood running at maximum speed uses around 10% of what a 13A socket can supply. The total power draw is so far below the socket’s rated capacity that there is no meaningful electrical argument against using a standard socket. A cooker hood is in the same power bracket as a standard table lamp or phone charger — not in the same bracket as a kettle or a hob.
This is a very different situation from electric hobs. A ceramic hob drawing 7,000W needs a dedicated hardwired cooker circuit. A cooker hood above it drawing 200W is perfectly happy on a standard socket, provided that socket is not positioned in a location the regulations prohibit.
Where the Socket Can and Cannot Go
The electrical load is not the constraint — socket positioning is. Building regulations and BS 7671 set out requirements for socket placement in kitchens, particularly in relation to zones defined by proximity to the hob and the cooking surface. A socket placed in the wrong zone is not compliant even if the appliance itself is perfectly safe to run from one.
Sockets must be outside the zone directly behind and above the hob. High on the wall above the hood or inside an adjacent cupboard are both compliant positions.
The specific zone restrictions in BS 7671 require that sockets are not placed within the immediate splash and steam zone above a hob. In practice, this means a socket directly behind the hob surface — at worktop height in the splashback area — is not permitted. A socket positioned higher, above the hood, or inside an adjacent cabinet accessed through a side panel is fine.
The flex from the hood to the socket should be routed neatly and without kinking or crushing, either through the cabinet above the hood or inside an adjacent unit. Most chimney hoods come with enough flex length to reach a socket in the upper cabinet space behind or beside the hood canopy.
Connection by Hood Type
The type of hood determines where the connection typically lands and whether a socket or fused spur is the more practical choice.
Chimney hood
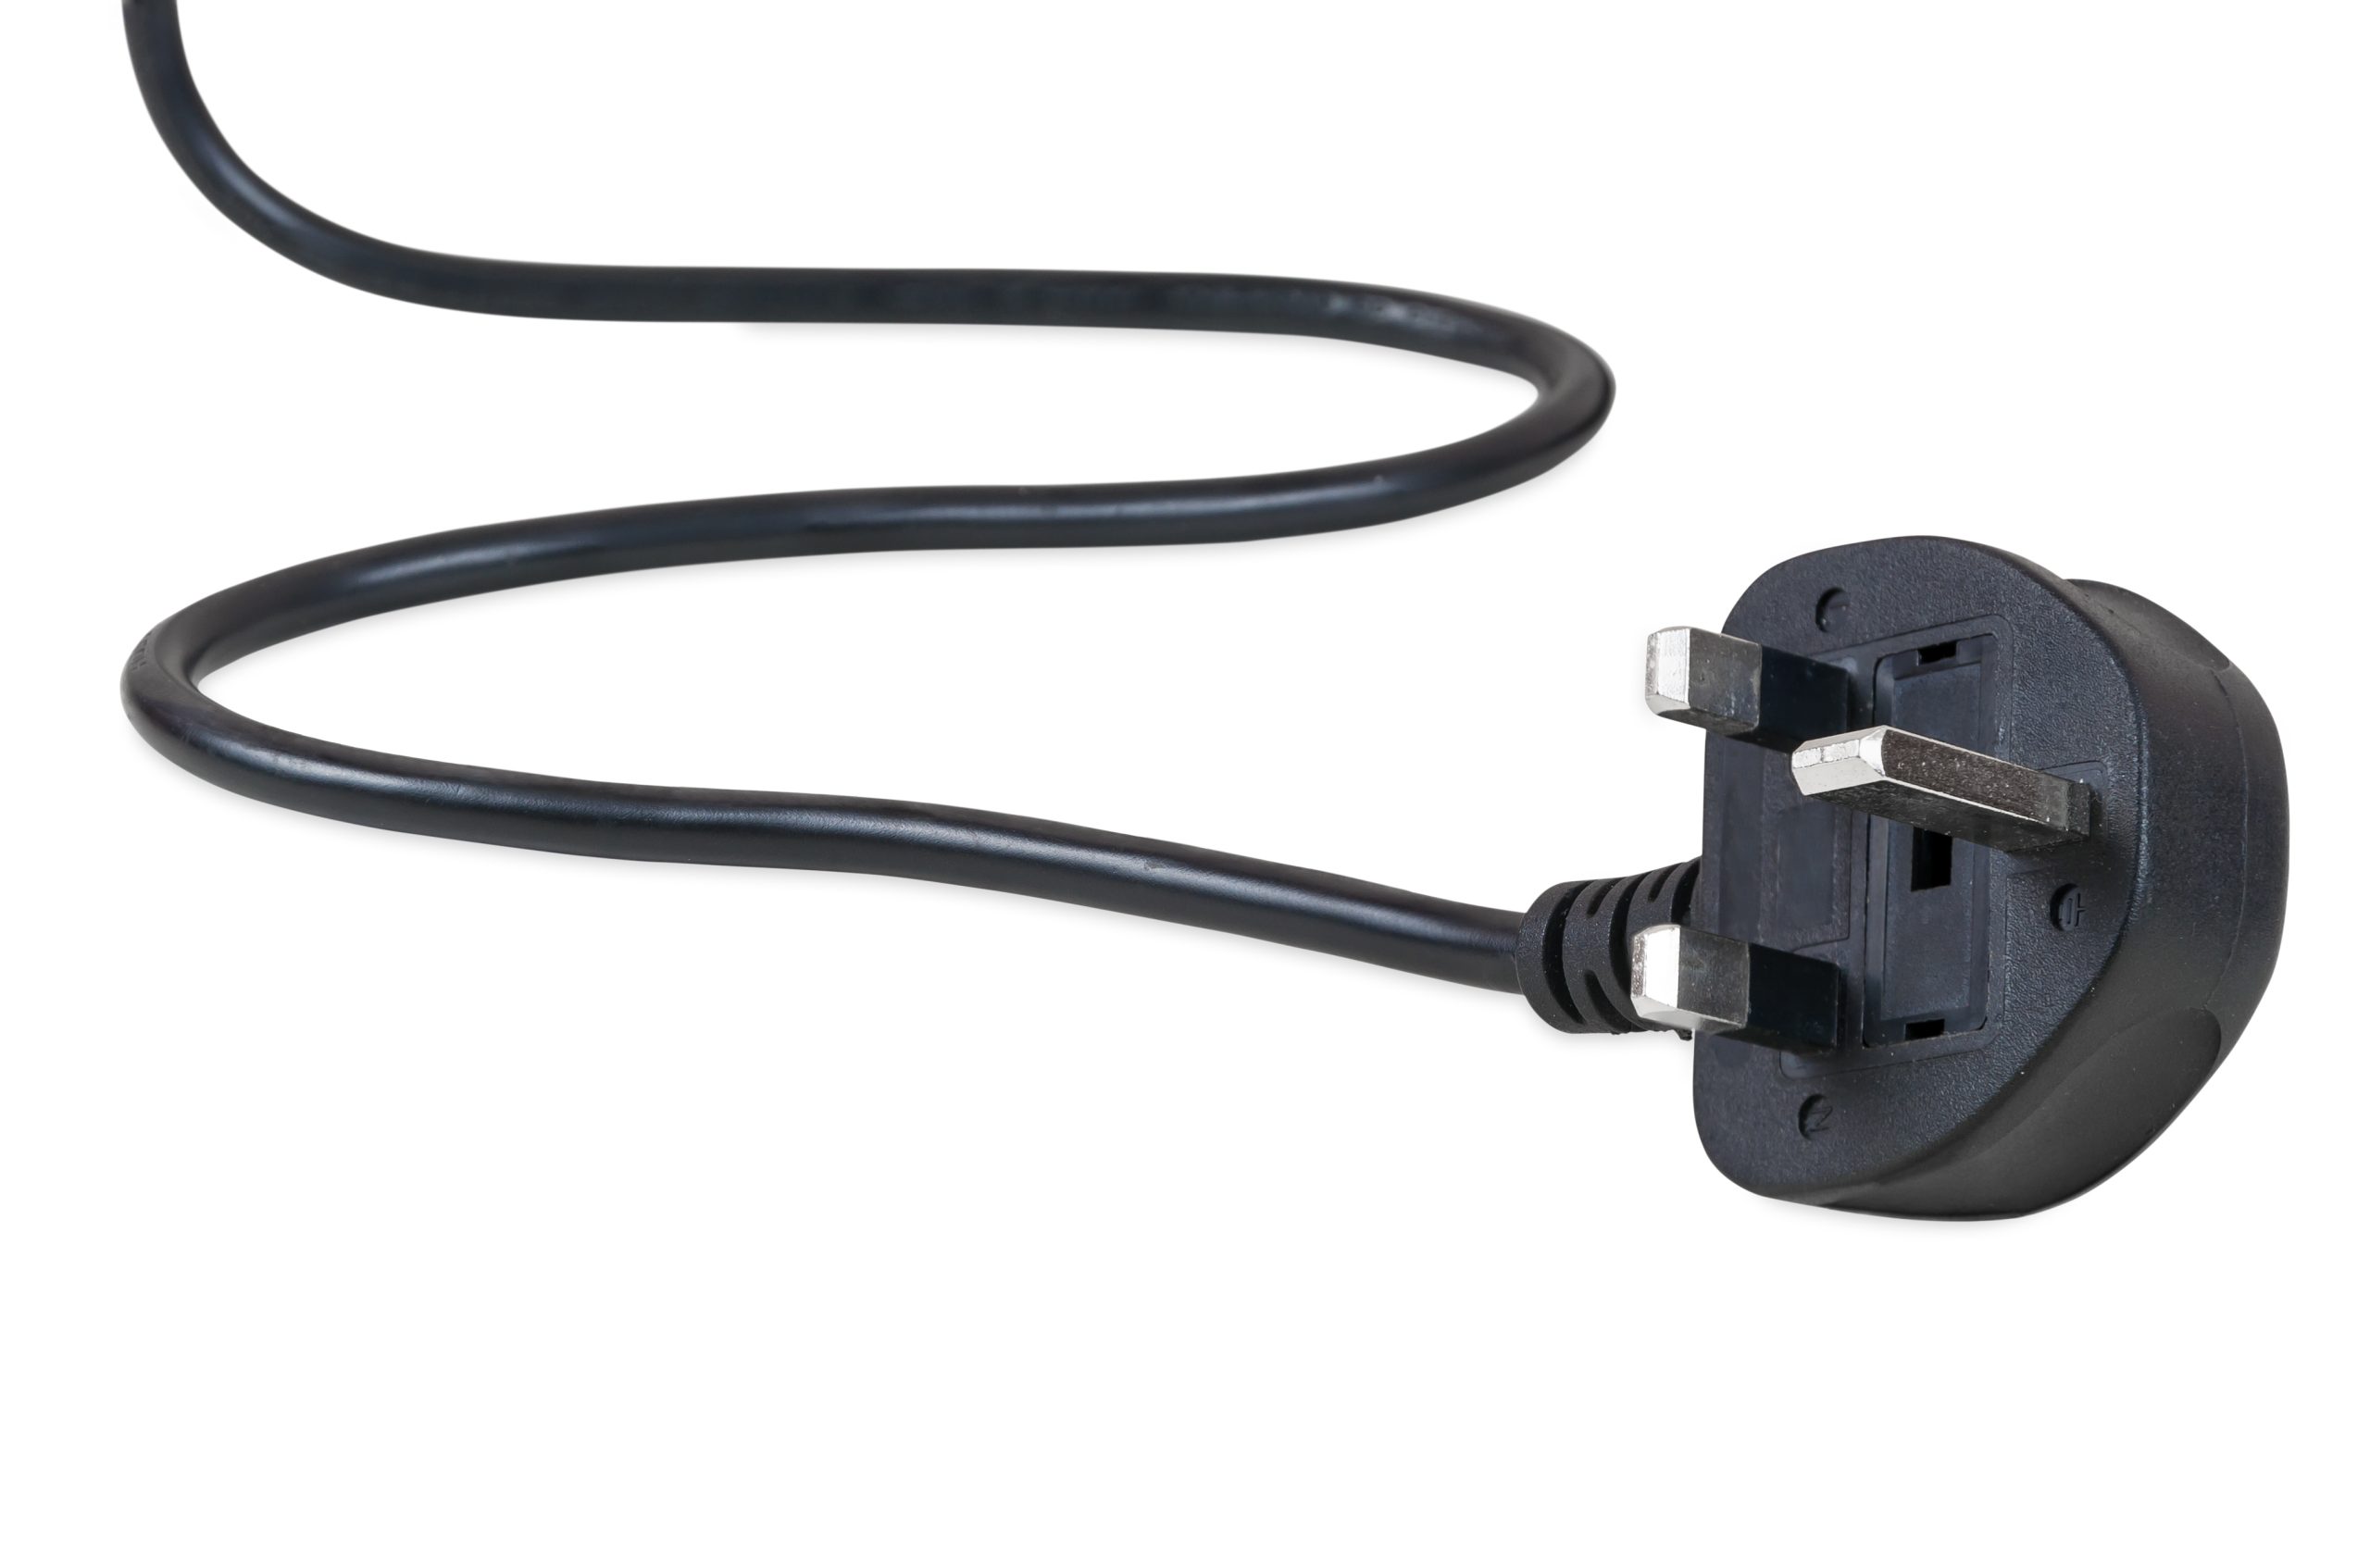
Sits against the wall above the hob with a decorative chimney canopy. The power connection is typically made inside the chimney housing, connected to a socket inside the upper wall cabinet or via a short flex to a socket on the wall above the hood. Comes with a 13A plug in most cases.
Integrated / canopy hood
Fits inside a wall cabinet above the hob with a fold-out canopy. The motor unit sits in the cabinet, making an internal socket connection natural. Some integrated models are supplied with a fused spur connection point rather than a plug, as it produces a neater result inside an enclosed cabinet.
Island hood
Hangs from the ceiling above an island hob. The electrical connection is typically made in the ceiling void, connecting to a socket or fused spur concealed above the ceiling level. No flex is usually visible. This connection is nearly always made by the installer at the point of fitting.
Angled glass hood
Wall-mounted with an angled glass canopy. The connection is similar to a chimney hood — typically a socket inside the upper cabinet or on the wall above, reached via the flex that exits through the back of the canopy. Usually comes with a 13A plug fitted.
Downdraft / vented hob extractor
Built into or behind the hob rather than above it. The motor unit is in the cabinet below, with a direct connection to the electrical supply. A fused spur inside the cabinet is the standard connection method, as a socket in this location is less practical.
Box / visor hood
A simple rectangular extractor typically fitted under a wall unit. Compact and straightforward, with a short flex to a socket inside the cabinet above. One of the easiest installations in the category.
Socket vs Fused Spur: Which to Choose
Both options are safe and compliant. The choice comes down to aesthetics, accessibility, and what the hood manufacturer recommends.
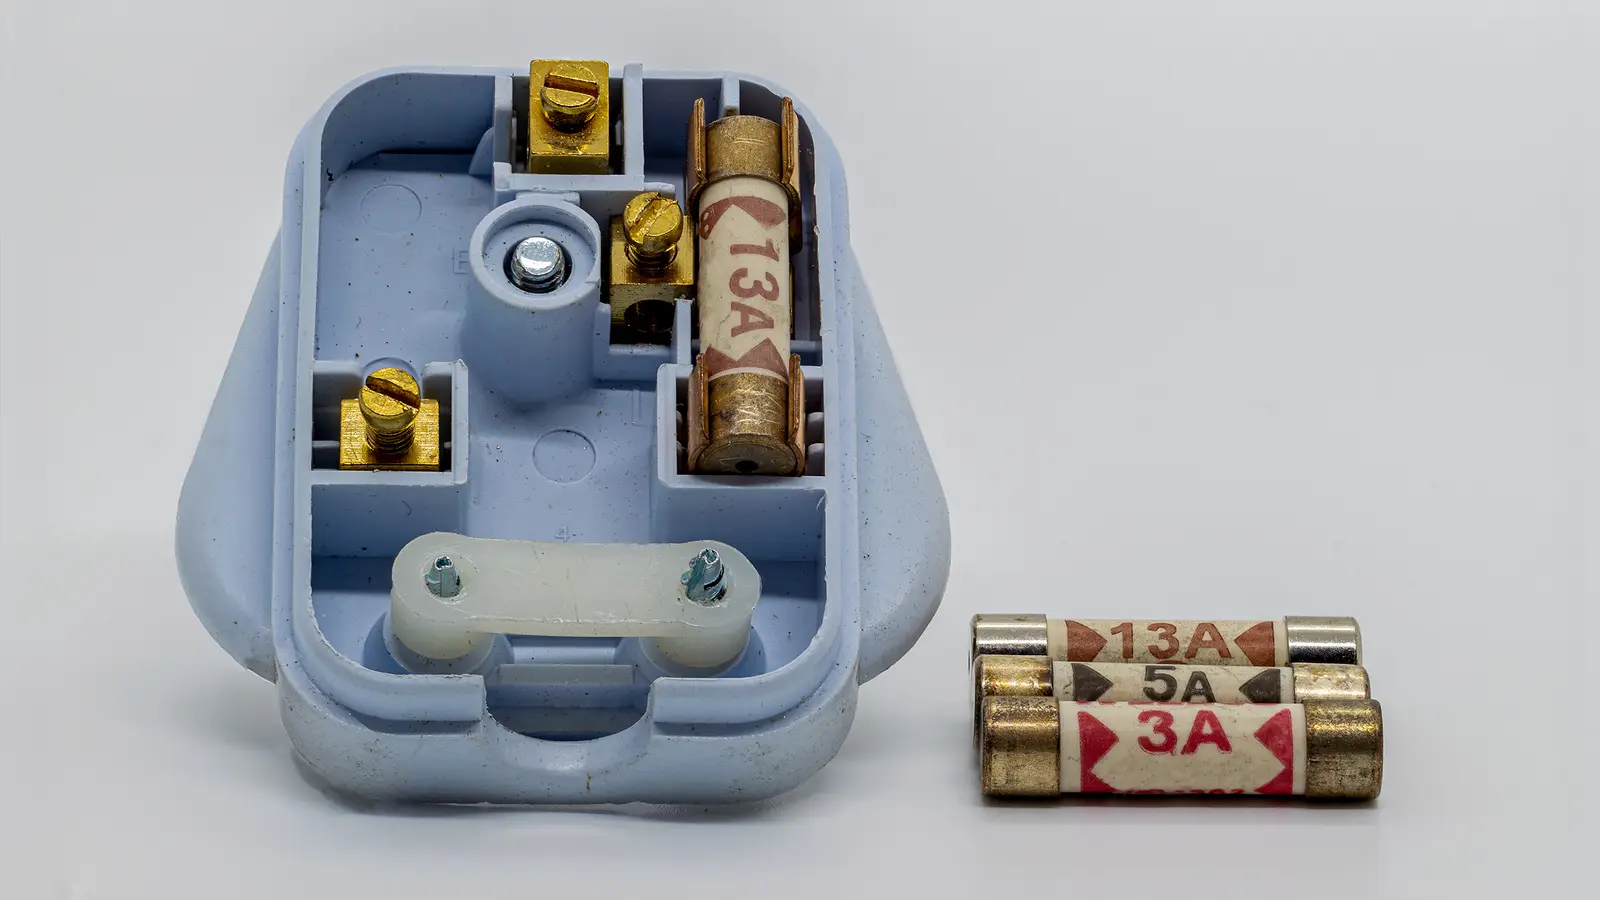
13A socket
- Simple and familiar for the householder
- The plug can be removed for servicing or disconnection
- Works wherever the hood comes with a 13A plug fitted
- Better suited to chimney and canopy hoods where the socket can be positioned accessibly
- The socket must remain accessible — not sealed behind fixed cabinetry
Fused spur (FCU)
- Cleaner installation with no visible plug or socket face
- The integral switch provides easy isolation without handling the plug
- Better suited to integrated hoods where the connection point is inside an enclosed cabinet
- Often preferred by kitchen installers for a neater finish inside wall units
- Requires an electrician to wire, but is not notifiable under Part P as an addition to an existing circuit
CATA’s full cooker hood range includes chimney, integrated, island, angled glass, and downdraft models — each with installation specifications detailing the recommended connection method. For more on how cooker hoods work and what they require beyond the electrical connection, see the guide to how cooker hoods remove grease from the air.
Before you connect your cooker hood
- Confirmed the total rated power on the hood’s rating plate — it should be well under 500W for any domestic model
- Identified a socket or fused spur location that is outside the hob’s splash and steam zone
- Confirmed the connection point will be accessible after installation — not sealed behind fixed cabinetry
- Checked the hood’s installation manual for the recommended connection method (socket or fused spur)
- Planned the flex route so it does not kink, crush, or contact any hot surfaces
- If using a fused spur, confirmed the fuse rating — 3A is sufficient for any domestic cooker hood