
How to Clean a Microwave – The Complete Guide
Microwaves are one of the most-used appliances in the kitchen, heating up meals, snacks, and drinks in just a few minutes. But with frequent use comes inevitable splatters, spills, and lingering odours. Over time, grease and food particles can harden, making them difficult to remove and even affecting performance. Regular cleaning keeps your microwave looking fresh, ensures it operates efficiently, and prevents unpleasant smells from building up. In this detailed guide, you’ll learn quick-clean methods for daily upkeep, deep-cleaning techniques for tackling stubborn messes, and natural cleaning solutions that are safe and effective.
How Often Should You Clean a Microwave?
The frequency of cleaning depends on how often you use your microwave and the types of foods you heat. A few splatters here and there might not seem like a big deal, but leaving them to sit can cause stains and odours to set in.
- Light cleaning: Every 2–3 days, or after any noticeable splatter, to prevent build-up from hardening.
- Deep cleaning: At least once a week for households that use the microwave daily, or sooner if you notice burnt-on residue.
- Signs it needs attention: Persistent odours (especially after heating strong-smelling foods like fish or curry), visible food particles, greasy walls, or uneven heating.
By maintaining a regular cleaning routine, you’ll save yourself time and effort — dried, hardened messes are far more difficult to remove than fresh ones.
Safety First
Before you start cleaning, it’s essential to take safety precautions. While a microwave may seem harmless once switched off, there are still risks to consider.
- Unplug the appliance before deep cleaning to avoid any chance of electrical shock, especially if you’re cleaning vents or around the control panel.
- Allow the microwave to cool completely after use. A freshly heated appliance can produce steam burns if you rush to clean it immediately.
- Avoid harsh abrasives such as steel wool or heavy-duty scourers — these can scratch the microwave’s interior coating, making it more prone to rust and harder to clean in the future.
- Never immerse any part of the microwave in water. Moisture inside the electrical components can cause damage or create a hazard.
Quick Clean (Every Few Days)
Quick cleaning is all about preventing small messes from turning into big jobs. This method works well if your microwave only has light splatters or fingerprints on the door.
- Dampen a soft cloth or sponge with warm, soapy water (use mild dish soap for best results).
- Wipe down the interior walls, ceiling, and door, paying special attention to corners where grease can hide.
- For the control panel and handle, use a slightly damp cloth (not dripping) to avoid letting water seep into the electronics.
- If you’ve spilled liquid on the turntable, remove it and clean underneath, even if the spill seems small – residue left on the turntable area can cause bad smells.
Quick cleans not only keep your microwave looking good but also make your weekly deep cleans much faster and easier.

Deep Clean (Weekly or As Needed)
Steam Cleaning Method
The steam cleaning method is one of the most effective ways to loosen dried-on food and grease without scrubbing. It works by using heat and moisture to soften messes, making them easy to wipe away.
- Fill a microwave-safe bowl with about 250ml of water and add a few thick lemon slices or 2 tablespoons of white vinegar. Lemon adds a fresh scent, while vinegar helps cut through grease.
- Place the bowl inside the microwave and heat on high for 3–5 minutes until the water produces steam.
- Once the time is up, leave the door closed for an additional 2–3 minutes to allow the steam to loosen dirt.
- Carefully remove the bowl — it will be hot — and wipe down all interior surfaces with a clean, damp cloth.
This method works well for most messes and is especially good for removing odours left by strong-smelling foods.
Tackling Stubborn Stains
Sometimes, steam alone isn’t enough for burnt-on spills or stubborn grease. That’s where baking soda comes in.
- Mix 2 tablespoons of baking soda with a small amount of water to create a paste.
- Apply the paste to burnt-on spots and let it sit for about 5 minutes.
- Gently scrub the area with a non-scratch sponge or cloth, then wipe clean with a damp cloth.
Baking soda is mildly abrasive, making it effective for scrubbing without damaging your microwave’s interior.

Cleaning the Turntable and Accessories
The turntable and any accessories (such as the roller ring) should be cleaned regularly, as food particles and spills can accumulate underneath them.
- Remove the turntable and roller ring from the microwave.
- Wash them in warm, soapy water using a sponge or cloth. If they are dishwasher-safe, you can also place them in the top rack.
- Rinse thoroughly and dry completely before placing them back in the microwave to prevent moisture build-up.
Deodorising Your Microwave
Odours can linger inside a microwave even after visible stains are gone. Here are some natural, chemical-free ways to keep your appliance smelling fresh:
- Place an open bowl of baking soda inside overnight to absorb smells.
- Steam clean with lemon water for a fresh, citrusy scent.
- Use coffee grounds in a shallow dish — these work well for neutralising strong food odours like garlic or fish.
Cleaning the Exterior
Don’t forget the outside of your microwave. Dust, grease, and fingerprints can build up here, especially if the microwave is near your hob or oven.
- Use a soft cloth with a mild cleaner to wipe the top, sides, and front of the microwave.
- Pay attention to vents — gently dust or vacuum them to prevent airflow blockages.
- For stainless steel exteriors, use a cleaner designed for stainless steel to maintain a streak-free finish.
What Not to Do
To keep your microwave in good condition, avoid these common mistakes:
- Never use metal scouring pads or harsh abrasives inside — they can scratch the protective coating.
- Don’t spray cleaner directly into the microwave; always apply it to a cloth first.
- Avoid soaking the appliance or letting moisture get into vents or electrical components.
Frequently Asked Questions
- All Posts
- Cooker Hood Guides & Advice
- Dishwasher Guides & Advice
- Hob Guides & Advice
- Laundry Guides & Advice
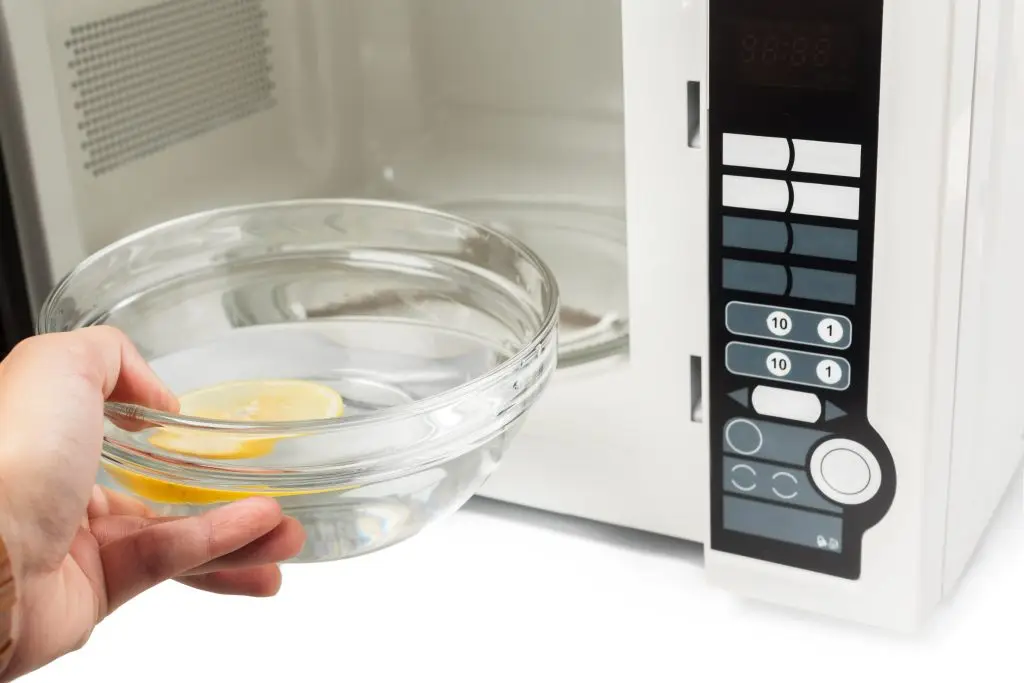
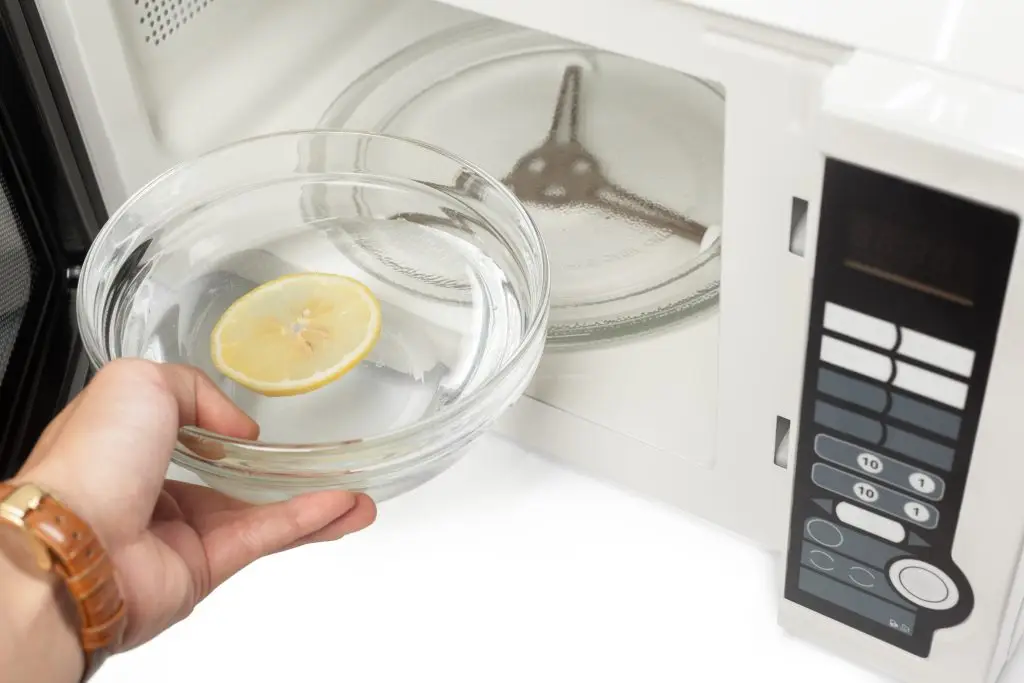
- Microwave Guides & Advice
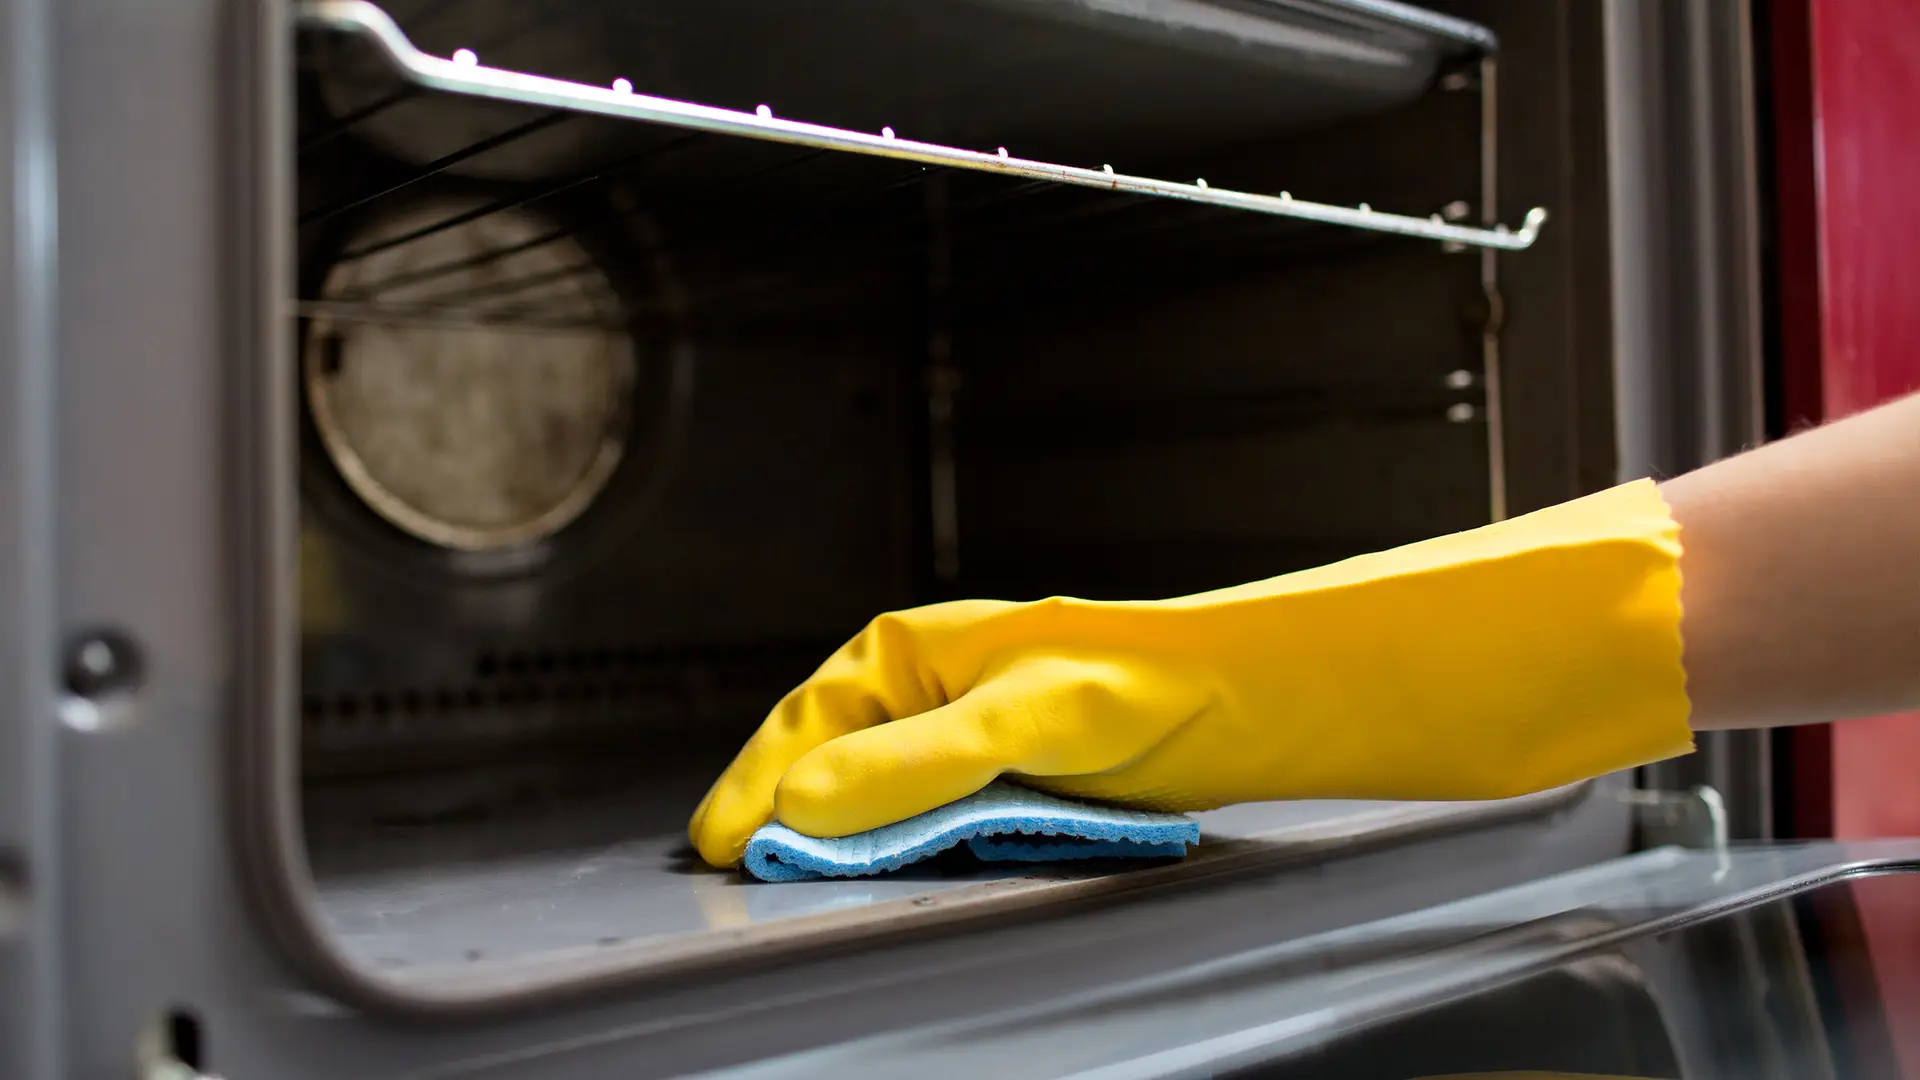
- Oven Guides & Advice
- Wine Cooler Guides & Advice

Home / Hobs / Hob Guides & Advice Which Hob Should I Buy? Choosing the right hob can transform how...

Discover what microwave power rating you need for fast, efficient cooking. Learn the best wattage for your kitchen and food...

Discover everything about ceramic hobs in our go-to guide. Learn how they work, their benefits, and how to care for...

Discover the pros and cons of double and single ovens to find the best fit for your cooking style. Read...

Confused about cooker hoods? Discover which type is best for your kitchen with this easy guide. Compare styles, features &...

Discover how does a pyrolytic oven work – and is it worth it? with expert tips and advice. Read now...

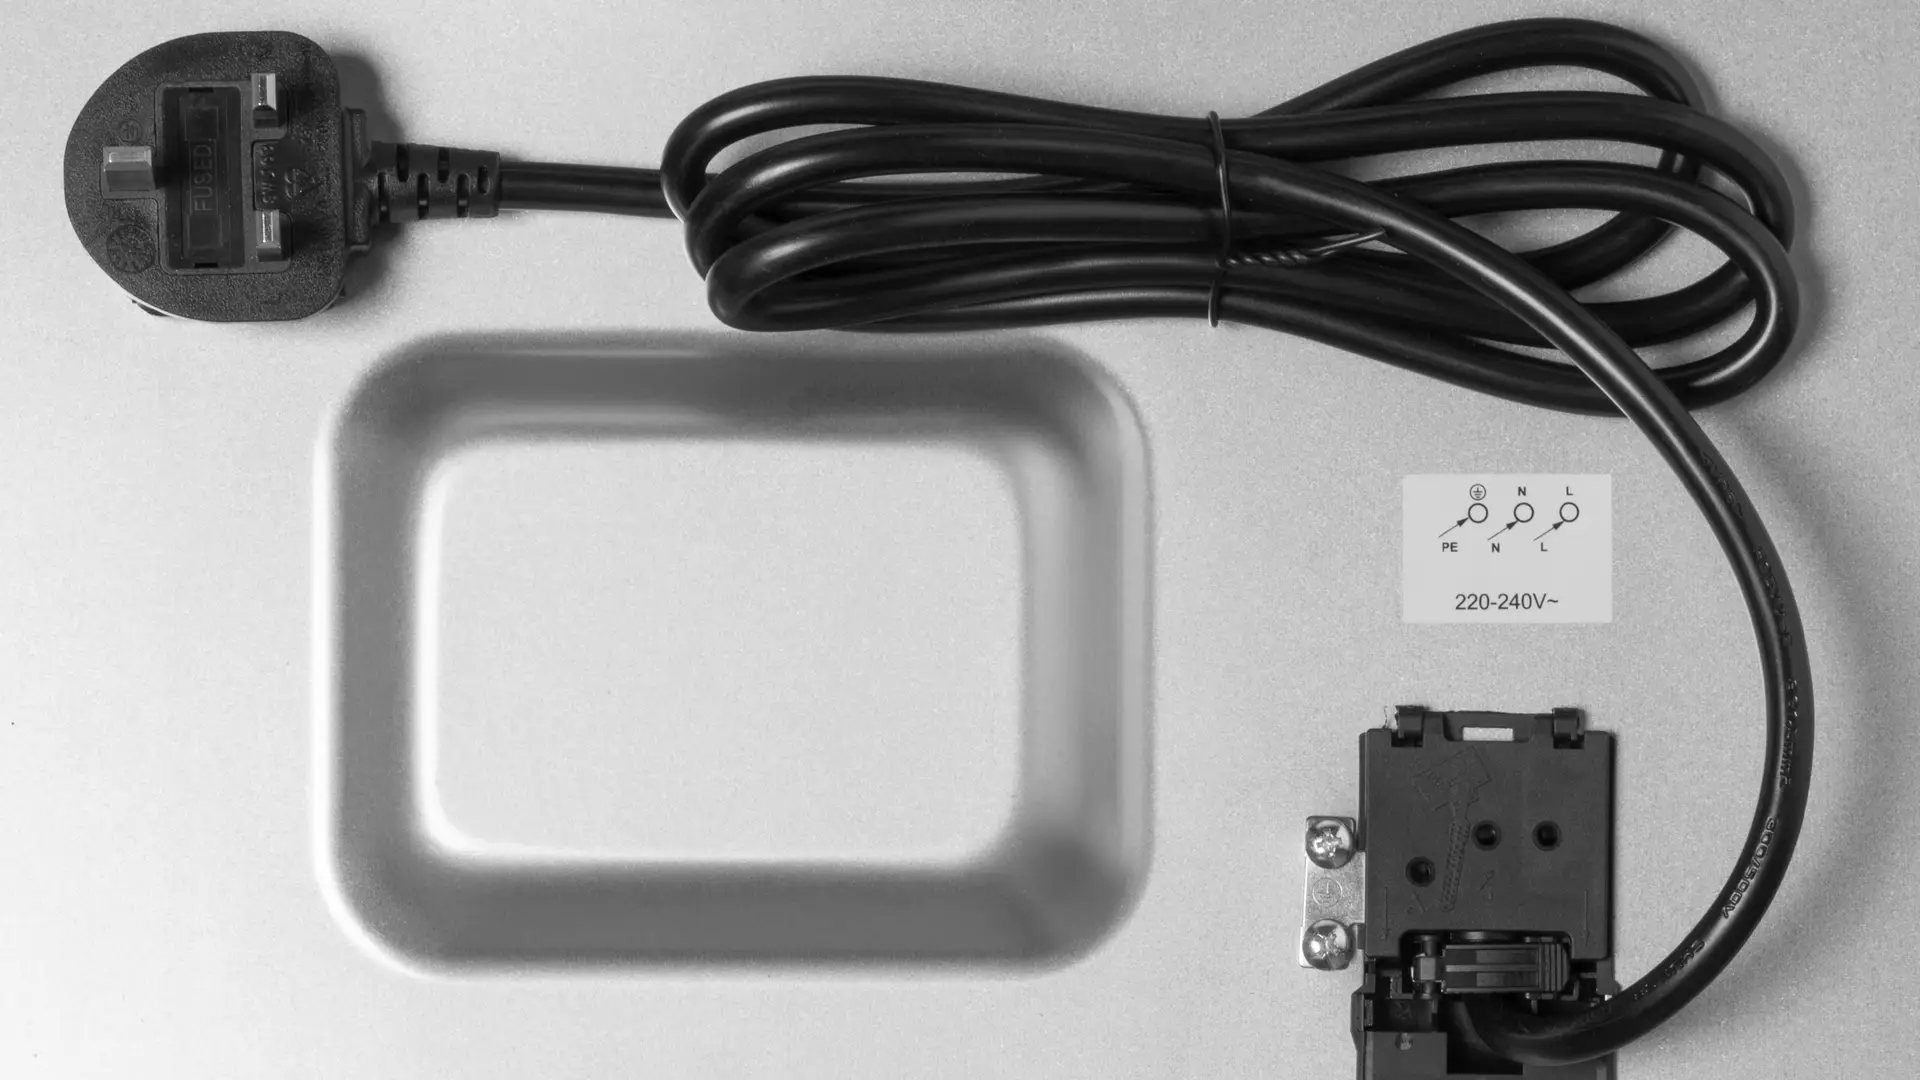
Not sure if your oven needs hardwiring? Find out if you can plug your oven into a regular socket and...

Compare gas, ceramic, solid-plate and induction hobs in one easy guide. Discover pros, cons, costs and energy efficiency. Make the...

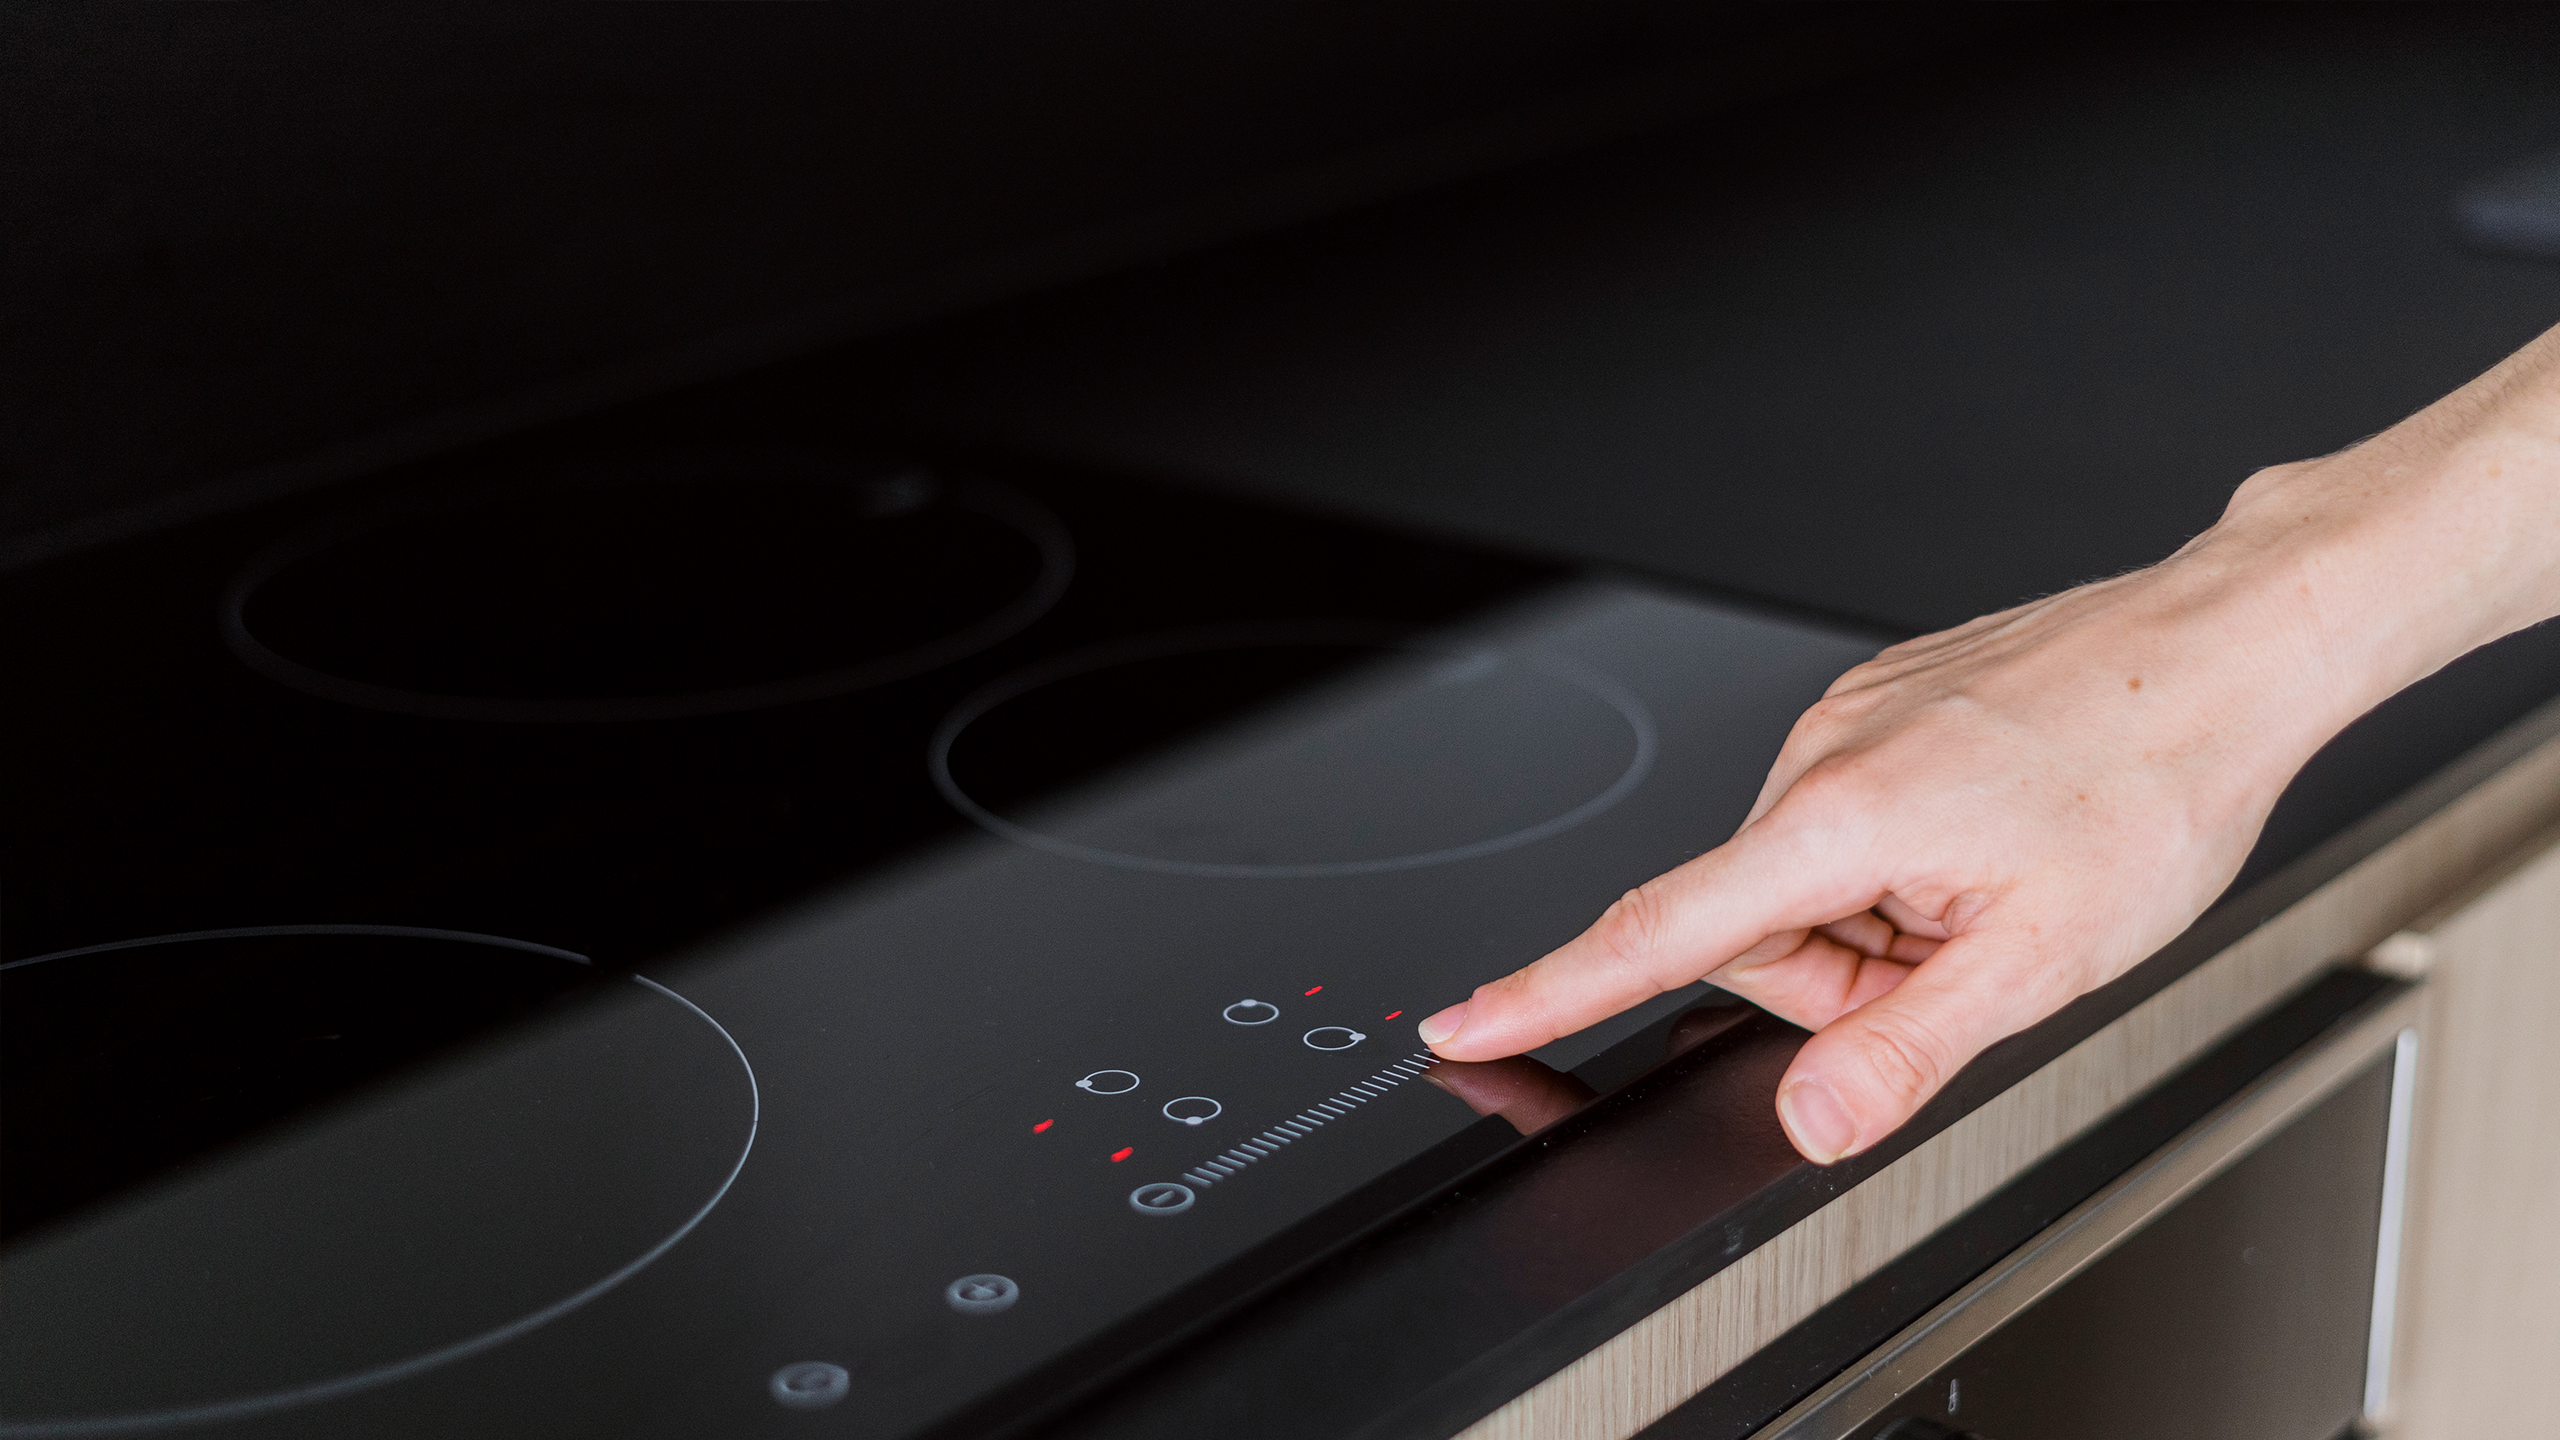
Discover the different types of induction hobs, their features and benefits. Compare options to find the perfect hob for your...