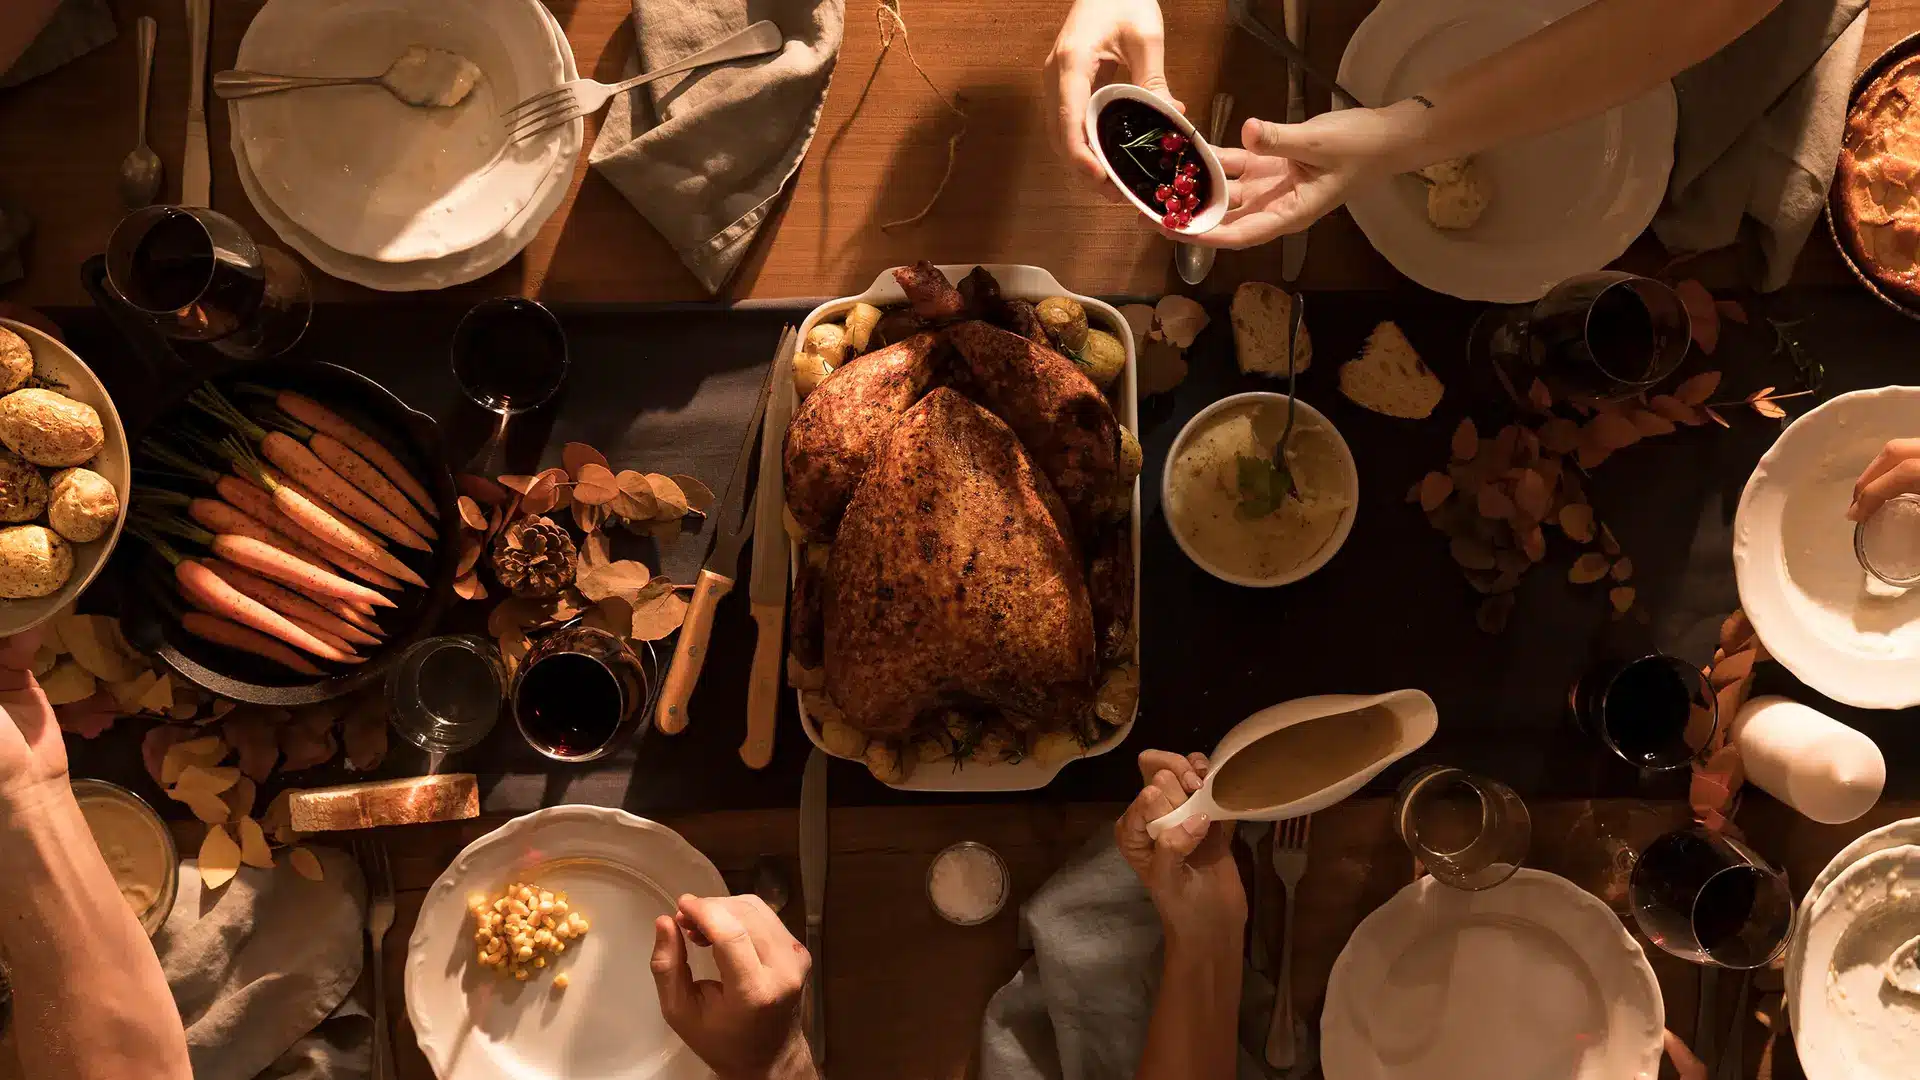
How to Cook a Sunday Roast in a Built-In Oven
Nothing beats a classic Sunday roast — crisp potatoes, tender meat, and rich gravy — all made easier with a modern built-in oven. This guide shows you how to use smart oven settings, accurate timings, and simple prep to deliver restaurant-quality results at home.
- Use your oven’s fan-assisted mode for even browning and predictable cook times.
- Position meat on a rack for airflow; keep veg on a separate shelf for optimal crispy edges.
- Finish strong: a brief resting period transforms texture and juiciness.
Ready? In the next section, we’ll help you choose the best joint of meat for your crowd, with portion sizes and flavour notes.
Choosing the Right Joint of Meat
The heart of a great Sunday roast is the joint of meat you choose. Your built-in oven can handle any cut, but selecting the right one ensures the flavour and texture match your family’s tastes. Here’s a quick guide to the most popular options:
| Meat | Best For | Flavour & Notes | Portion Guide |
|---|---|---|---|
| Beef (rib, sirloin, topside) | Classic roasts | Rich, hearty flavour. Cook rare to well done depending on preference. | 225–250g per person |
| Chicken | Family-friendly | Mild taste, versatile, pairs well with any veg. Crispy skin is a must. | 1.5–2kg feeds 4–6 |
| Lamb (leg or shoulder) | Special occasions | Strong, distinctive flavour. Shoulder is best slow-roasted, leg works for faster roasts. | 250g per person |
| Pork (loin, shoulder, belly) | Crackling lovers | Sweet, succulent meat with irresistible crackling when cooked hot. | 200–225g per person |
Once you’ve chosen your joint, it’s time to prepare it properly with the right seasoning and roasting setup. Let’s cover that next.
Preparing Your Meat for Roasting
Once you’ve chosen your joint, the way you prepare it will make the difference between a good roast and a great one. Proper seasoning, careful trimming, and the right setup in your built-in oven ensure even cooking and delicious results.
Step 1: Seasoning & Marinades
- Generously season with salt and pepper — it enhances flavour and helps form a crust.
- Add herbs and garlic for aromatics: rosemary with lamb, thyme with chicken, sage with pork.
- For beef or chicken, a dry rub works beautifully.
- Overnight marinades add depth and tenderness, particularly with tougher cuts like lamb shoulder or pork belly.
Step 2: Preparing the Joint
- Remove meat from the fridge 30–60 minutes before roasting so it reaches room temperature.
- Trim away excess fat, but keep a thin layer for flavour and moisture.
- Pat meat dry with kitchen roll — this encourages browning and crisping.
Step 3: Trays, Racks & Oven Setup
- Place the meat on a wire rack inside a roasting tin. This lets hot air circulate for even cooking.
- If roasting veg at the same time, use a separate tray on a lower shelf.
- For poultry, tuck wings under and tie legs with kitchen string to ensure even cooking.
With the meat prepared, it’s time to look at oven settings and temperatures to achieve that perfect roast. That’s coming up next.
Ideal Oven Settings & Temperatures
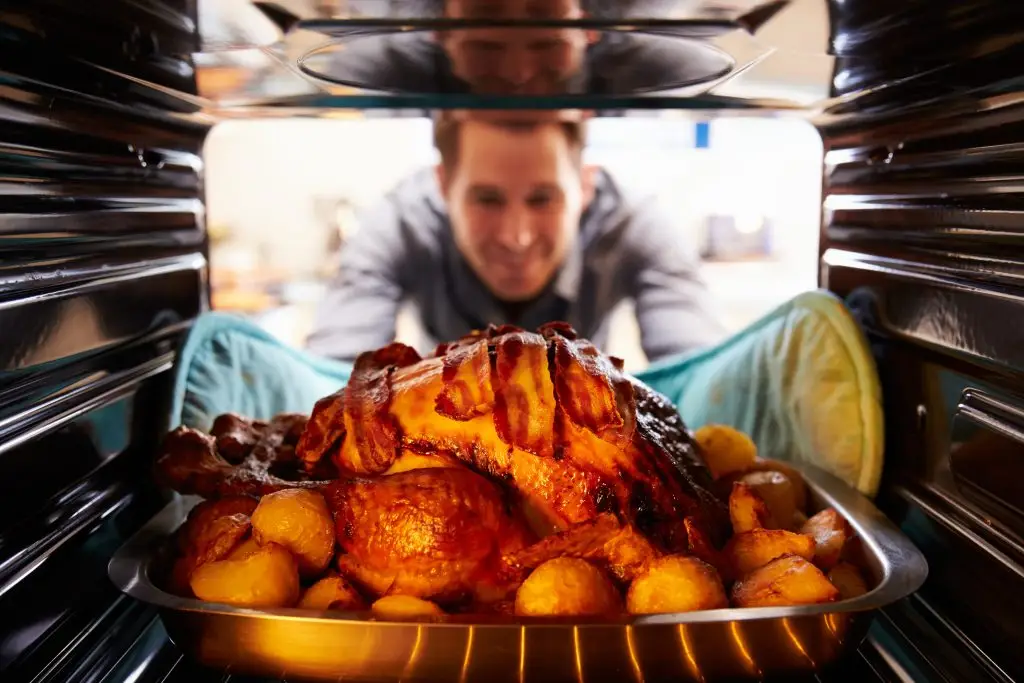
Getting the oven settings right is the secret to a perfectly cooked Sunday roast. Your built-in oven offers different modes and features that can make all the difference — from fan-assisted roasting to precise timers.
Common Oven Modes Explained
Fan-Assisted
Best for even cooking and shorter roasting times. Ideal for poultry and vegetables.
Conventional
Traditional roasting, perfect for beef and pork joints where browning is key.
Grill + Fan
Use at the end of cooking to crisp up crackling or finish potatoes.
Typical Roasting Temperatures
| Meat | Temperature (°C) | Cooking Style |
|---|---|---|
| Beef (medium rare) | 200°C then 180°C | Start hot for colour, reduce for tenderness |
| Chicken | 190°C | Ensures juicy meat with crispy skin |
| Lamb | 200°C | Quick roast for pink meat, longer for well done |
| Pork | 200–220°C | High heat for perfect crackling |
Now that you know the right oven modes and temperatures, let’s look at roasting timings for different meats in the next section.
Roasting Timings for Different Meats
Every joint has its own perfect cooking time. Use these per-kilogram roasting guides to plan your Sunday roast in a built-in oven. Remember that actual times may vary depending on your oven model and whether you prefer your meat rare, medium, or well done.
| Meat | Cooking Time (per kg) | Notes |
|---|---|---|
| Beef (rare) | 20 mins at 220°C, then 15 mins at 180°C | Rest for at least 20 mins before carving. |
| Beef (medium) | 20 mins at 220°C, then 20 mins at 180°C | Pink centre with a firmer outer crust. |
| Beef (well done) | 20 mins at 220°C, then 25 mins at 180°C | Fully cooked through, less pinkness. |
| Chicken | 20 mins at 190°C + 20 mins extra overall | Check juices run clear from the thickest part of the thigh. |
| Lamb (medium) | 25 mins at 200°C | Pink centre, tender texture. |
| Lamb (well done) | 30–35 mins at 200°C | Darker meat, firmer bite. |
| Pork | 35 mins at 200°C | Ensure juices run clear and crackling is golden. |
- Beef rare: 50°C
- Beef medium: 60°C
- Beef well done: 70°C+
- Chicken: 75°C
- Lamb medium: 63°C
- Pork: 70°C+
Now that you’ve got the timings sorted, let’s move on to the side stars of the show — roast potatoes and vegetables.
Perfect Roast Potatoes & Vegetables
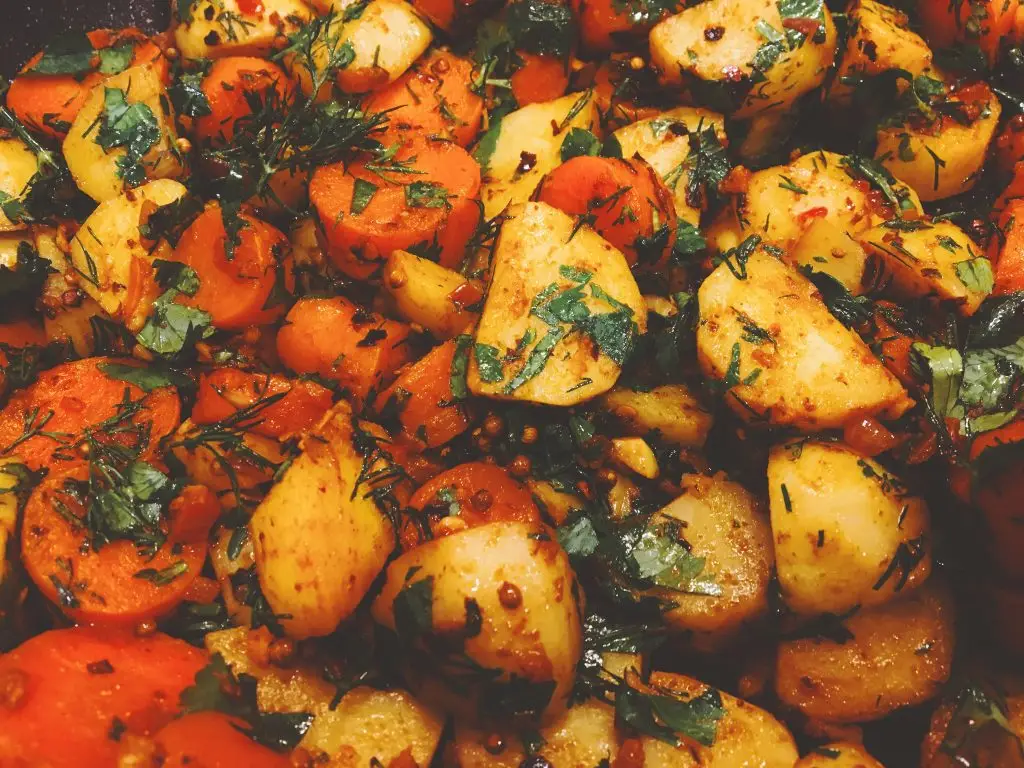
Side dishes make the Sunday roast. Use your built-in oven smartly to get fluffy-inside, crispy-outside roast potatoes and caramelised seasonal vegetables.
Crispy Roast Potatoes
- Parboil peeled chunks 8–10 mins in salted water until edges look rough.
- Drain, then steam-dry 2–3 mins. Shake the pan to rough the edges.
- Preheat tin with fat (beef dripping, goose fat, or oil) in a hot oven — see table.
- Toss potatoes in the hot fat, season generously, spread in a single layer.
- Roast, turning once, until deeply golden and crisp.
| Oven Mode | Temp (°C) | Time |
|---|---|---|
| Fan-assisted | 200 | 40–50 mins |
| Conventional | 220 | 45–55 mins |
Roasted Vegetables
- Carrots & Parsnips: Peel, cut into batons; toss with oil, salt, pepper, and honey or maple (optional).
- Broccoli/Tenderstem: Add for the last 12–15 mins to keep bite.
- Red Onions: Wedges roast sweet and jammy; great for gravy depth.
- Brussels Sprouts: Halve; add pancetta or garlic for a savoury boost.
| Veg | Temp (°C) | Time |
|---|---|---|
| Carrots / Parsnips | 190–200 | 30–40 mins |
| Brussels Sprouts (halved) | 200 | 20–25 mins |
| Red Onion (wedges) | 190 | 25–35 mins |
| Tenderstem Broccoli | 190 | 12–15 mins |
Next up: making silky gravy and sky-high Yorkshire puddings using the heat of your built-in oven.
Silky Gravy & Tall Yorkshire Puddings
Use steady heat from your built-in oven to make rich, glossy gravy and sky-high Yorkshire puddings. This layout is mobile-first and easy to read.
Gravy from the Roasting Tin
Classic method using pan juices for proper Sunday roast flavour.
- Deglaze: Set tin over medium heat. Add a splash of stock or wine; scrape up browned bits.
- Thicken: Stir in 1–2 tbsp flour; cook 1 minute.
- Build: Whisk in 500–700 ml stock gradually; simmer 5–8 minutes to reduce.
- Finish: Season, add resting juices, then strain for a glossy finish.
Fool-Proof Yorkshire Puddings
High heat + rested batter = reliable lift.
1 : 1 : 1 (plain flour : eggs : milk) + ½ tsp salt. Rest 30–60 mins.
- Heat tin: ½ tsp oil or beef dripping per well. Preheat at 220–230°C until shimmering.
- Fill fast: Work quickly; fill ½–⅔ full.
- Bake high & undisturbed: Top shelf. Do not open the door for the first 15 mins.
| Tin Type | Temp (°C) | Time |
|---|---|---|
| 12-hole muffin tin | 230 | 18–22 mins |
| Large/pudding tin | 220 | 22–28 mins |
Next: Common Mistakes to Avoid so everything lands hot and on time.
Common Mistakes to Avoid
Even seasoned cooks can slip up when making a Sunday roast. Steer clear of these pitfalls to get consistently brilliant results from your built-in oven.
-
Overcrowding the oven or roasting tray
When food is packed too tightly, steam can’t escape and you lose those crispy edges on potatoes and veg.
Fix: Use two trays and rotate shelves; leave gaps so hot air circulates. -
Skipping the preheat
Putting meat or potatoes into a cool oven delays browning and affects timings.
Note: Preheat for 10–15 minutes; for fan-assisted models it’s often quicker, but still essential. -
Opening the oven door too often
Heat loss adds minutes to the cook and can flatten Yorkshire puddings.
Fix: Check through the glass and switch on the light; only open when turning or basting. -
Not letting meat rest
Carving immediately lets juices run out, leaving meat dry.
Rule of thumb: Rest small joints 10–15 mins; large joints 20–30 mins, tented loosely with foil. -
Incorrect tray/rack setup
Meat sitting in its juices stews rather than roasts; veg under the joint can become soggy.
Fix: Elevate on a wire rack for airflow; roast veg on a separate tray/shelf. -
Ignoring carryover cooking
Large joints continue to rise by 2–4°C after removal, pushing them past your target doneness.
Tip: Stop 2–3°C before your ideal internal temperature and let it rest. -
Under-seasoning and no fat for potatoes
Flat flavour and pale edges are usually a salt/fat issue.
Fix: Salt the parboil water, steam-dry potatoes, then roast in preheated fat (dripping/goose fat/oil) with space around each piece. -
Forgetting to use a thermometer
Guesswork leads to overcooked beef or underdone chicken.
Targets: Beef medium ~ 60°C; Chicken 75°C; Pork 70°C+; Lamb medium ~ 63°C.
Next: Pro Tips for Built-In Ovens — shelf positioning, multi-tray cooking, and keeping everything hot for serving.
Pro Tips for Built-In Ovens
Make the most of your built-in oven with these expert tricks. They’ll help you roast more efficiently, manage multiple dishes, and serve everything piping hot.
Use Multiple Shelves Wisely
Keep meat on the middle shelf for even heat. Place root veg below, and swap shelves in the last 10 minutes for extra caramelisation.
Take Advantage of Residual Heat
Once meat comes out to rest, turn the oven down low (70–90°C) and keep potatoes or Yorkshire puddings warm without overcooking.
Rotate Trays Halfway
Even fan ovens can have hotspots. Rotating trays ensures uniform browning and avoids underdone veg at the back.
Use a Meat Probe if Available
Many modern ovens have built-in probes — they beep when the joint hits the perfect temperature, so there’s no guesswork.
Clean as You Go
Line trays with foil or parchment for easier cleaning. Wipe spills while the oven is still slightly warm (not hot) to avoid baked-on mess.
Conclusion
A Sunday roast is more than just a meal — it’s a tradition. With a modern built-in oven, it becomes easier to achieve tender meat, crispy potatoes, golden Yorkshire puddings, and rich gravy every single time.
By choosing the right joint, mastering timings, and making the most of your oven’s features, you can serve up a roast that’s as impressive as it is comforting.
Sunday Roast FAQ
Quick answers to common questions about cooking a Sunday roast in a built-in oven.
- All Posts
- Cooker Hood Guides & Advice
- Dishwasher Guides & Advice
- General Appliance Guides & Advice
- Hob Guides & Advice
- Laundry Guides & Advice
- Microwave Guides & Advice
- Oven Guides & Advice
- Wine Cooler Guides & Advice
Learn how to cook delicate sauces on induction hobs with low heat settings. Discover tips, best practices, and mistakes to...

Discover the pros and cons of double and single ovens to find the best fit for your cooking style. Read...
Home / Hobs / Hob Guides & Advice The Best Microwave Accessories You Should Own The right microwave accessories can transform...
Learn when to use Power Boost on your induction hob for fast results and when it wastes energy. Get smart...
The answer depends on the type of filter you have. In this article, we’ll explain which filters are dishwasher-safe, how...
Compare cutlery drawers and baskets in dishwashers to find which suits your kitchen best. Discover pros, cons, and expert tips...
Find out what happens if you use the wrong pan on an induction hob, why it won’t heat up, and...
Discover if a slimline dishwasher is worth it for your kitchen. Learn the pros, cons, and ideal uses — find...
Find out why turning off appliances at the wall saves energy, reduces bills, and helps prevent electrical fires. Discover the...