
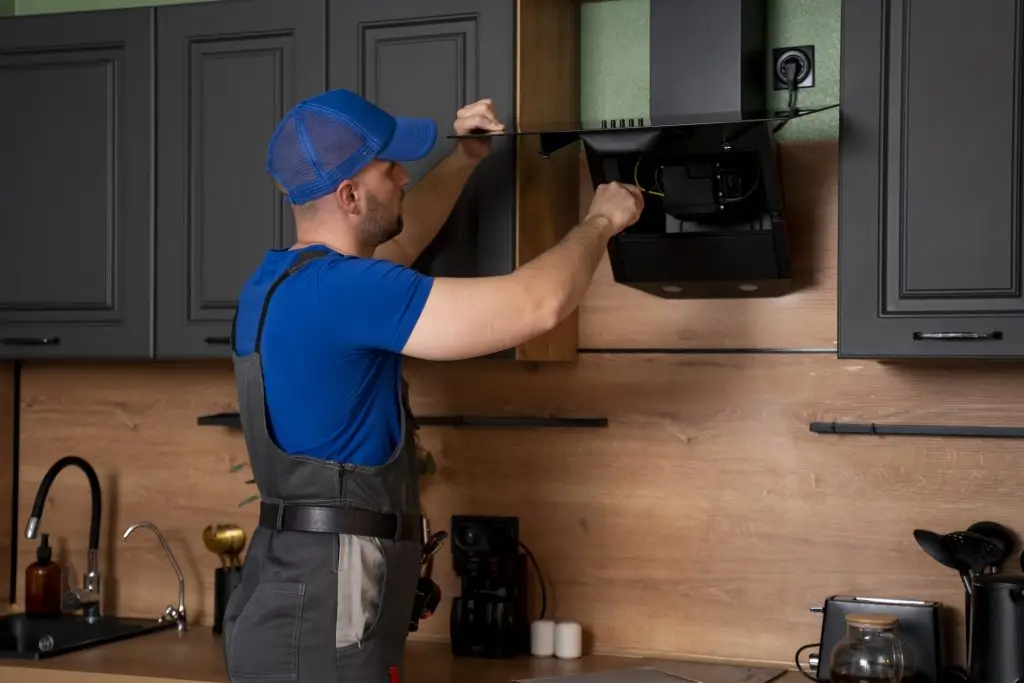
Common Cooker Hood Problems and How to Fix Them
A reliable cooker hood keeps the air fresh, cuts down on odours, and reduces sticky grease on cabinets. If yours is getting louder, struggling to clear steam, or the lights keep failing, this guide walks you through quick checks and practical fixes—step by step and in plain English.
Why Cooker Hood Maintenance Matters
Everyday frying and boiling release tiny particles that clog grease filters, coat fan blades, and slow airflow. Left unchecked, this can cause poor extraction, excessive noise, and even grease drips.
The good news? A simple routine—wipe the hood after use, wash aluminium mesh filters every 2–4 weeks, and replace carbon filters every 3–6 months in recirculating setups—keeps performance high and running costs low.
Problem 1 – Cooker Hood Not Extracting Properly
Weak airflow usually comes down to blocked filters, restricted ducting, or an installation mismatch (like long bends or the wrong vent size). Fixing these restores extraction performance and reduces odours and condensation.
Quick checks
- Wash aluminium grease filters (warm soapy water) and dry fully.
- For recirculating models, replace the carbon filters if older than 6 months.
- Open the kitchen window slightly to improve make-up air (helps prevent negative pressure).
- Run the hood on high for 5 minutes and re-check airflow at the front edge.
Ducted setup: what to inspect
- Confirm the hood is set to duct-out mode (not recirculating).
- Check for crushed, kinked or excessively long duct runs; keep bends gentle and minimal.
- Use correct diameter ducting (typically 150 mm for higher airflow) and sealed joints.
- Ensure the external grille isn’t blocked by fluff, nests, or paint.
Step-by-step fix
- Turn off power. Remove and wash grease filters; replace if damaged.
- If recirculating, fit new carbon filters (model-specific).
- Inspect ducting end-to-end; shorten runs, remove tight bends, and re-seal joints.
- Clean the fan inlet and check the back-draft flap opens freely.
- Restore power and test on each speed; confirm a steady pull of air across the hob area.
Problem 2 – Excessive Noise or Vibrations
A cooker hood that suddenly becomes loud or starts to rattle can be both annoying and a sign of wear or imbalance. Most noise issues come from loose fittings, clogged fan blades, or worn motor bearings. Tackling these early can stop more serious damage.
Common causes
- Fan blades coated with grease or debris, throwing the motor off balance.
- Loose or poorly secured mounting screws or internal panels.
- Vibration caused by ducting touching cupboards or walls.
- Age-related motor bearing wear causing a humming or grinding sound.
How to fix it
- Unplug the hood and remove the grease filters.
- Check that the fan blades are clean. Use warm soapy water and a soft cloth to remove grease build-up.
- Tighten all screws and brackets holding the unit to cabinets or walls.
- Inspect the ductwork for vibrations. Add a foam strip or padding where it touches surfaces.
- If you hear a deep hum or grinding, the fan motor The electric motor that drives the cooker hood’s fan. Over time, bearings can wear, leading to noise or vibration. may need replacing.
Problem 3 – Cooker Hood Lights Not Working
When your cooker hood lights stop working, it’s usually a blown bulb, faulty switch, or an issue with the control board. Fixing it can be simple and often doesn’t require a professional, as long as you follow safety steps.
Common reasons lights fail
- Burnt-out halogen or LED bulbs.
- Loose wiring connections or corroded bulb holders.
- Faulty light switch or control panel.
- Damaged PCB Short for Printed Circuit Board — it controls electrical functions like the fan speeds and lights within your cooker hood. (Printed Circuit Board).
How to fix it
- Turn off the power and remove the bulb cover carefully.
- Check if the bulb filament has broken or if the LED has dark spots — replace if needed.
- Test the bulb socket with a new working bulb.
- Inspect the wiring connectors for looseness or corrosion.
- If new bulbs don’t work, the switch or PCB may need to be replaced by an engineer.
Problem 4 – Buttons or Touch Controls Not Responding
If your cooker hood’s buttons or touch controls stop working, the most common culprits are grease and grime around the panel, moisture inside the unit, or a failing PCB. Quick cleaning and a controlled power reset usually bring controls back to life.
Likely causes
- Grease and debris preventing proper button travel or touch detection.
- Moisture ingress Condensation or spills entering the control area, temporarily disabling buttons or shorting contacts. after heavy boiling.
- Damaged ribbon cable or loose connectors between the panel and PCB.
- Fault in the capacitive touch Touch sensors detect changes in electrical capacitance from your finger; grease and water can interfere. circuitry (for flat glass touch panels).
Step-by-step fix
- Turn off power at the switch or breaker. Wait 60 seconds to reset electronics.
- Wipe the panel with a slightly damp microfibre cloth and mild washing-up liquid; dry thoroughly.
- Remove grease filters and check for visible moisture inside; allow to air-dry fully.
- Inspect the control fascia screws and internal connectors (if accessible) for looseness; reseat gently.
- If some buttons work but others don’t, the keypad or PCB may need replacement by an engineer.
Problem 5 – Cooker Hood Smells or Drips Grease
If your kitchen smells even when the cooker hood is on, or grease starts to drip from the underside, the problem usually lies with dirty filters, grease build-up inside the hood, or blocked ducting. Regular cleaning keeps extraction efficient and prevents unpleasant odours from circulating.
Main causes of odours and grease
- Clogged grease filters unable to trap oily vapour properly.
- Worn-out carbon filters in recirculating mode When no duct is fitted, air is filtered and returned into the kitchen. Carbon filters absorb odours but must be replaced every 3–6 months. .
- Condensation from cooking collecting inside the hood or duct.
- Grease accumulation inside the fan housing or along the ducting.
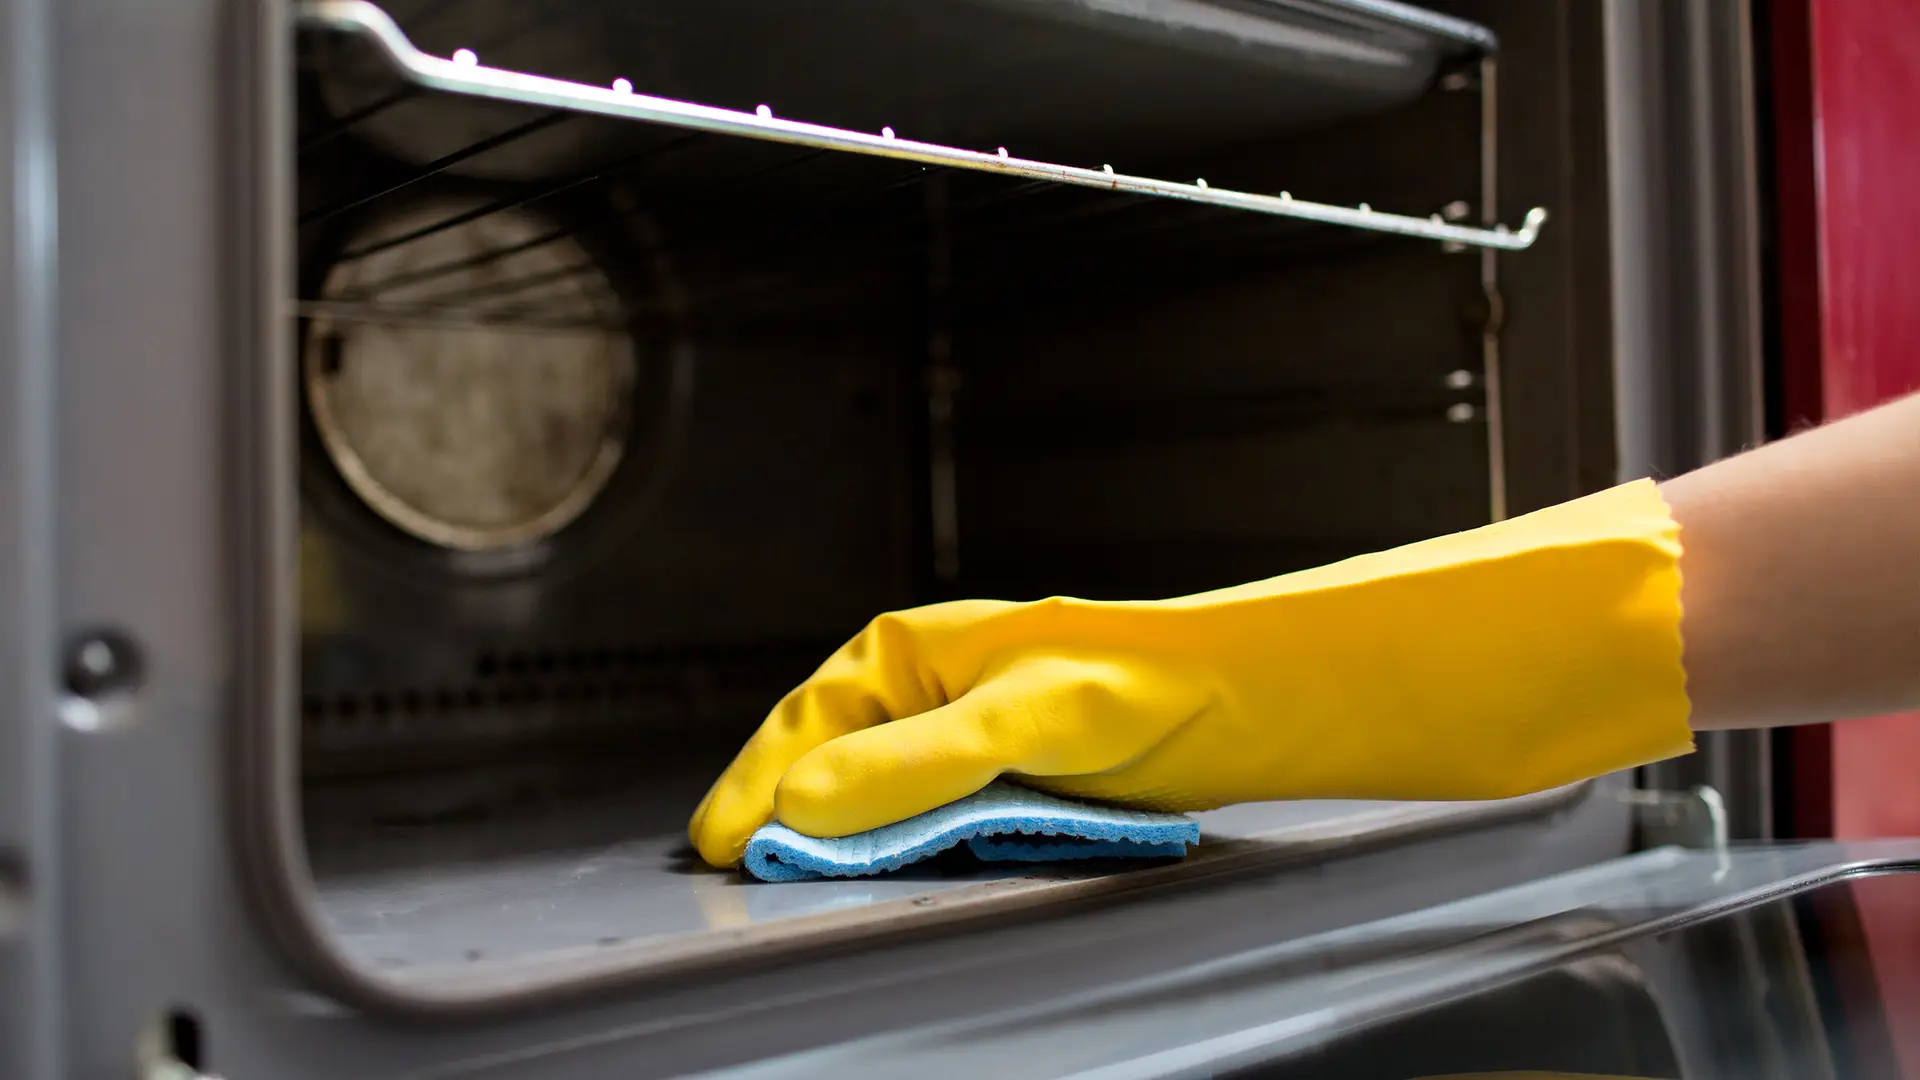
How to fix and prevent build-up
- Remove grease filters and soak in warm soapy water for 10–15 minutes. Rinse and dry fully.
- If using carbon filters, fit new ones — expired filters trap smells instead of removing them.
- Clean the inner hood cavity and fan cover with a mild degreaser or vinegar solution.
- Wipe the outer panel weekly to prevent a sticky film forming.
- Inspect ducting for residue or standing water and clean if necessary.
When to Call a Professional
While most cooker hood problems are simple to fix, some issues require an experienced technician. Knowing when to call in a professional can save you time, prevent further damage, and keep your kitchen safe.
Call an engineer if you notice:
- The fan motor won’t start, hums loudly, or trips the circuit breaker.
- Control panel lights flicker or the touch panel is completely unresponsive after drying out.
- Burning smells, smoke, or electrical sparking from inside the hood.
- Persistent airflow issues even after cleaning filters and ducting.
- Water or condensation entering the electrical components.
For older models or repeated faults, it may be more cost-effective to replace the unit with a modern, energy-efficient design. Newer CATA cooker hoods include quieter fans, LED lighting, and longer-lasting filters for easier upkeep.
Preventative Maintenance Tips
Keeping your cooker hood clean and well maintained is the easiest way to avoid costly repairs. Follow these simple habits to ensure your hood stays quiet, efficient, and odour-free all year round.
- Clean grease filters every 2–4 weeks depending on cooking frequency.
- Replace carbon filters every 3–6 months for recirculating models.
- Wipe the hood exterior after each cooking session to stop grease build-up.
- Run the fan for 5–10 minutes after cooking to remove moisture and smells.
- Schedule a deep clean of the hood interior and ducting every 3–6 months.
- Check that ductwork joints remain tightly sealed and unobstructed.
Frequently Asked Questions
Summary
If you’ve worked through the steps and still have issues, it may be time for a part replacement or a professional check. Using genuine parts keeps performance high and protects your warranty.
Quick prevention checklist
- Wash aluminium grease filters every 2–4 weeks.
- Replace carbon filters every 3–6 months (recirculating hoods).
- Run the fan 5–10 minutes after cooking to clear moisture.
- Wipe the hood exterior after each use to stop build-up.
- Inspect ductwork twice a year for kinks, leaks, or blockages.
- All Posts
- Cooker Hood Guides & Advice
- Dishwasher Guides & Advice
- General Appliance Guides & Advice
- Hob Guides & Advice
- Laundry Guides & Advice
- Microwave Guides & Advice
- Oven Guides & Advice
- Wine Cooler Guides & Advice

Discover if vented induction hobs are the future of kitchen ventilation. Explore benefits, trends, and expert insights - find out...
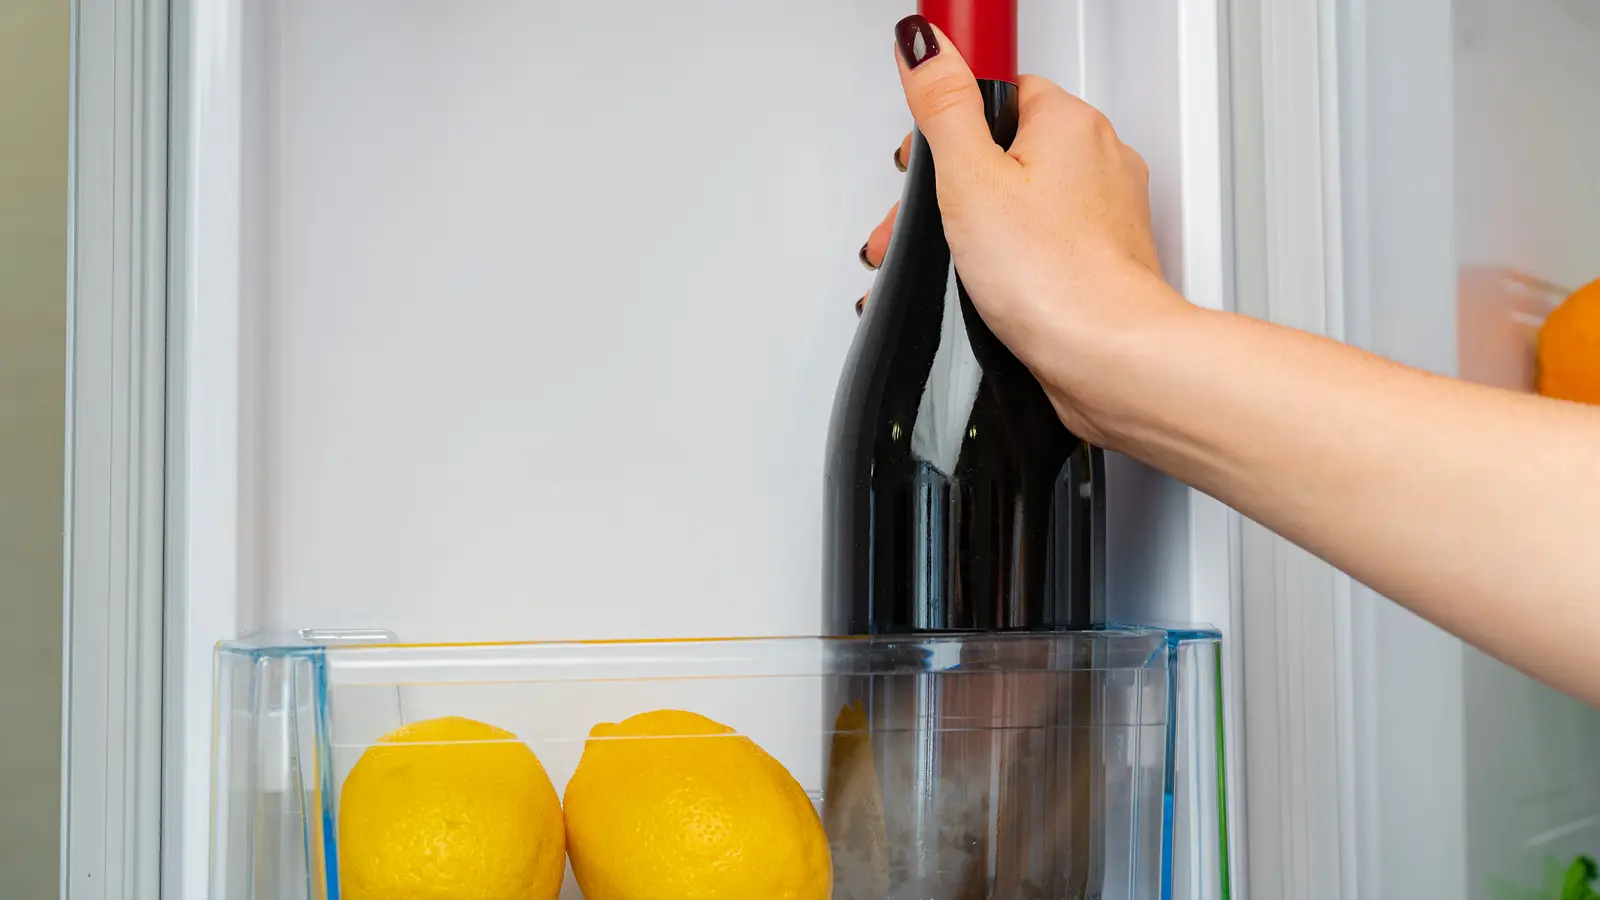
Storing wine in a fridge can damage flavour and cork health. Learn why temperature swings matter and how to store...
Discover how does a pyrolytic oven work – and is it worth it? with expert tips and advice. Read now...
Discover how energy-efficient modern wine coolers are, compare running costs, and learn tips to reduce energy use. Keep your wine...

Unsure which size integrated dishwasher fits your kitchen? Use our measurement guide to choose the right model and avoid costly...
Discover the different types of induction hobs, their features and benefits. Compare options to find the perfect hob for your...
Discover common built-in oven problems and how to fix them. Get easy troubleshooting tips and know when to call a...
Defrost your freezer every six months to save energy and maintain performance. Discover signs it needs defrosting and tips to...

Find out why turning off appliances at the wall saves energy, reduces bills, and helps prevent electrical fires. Discover the...