


- All Posts
- Cooker Hood Guides & Advice
- Dishwasher Guides & Advice
- General Appliance Guides & Advice
- Hob Guides & Advice
- Laundry Guides & Advice
- Microwave Guides & Advice
- Oven Guides & Advice
- Wine Cooler Guides & Advice
Read about our partnership with ArtiCAD and how it enhances kitchen design, planning, and appliance integration. Explore the benefits today.
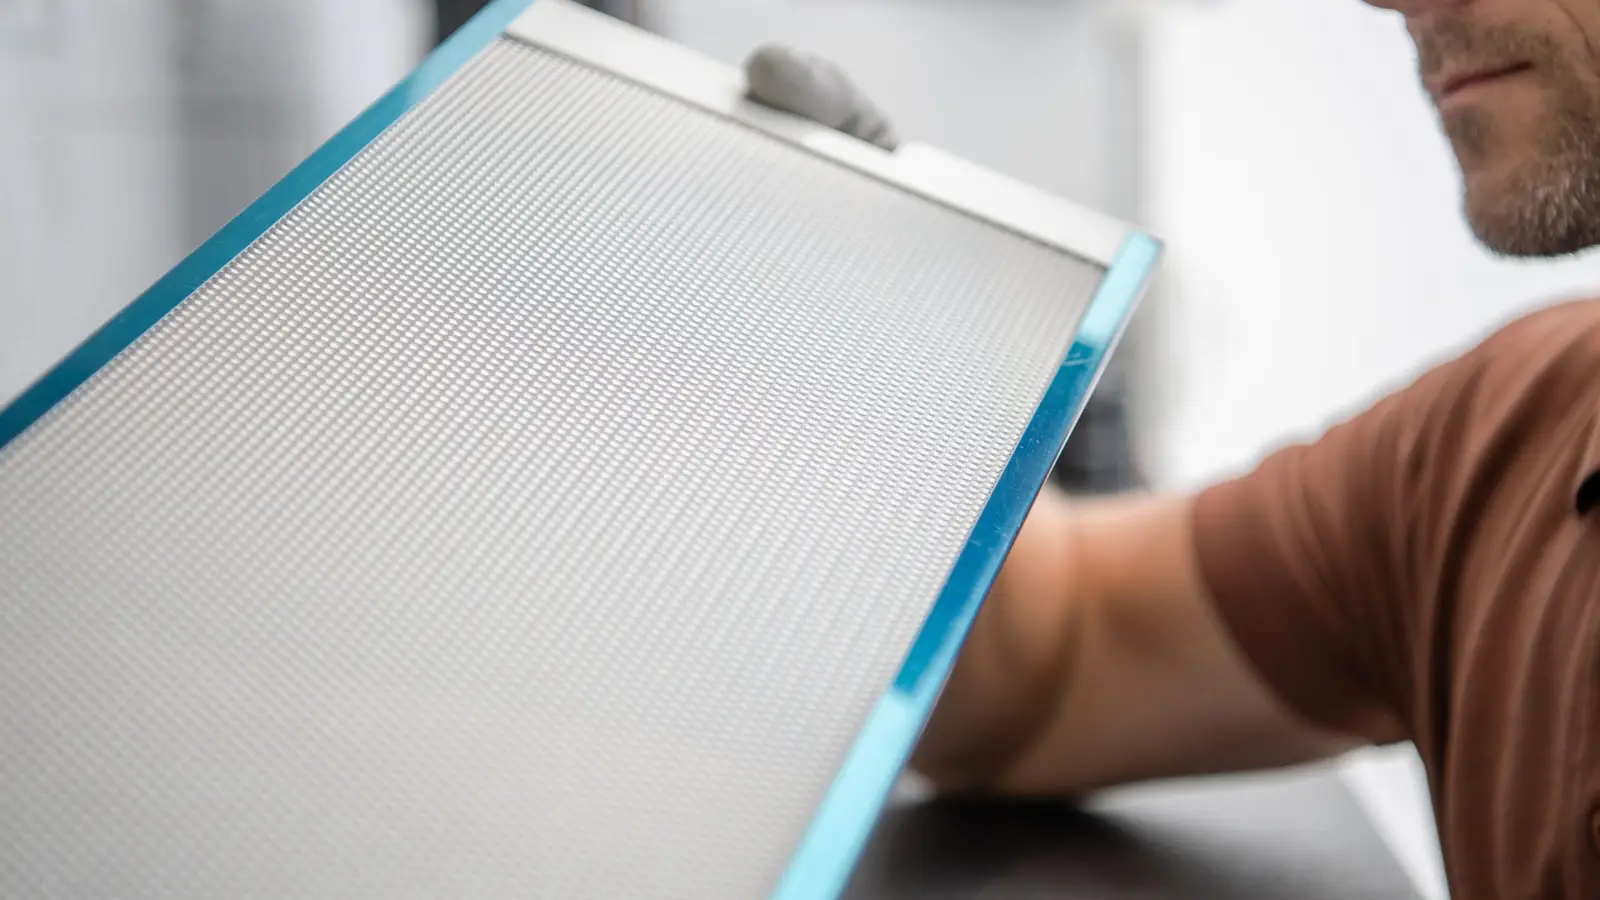
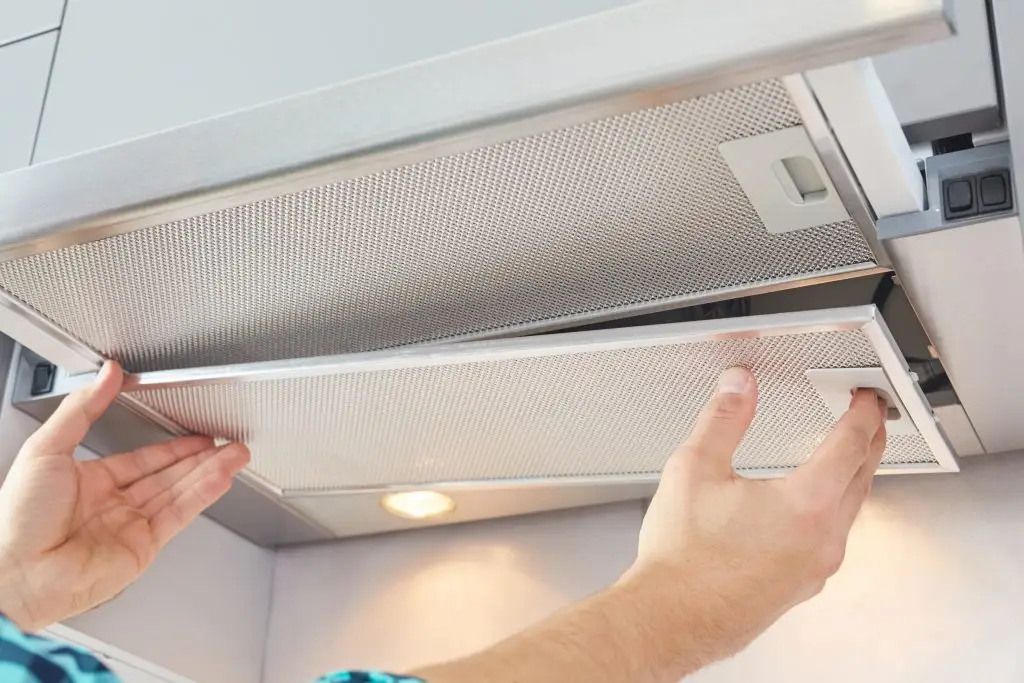
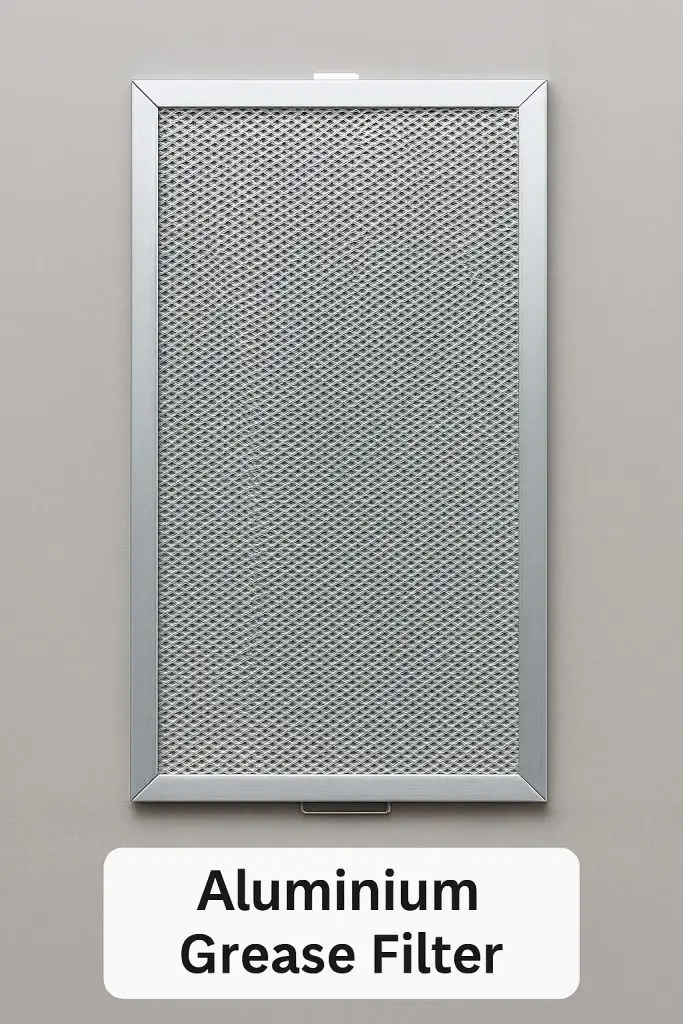
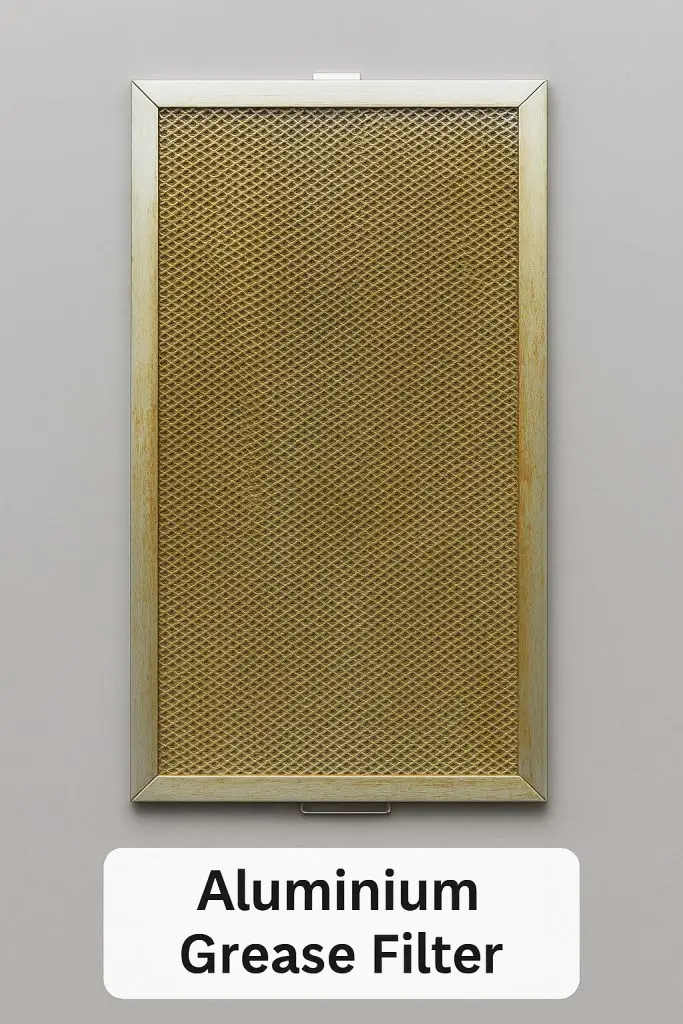
Carbon vs grease filters explained - learn how cooker hood filters work, when to replace them, and choose the right...

Cook perfect crispy salmon on an induction hob with our step-by-step guide. Learn timings, tips, and techniques—try it today for...
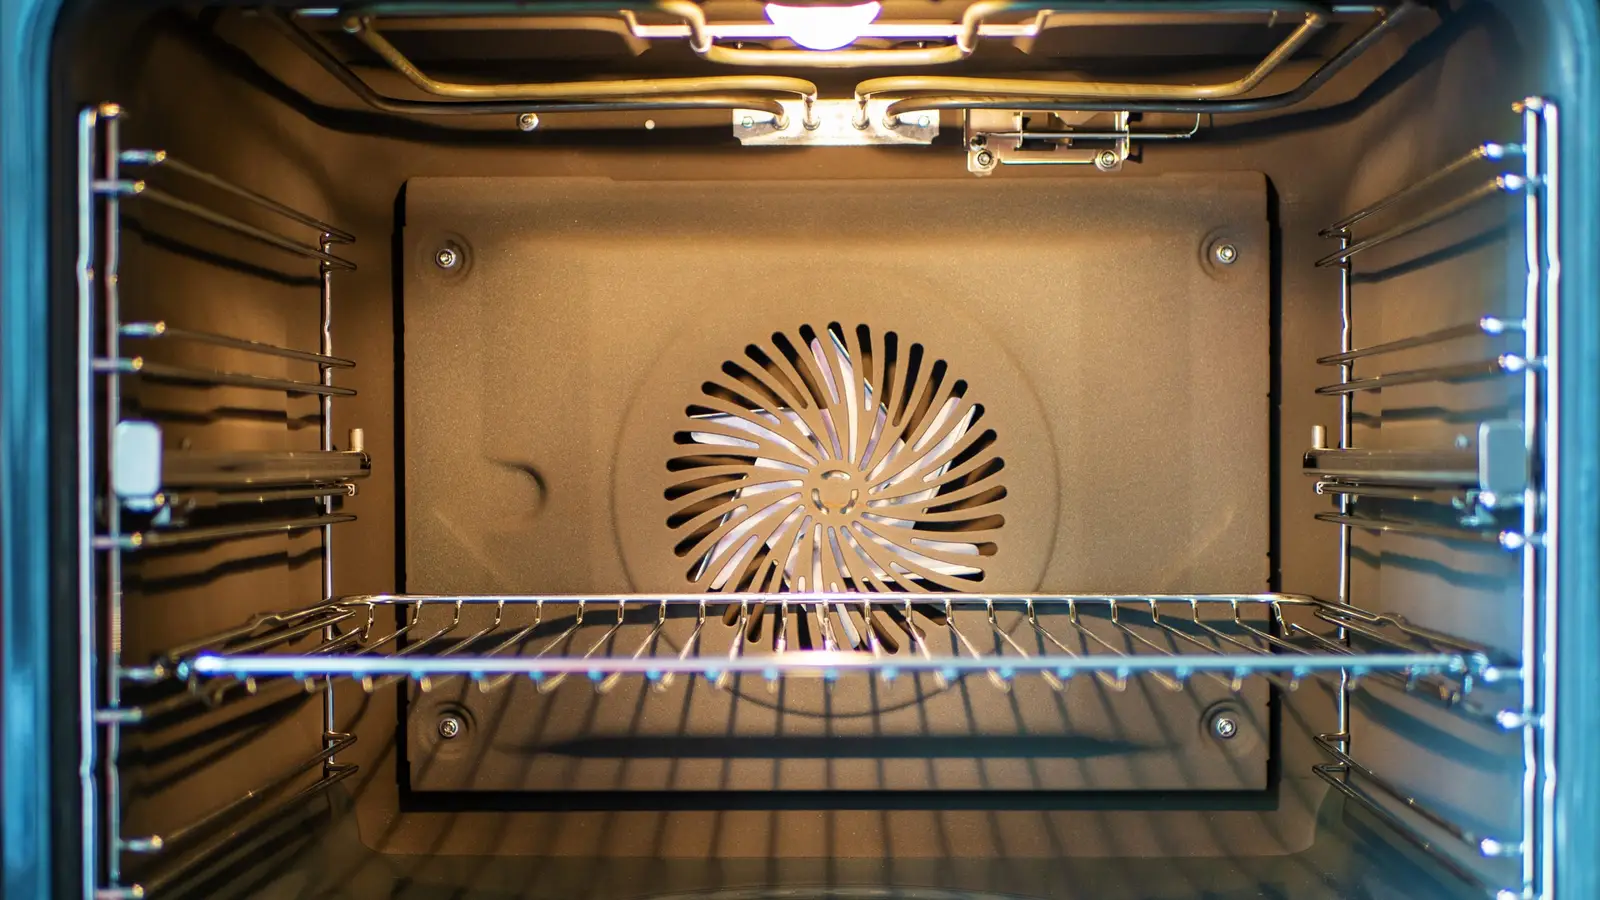
Find out why your oven smells when first turned on, what causes it, and how to fix it safely. Read...

Can induction hobs interfere with pacemakers? Learn the risks, safety tips and expert advice to use induction cooking safely in...
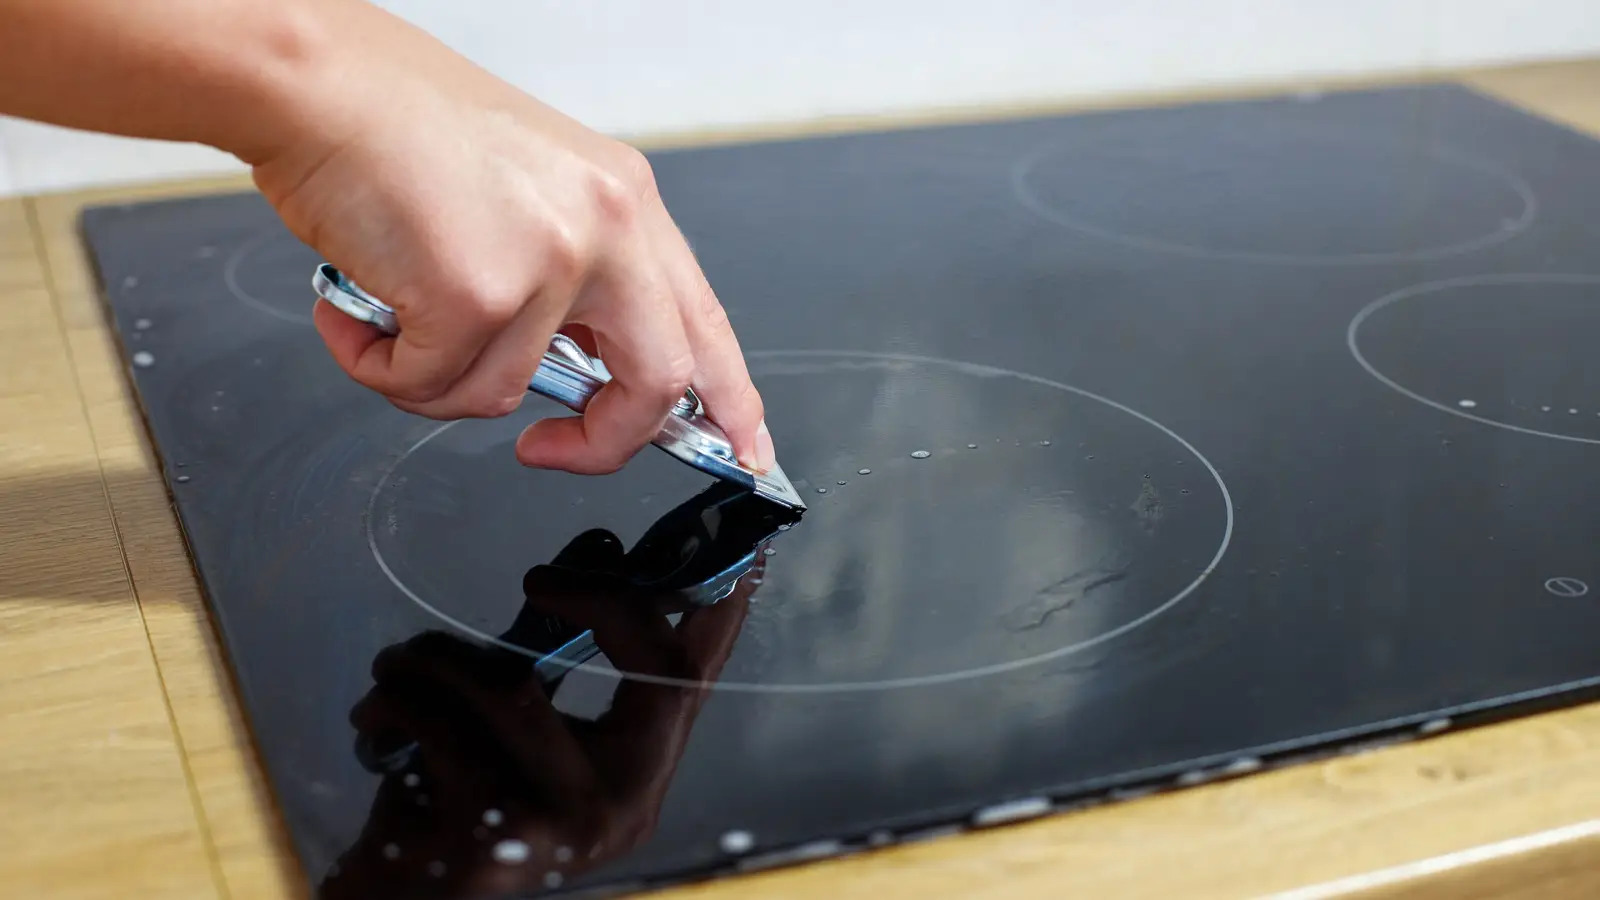
Clean burnt spills safely from your induction hob with our step-by-step guide. Protect your glass surface and keep it looking...
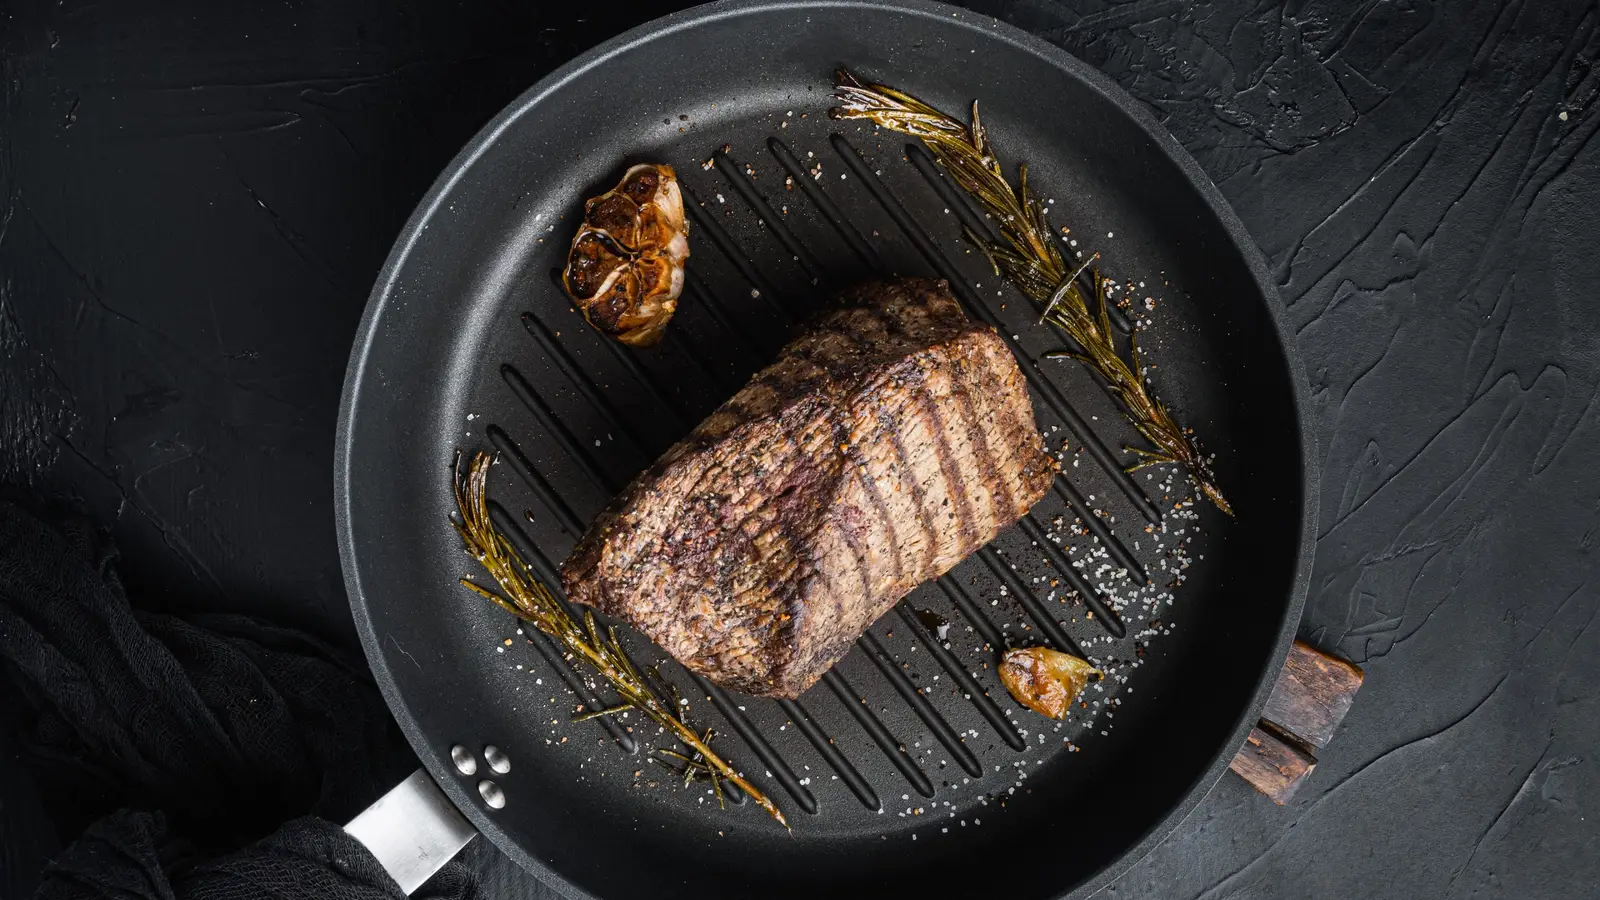
Find the best cookware shapes for induction hobs. Learn which pans heat faster, cook evenly, and improve efficiency. Upgrade your...
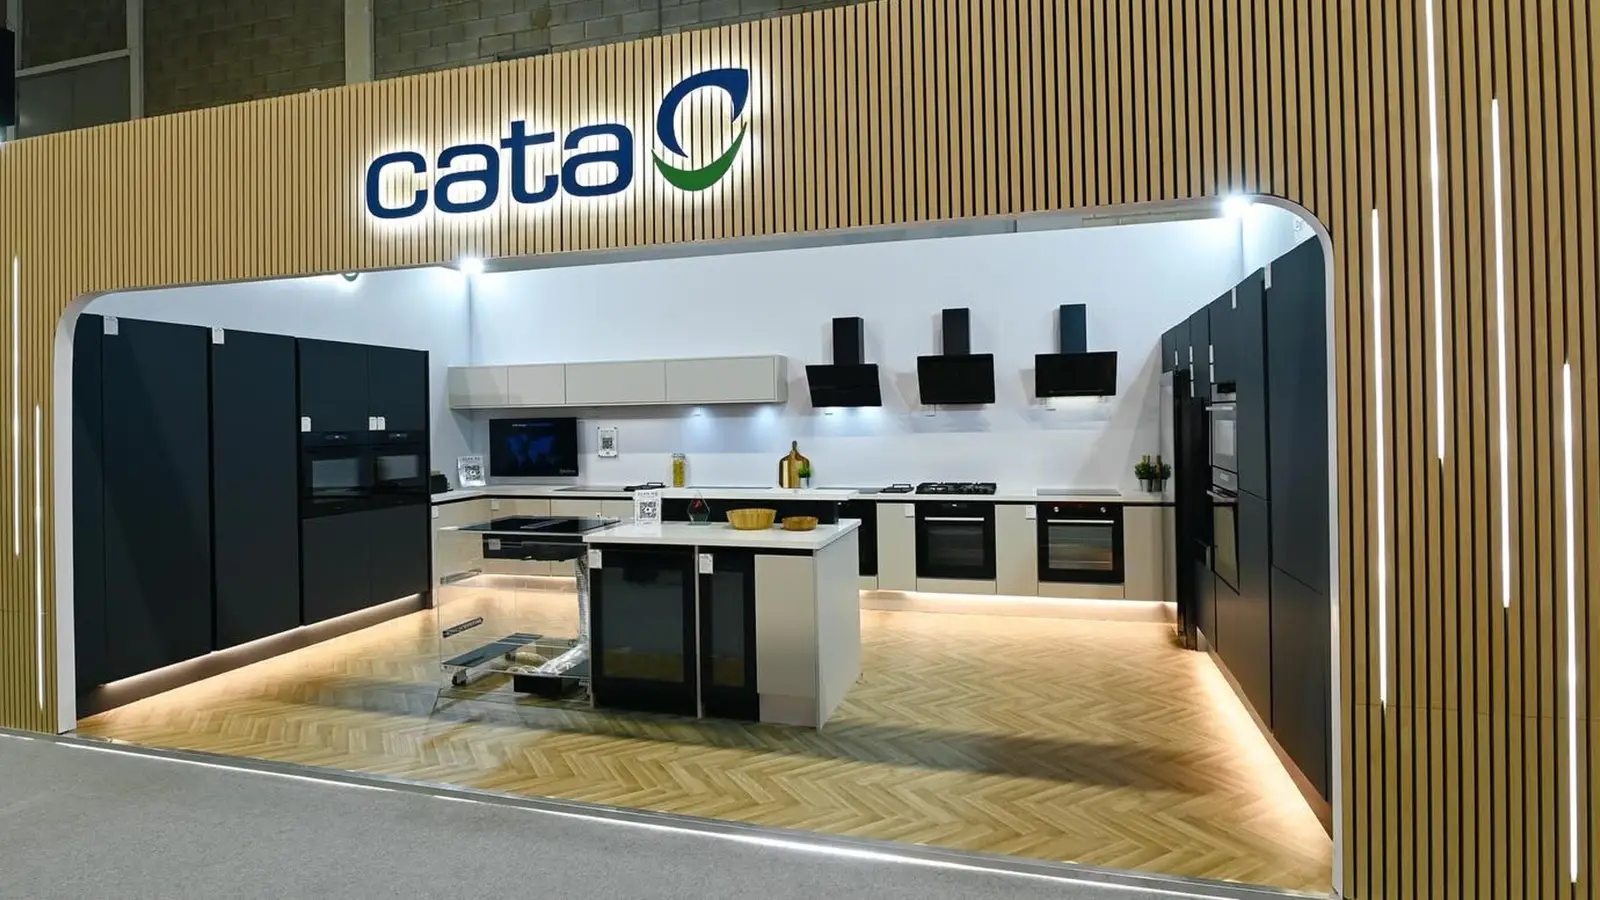
CATA Appliances impressed at KBB Birmingham with a busy stand, innovative induction hobs and exciting plans for KBB 2028. Discover...
Confused about cooker hoods and extractor hoods? Learn the difference and how they work. Explore modern kitchen ventilation solutions today.