Installing a built-in oven is a great way to upgrade your kitchen and give it a seamless, modern look. Whether you’re replacing an old unit or preparing for a new one, ensuring proper fit and setup is essential for safety, performance, and longevity. This guide outlines what you can do yourself and when to call in the professionals.
💡 Quick fact
Built-in ovens still require ventilation gaps even when tightly fitted into cabinetry.
What to Know Before You Begin
Type of oven: This guide focuses on electric ovens.
Cabinet size: Double-check that your oven fits the existing or new cavity.
Ventilation: Built-in ovens require adequate airflow around the unit.
Compliance: Always check the manufacturer’s instructions and local building regulations.
Important: Any electrical connection should be carried out by a qualified electrician.
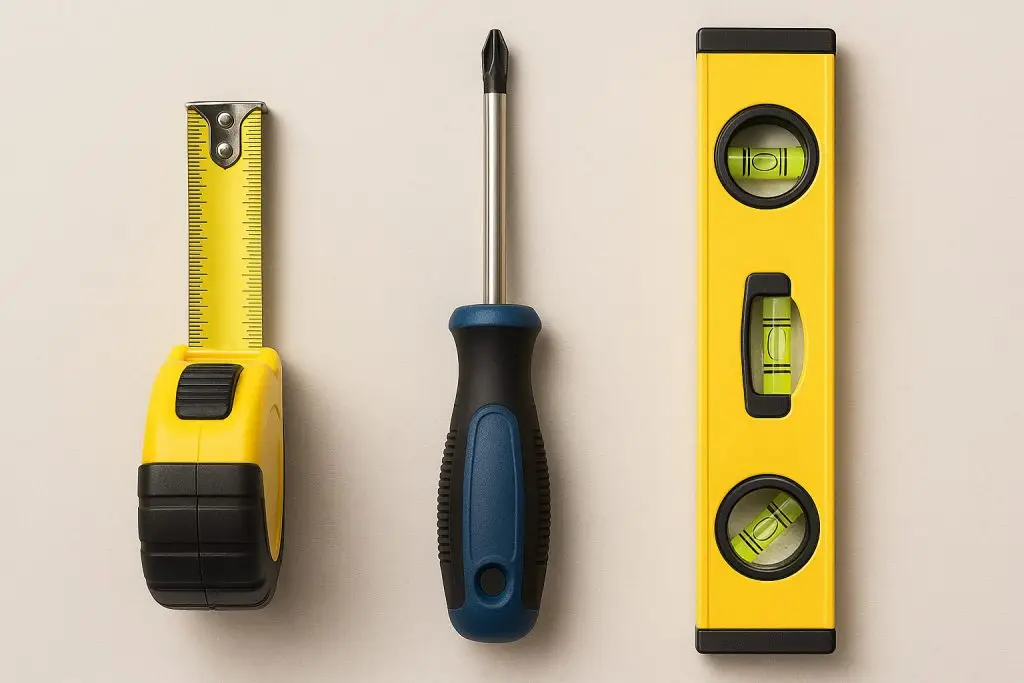
Tools You’ll Need
Measuring tape – to confirm cabinet dimensions
Screwdriver – for removing and fixing panels and securing the oven in place
Spirit level – to ensure oven sits evenly
💡 Did you know
Even a small tilt can affect cooking results — always check your oven is perfectly level before use.
Step-by-Step Preparation Process
Check Manufacturer’s Instructions
Read the oven’s manual for specific installation requirements, including dimensions, ventilation gaps, and electrical specs.
Measure the Cabinet Space
Ensure your kitchen unit or housing cabinet matches the oven’s dimensions. Standard built-in ovens typically need a 60cm wide cavity.
Turn Off the Power Supply
Before any installation, switch off the electricity at the mains to stay safe.
Inspect the Electrical Connection
Many ovens come with a plug already attached. If not, and you’re not suitably qualified, it’s best to contact a qualified electrician to carry out the connection safely.
Prepare the Cabinet Housing
Ensure the housing is level and secure.
Allow for proper ventilation—usually a gap at the back or base of the cabinet.
Remove any back panels if required for airflow or cable access.
Clear the Area
Remove obstacles from the kitchen area, and have someone available to help lift the oven into place safely.
Position Fixing Screws & Brackets
Identify where to fix the oven in the cabinet using screws or brackets (usually supplied with the oven).
💡 Quick fact
Leaving at least a 20mm ventilation gap behind your oven prevents overheating and improves efficiency.
Safety Tips
Turn Off the Power at the Mains
Always isolate the electrical supply before starting any installation to avoid electric shock.
Do Not Attempt Hardwiring Unless Qualified
If the oven doesn’t come with a plug and requires wiring, contact a qualified electrician unless you’re certified to do electrical work.
Use Proper Lifting Techniques
Built-in ovens are heavy. Get help when lifting to avoid injury or dropping the appliance.
Check for Adequate Ventilation
Ensure there’s enough airflow around the oven to prevent overheating and fire risk.
Keep the Area Clear
Make sure the installation zone is free of clutter, water, and tripping hazards.
Follow Manufacturer Guidelines
Each oven may have unique installation requirements—never ignore the product manual.
Secure the Oven Properly
Use all supplied screws and brackets to ensure the oven is firmly fixed and won’t tip or move.
Check the Power Rating
Make sure the power supply and circuit can safely handle the oven’s energy requirements to avoid overload.
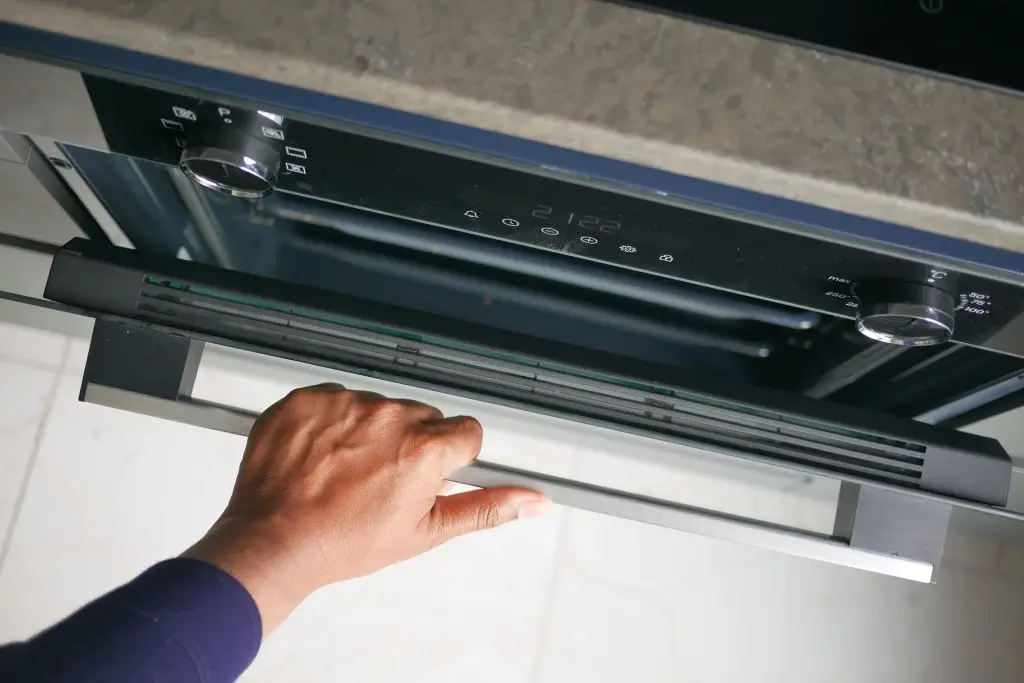
Test After Installation
Once installed, check that the oven powers on and operates correctly before finalising the setup.
Don’t Block Safety Features
Leave ventilation slots, cooling fans and access to fuses unobstructed for safe use and maintenance.
💡 Quick fact
An oven that isn’t properly ventilated or secured can void the warranty and increase fire risk.
Common Mistakes to Avoid
Common Mistake
Why to Avoid It
Incorrect Cabinet Measurements
Misjudging the size can lead to awkward gaps, misalignment, or the oven simply not fitting.
Using the Wrong Cable or Fuse
Even if the oven works, incorrect electrical ratings can cause performance issues or long-term damage.
Unsecured Installation
Failing to fix the oven in place can lead to movement when opening the door or using shelves.
Forgetting to Level the Oven
An uneven appliance affects how food cooks and can strain door hinges over time.
Obstructing Access Panels
Poor positioning can make future servicing difficult or impossible without uninstalling the oven.
Not Testing the Oven Post-Install
Skipping a quick functionality check might mean missing installation faults or connection issues.
Frequently Asked Questions
You can prepare the cabinet and secure the oven, but any electrical work should be done by a qualified electrician.
Yes for hardwired models, but no if your oven comes with a standard plug.
Preparation and securing the oven can take 1–2 hours.
Standard ovens fit 60 cm wide cavities, but always check the manual.
Yes, most require airflow around the back and sides to prevent overheating.
Conclusion
If your built-in oven comes with a standard 13-amp plug, installation is far more straightforward than you might expect.
Once you’ve confirmed your cabinet measurements, prepared the space, and ensured the power socket is nearby, you can simply
slide the oven into position and plug it in — no professional electrician required.
Before powering on, double-check that the ventilation gaps are clear and that the oven is securely fixed in place.
For most homeowners, this is a manageable and safe DIY project that adds a sleek, modern upgrade to the kitchen without the extra hassle.
Note: If your oven requires hardwiring or you’re unsure about the electrical setup, always consult a qualified electrician to stay safe and compliant.