Why Won’t My Oven Light Turn On?
In the vast majority of cases, an oven light that has stopped working has a blown bulb. Bulb replacement is a straightforward user task. If a new bulb does not fix the problem, the fault has moved into territory that needs a professional — the switch, wiring, or control board. This guide works through the checks in the right order and is clear about where the boundary between user task and professional repair sits.
Step one: confirm it is the bulb
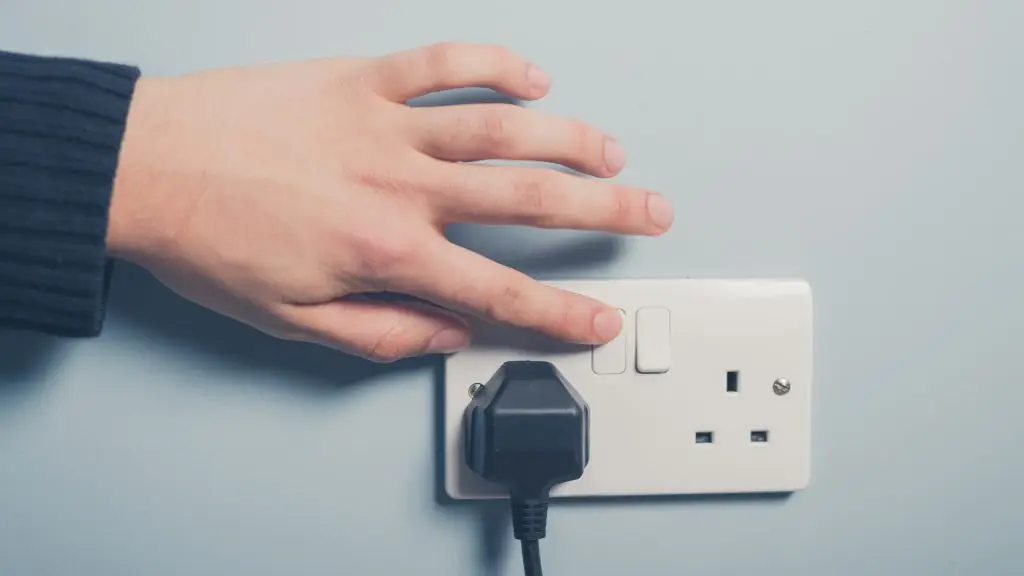
Before buying a replacement bulb, confirm the bulb is actually the problem. Switch the oven on to any cooking mode and look through the door glass. If the oven heats and functions normally but the light stays off, the bulb is by far the most likely cause. If the oven itself is not working — no heat, no display, no response to controls — the issue is with the power supply or a more significant fault, and the light is one of several symptoms. Check the circuit breaker at the consumer unit first in that case.
Oven lights fail for the same reason any bulb fails: the filament breaks from repeated thermal cycling. A bulb that was flickering or dim before it stopped completely is almost certainly a straightforward filament failure. A bulb that stopped without any warning symptoms could also be a bulb failure — but if a new bulb also fails quickly, it points to a supply voltage issue or a loose connection in the lamp holder rather than the bulb itself.
Replacing the oven bulb safely
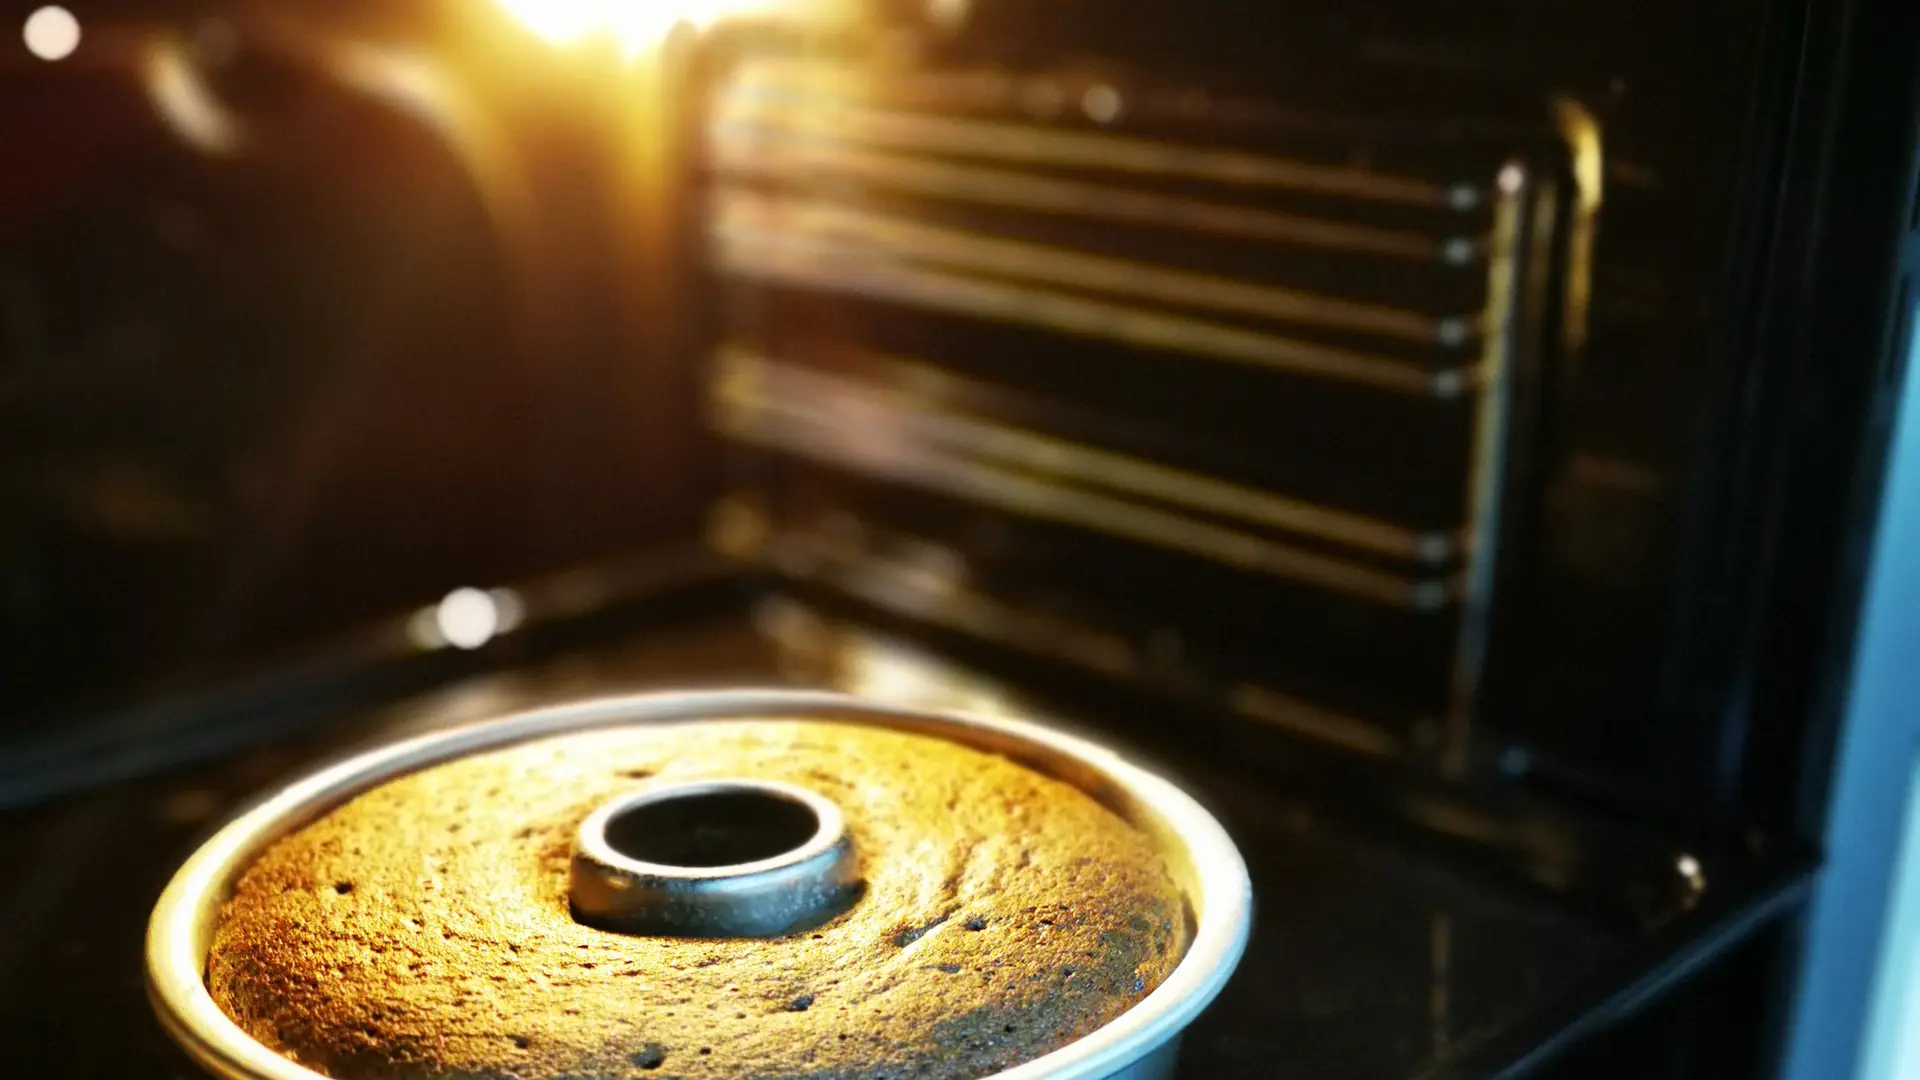
Do not attempt to change the oven bulb while the oven is hot. The glass envelope of a standard oven bulb is under slight pressure from the high-temperature gas inside. Removing it from a hot lamp holder risks thermal shock. Allow the oven to cool completely — at least 30 minutes after use — before attempting a bulb change.
Oven bulbs are not interchangeable with standard household bulbs. The cavity of a running oven reaches 250°C or above, and standard bulbs will fail immediately or shatter in these conditions. Oven bulbs are rated specifically for high-temperature operation — always replace like for like.
| Bulb type | Temperature rating | Common fitting | Notes |
|---|---|---|---|
| Incandescent oven bulb | 300°C | E14 small Edison screw | The most common type. Available at most hardware and appliance retailers. Usually 15W or 25W. Always replace with the same wattage. |
| Halogen oven bulb | 300°C | G9 or G4 pin fitting | Found in some newer oven models. Brighter than incandescent. Match the wattage and fitting exactly — G9 and G4 are not interchangeable. |
| LED oven bulb | 300°C (specialist only) | E14 or G9 | Standard LED bulbs are not oven-rated. Only purpose-made oven LED bulbs — clearly marked for oven use — are safe in an oven cavity. |
To replace the bulb: allow the oven to cool fully, then remove the glass cover over the lamp — most twist a quarter-turn anticlockwise or clip off. Do not touch the glass envelope of a halogen bulb with bare fingers — skin oils create a hot spot on the glass that causes premature failure. Use a dry cloth or the packaging to handle it. Screw or push the new bulb into the holder, refit the cover, and test. The whole process takes under five minutes on most models.
To find the correct bulb specification for your model, check the oven’s user manual — the lamp section lists the fitting type, wattage, and temperature rating. If the manual is unavailable, the model number on the rating plate (usually on the oven door frame) can be used to find the specification on the manufacturer’s website or through CATA product support.
If the new bulb does not fix it
A correctly fitted, confirmed-compatible replacement bulb that still does not light points to a fault beyond the bulb itself. Three components sit between the mains supply and the bulb: the lamp holder and its wiring, the light switch on the control panel, and the control board that routes power to the light circuit.
The lamp holder can develop a poor contact over time from thermal expansion cycles and corrosion. If the holder looks visibly corroded or the bulb makes intermittent contact when pressed, a replacement holder may be all that is needed — but accessing and replacing it involves removing internal components and working near mains-voltage wiring, which is professional territory.
The light switch on the control panel can fail mechanically or electrically from repeated use and the heat environment of the oven surrounds. A switch that feels soft, does not click, or has to be held in a specific position to activate is likely failing. Switch replacement requires disassembling the control panel — this should be handled by a qualified engineer.
A control board fault is less common but possible — particularly if the light stopped working at the same time as another function, or if the oven has started showing error codes. Control board diagnosis and replacement is specialist work.
Do not attempt to access or inspect the lamp holder, switch, or wiring yourself. Even with the oven switched off at the wall, capacitors on the control board can retain charge. All work beyond bulb replacement should be carried out by a qualified appliance engineer.
If the oven light fault is accompanied by other issues — slow heating, uneven cooking, or error codes — the guide to common oven problems covers the full range of faults and their diagnostic steps. For CATA oven models and support, visit the product support pages. The complete guide to how ovens work covers every internal component including the lamp in context.
Diagnostic checklist — work through in order
- Confirm the oven is heating and functioning normally — if not, check the circuit breaker first
- Allow the oven to cool completely before touching the lamp cover
- Remove the glass lamp cover and inspect the bulb for a visible broken filament
- Check the bulb type, wattage, and fitting against the oven manual or rating plate
- Replace with a correctly specified oven-rated bulb — do not use standard household or non-oven LED bulbs
- For halogen bulbs, handle with a cloth — not bare fingers
- Refit the lamp cover securely and test
- If the new bulb also fails to light, contact a qualified engineer — do not attempt further investigation yourself
Common questions answered
Can I use a standard LED bulb in my oven?
No. Standard LED bulbs are not rated for oven cavity temperatures, which can exceed 250°C. They will fail immediately and may shatter. Only purpose-made oven LED bulbs — clearly marked for oven use with a 300°C temperature rating — are safe inside an oven cavity.
My oven light flickers before going off. Is that the bulb?
Almost certainly yes. Flickering followed by failure is the classic pattern of a filament bulb nearing the end of its life — the filament becomes thin from repeated thermal cycling and eventually breaks. Replace the bulb with the correct specification and the problem will resolve.
How do I find the right replacement bulb for my oven?
The oven manual lists the lamp specification — fitting type, wattage, and temperature rating. If the manual is unavailable, search the model number (found on the rating plate inside the oven door frame) on the manufacturer’s website. For CATA ovens, the product support pages provide access to manuals and spare parts information.
Is it safe to use the oven without the light working?
Yes — the light is a convenience feature, not a safety component. The oven heats and cooks normally without it. You can continue using the oven while waiting for a replacement bulb or an engineer visit, though checking food progress without opening the door will not be possible.