
- All Posts
- Cooker Hood Guides & Advice
- Dishwasher Guides & Advice
- General Appliance Guides & Advice
- Hob Guides & Advice
- Laundry Guides & Advice
- Microwave Guides & Advice
- Oven Guides & Advice
- Wine Cooler Guides & Advice

Discover the recommended extraction rates for cooker hoods. Learn how to calculate airflow for your kitchen size and choose the...
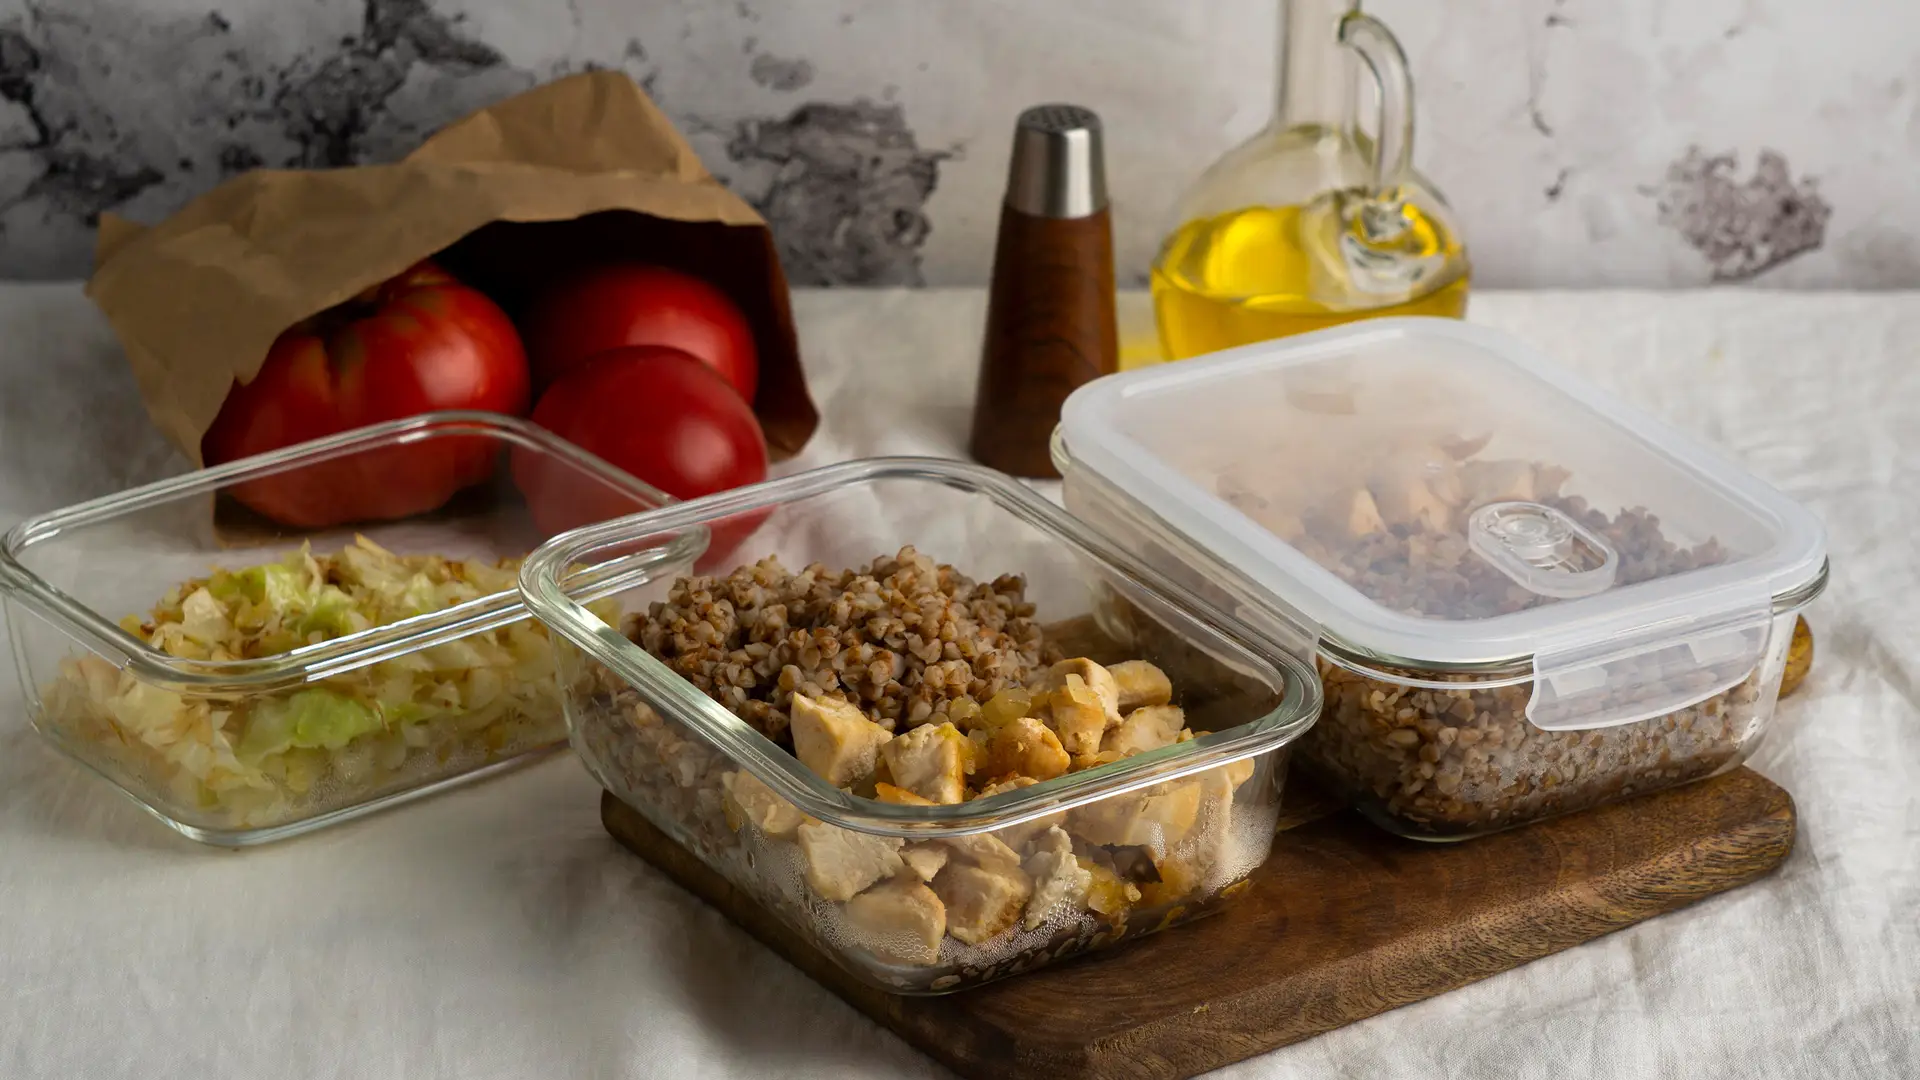
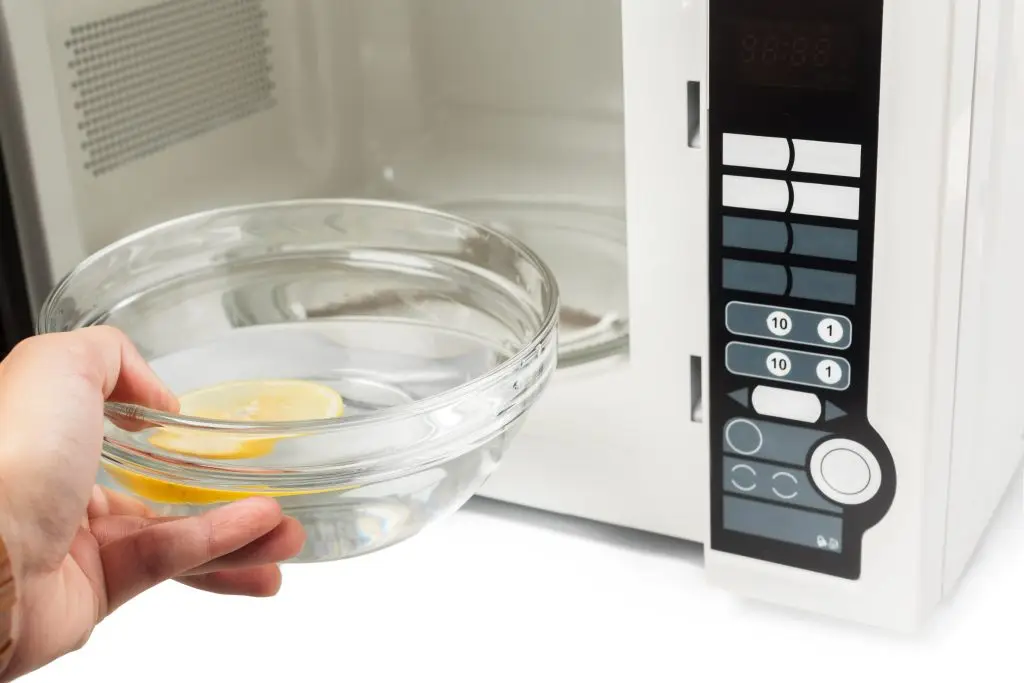
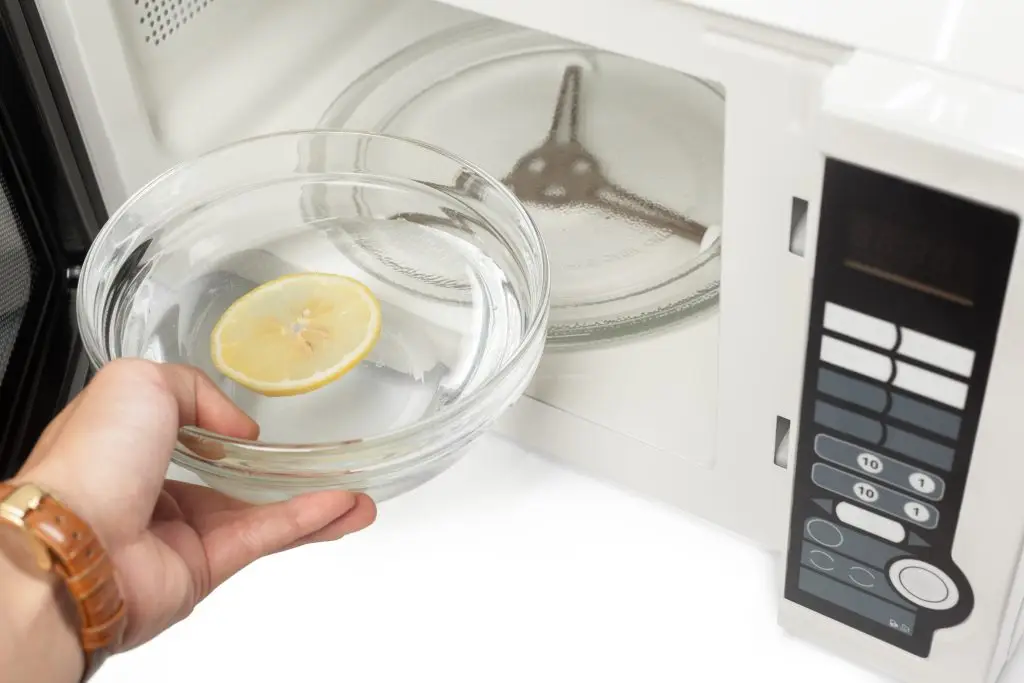
Find out which containers are microwave-safe and which to avoid. Keep your meals and microwave safe with CATA’s quick kitchen...
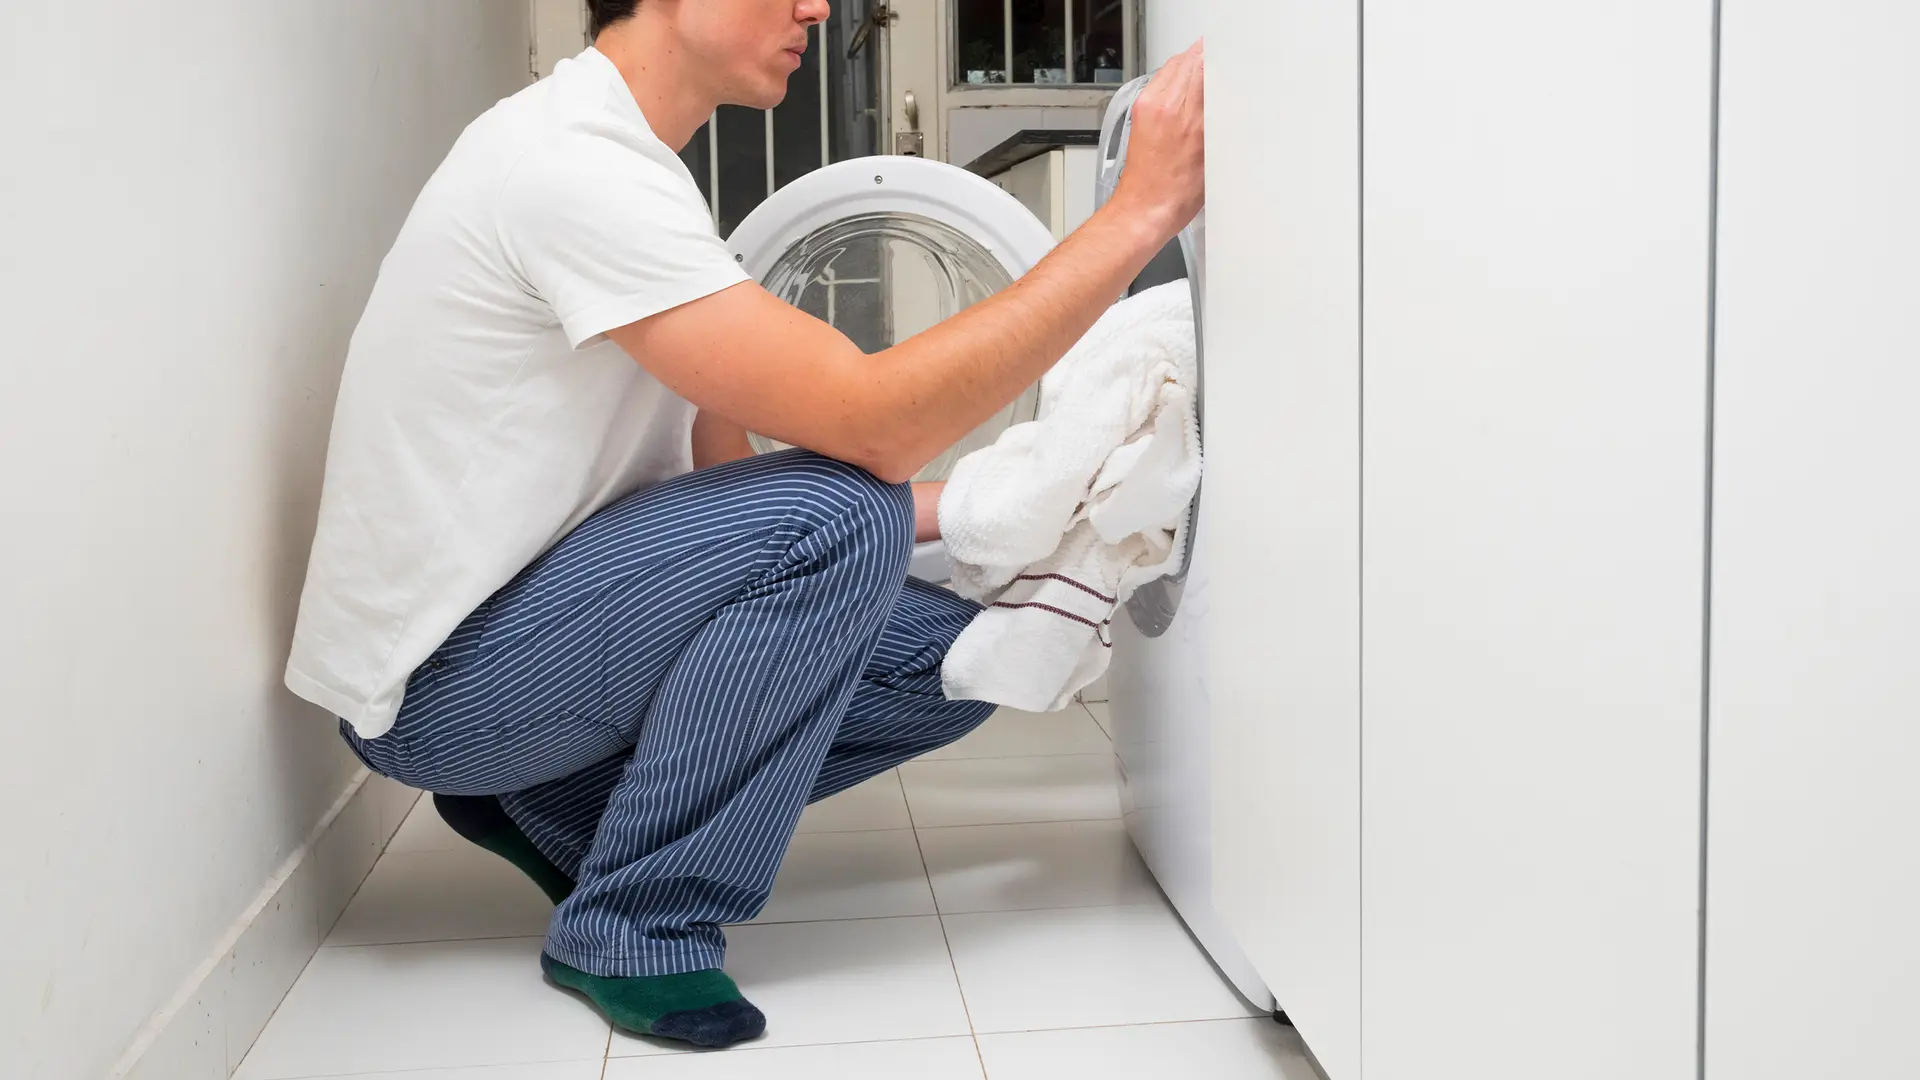
Discover the most common reasons why your washing machine stops mid-cycle and learn how to fix them. Simple checks can...

Find out which hob type is the cheapest to run. Compare gas, induction and electric to save on your energy...
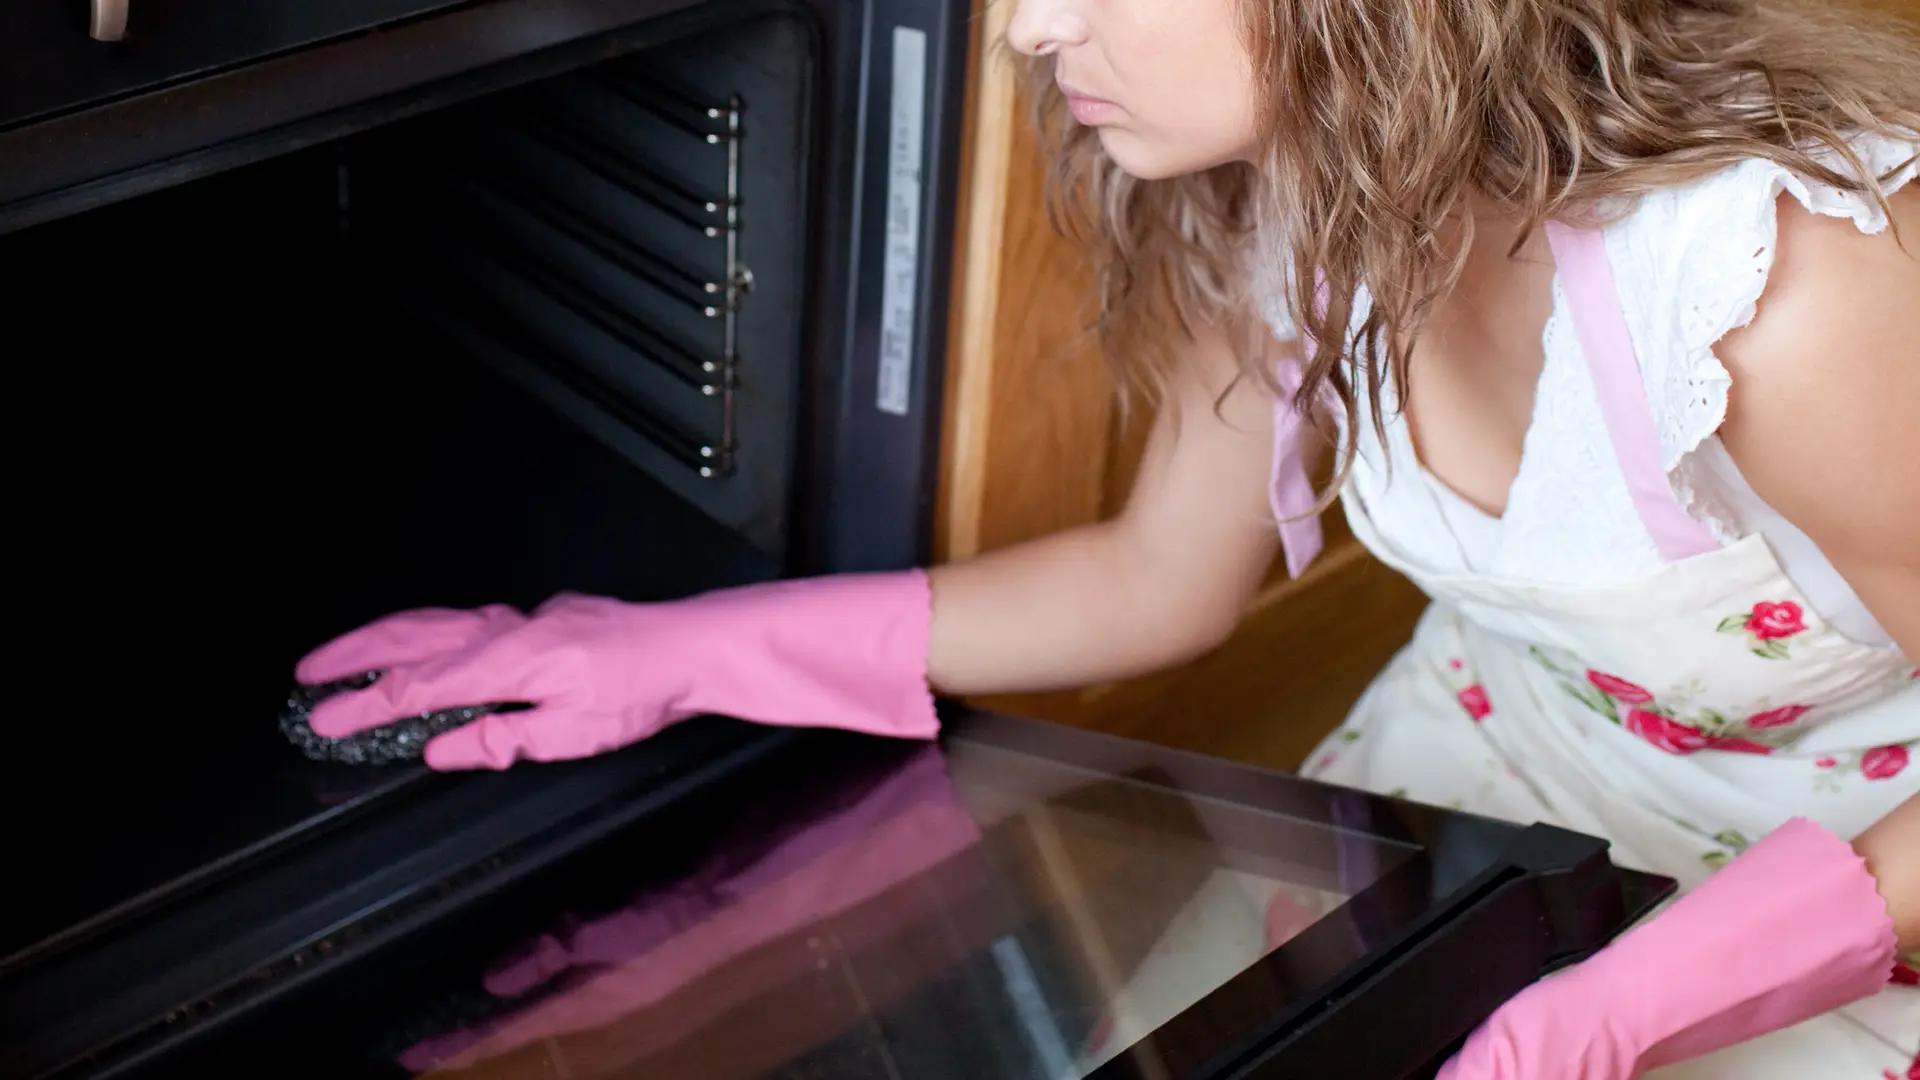
Discover pyrolytic, catalytic and steam self‑cleaning ovens: how they work, safety and fumes, energy use, pros & cons, and maintenance...
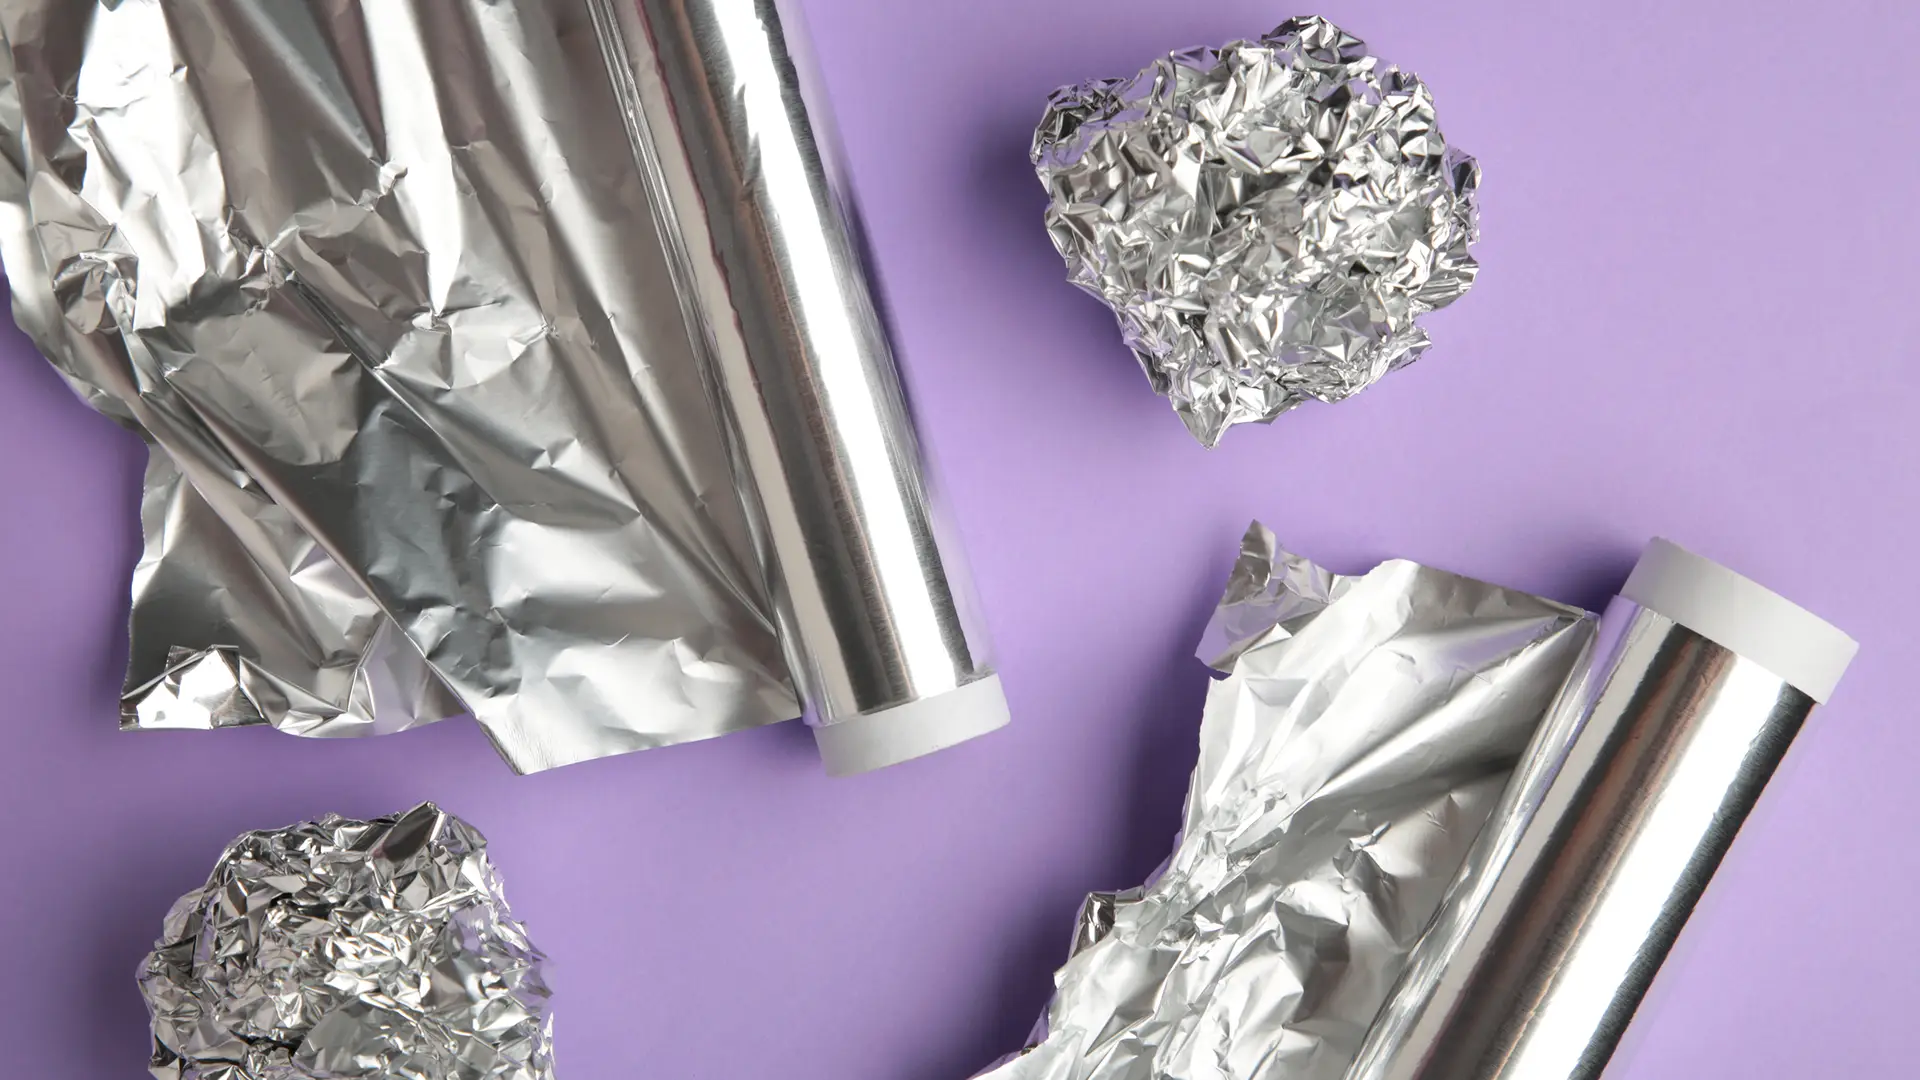
Wondering if kitchen foil can go in the oven? Discover safety tips, best practices, and common mistakes. Read now to...
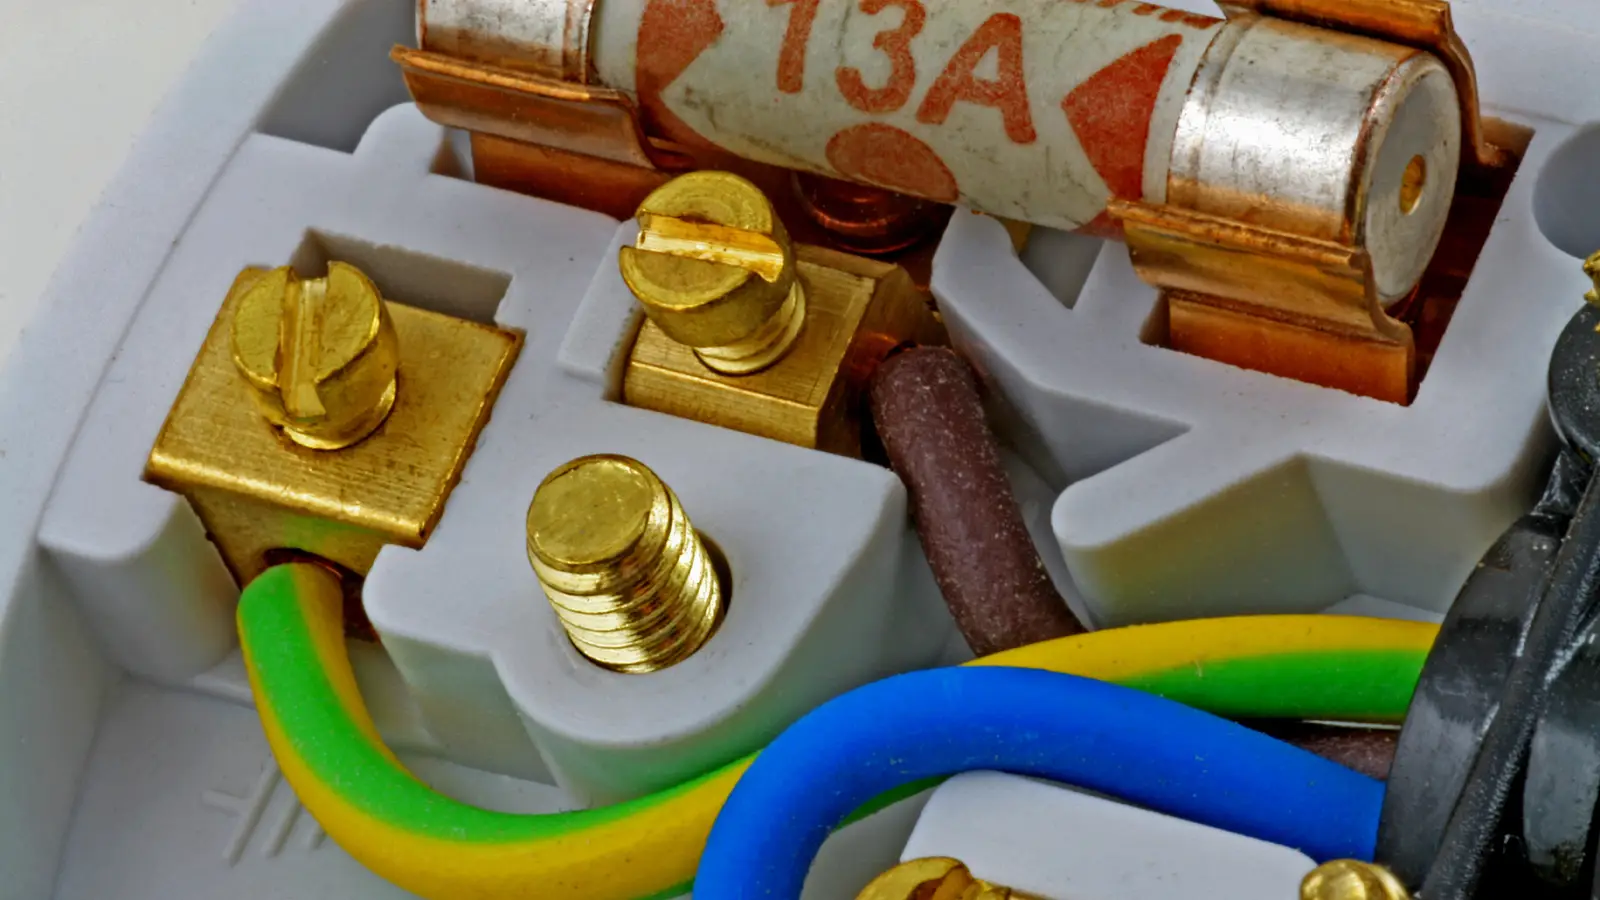
Unsure if a microwave & grill combo can use a normal UK socket? Learn the rules, wattage limits and safety...

Discover which CATA hob suits your kitchen and lifestyle. Compare gas, ceramic, induction and vented hobs in our expert buying...

Yes, vinegar and baking soda safely clean your dishwasher and remove odours. Learn the best method and how often to...