Home » General Appliance Guides & Advice » How Often Should You Defrost Your Freezer?
How Often Should You Defrost Your Freezer?
For manual-defrost freezers, defrosting every six to twelve months is the standard recommendation, or sooner if frost builds up to around 5mm thick. Frost-free models handle this automatically and need no manual defrosting at all, though an annual clean-out is still worthwhile. Getting the frequency right keeps your freezer running efficiently, protects food quality, and extends the appliance’s working life.
Does Your Freezer Need Manual Defrosting?
The answer depends entirely on your appliance type. Checking this first saves a lot of unnecessary effort, as a significant proportion of modern freezers handle defrosting automatically.
| Freezer type | Manual defrost needed? | Recommended frequency | How to identify yours |
|---|---|---|---|
| Manual defrost (upright or chest) | Yes | Every 6 to 12 months, or at 5mm frost | Ice accumulates visibly on interior walls and shelves over time |
| Frost-free / no-frost | No | No manual defrost required | Interior stays clear of ice build-up; fan noise audible during operation |
| Fridge-freezer (frost-free) | No | No manual defrost required | Most modern fridge-freezers sold in the UK since 2010 are frost-free; check the manual |
| Fridge-freezer (manual defrost) | Freezer compartment only | Once or twice a year | Ice collects in the freezer section over weeks; a small drainage hole is usually visible |
| Chest freezer | Yes | Every 6 to 12 months | Lid opens upward; ice tends to accumulate on the base and lower side walls |
If you are unsure which type you have, the model number on the rating plate (usually inside the door or on the rear of the appliance) will confirm it. Frost-free operation is almost always highlighted in the model name or specification sheet.
Signs Your Freezer Needs Defrosting Now
The six-month interval is a useful starting point, but the actual trigger should be the condition of the appliance rather than the calendar. These are the reliable indicators that defrosting cannot wait.
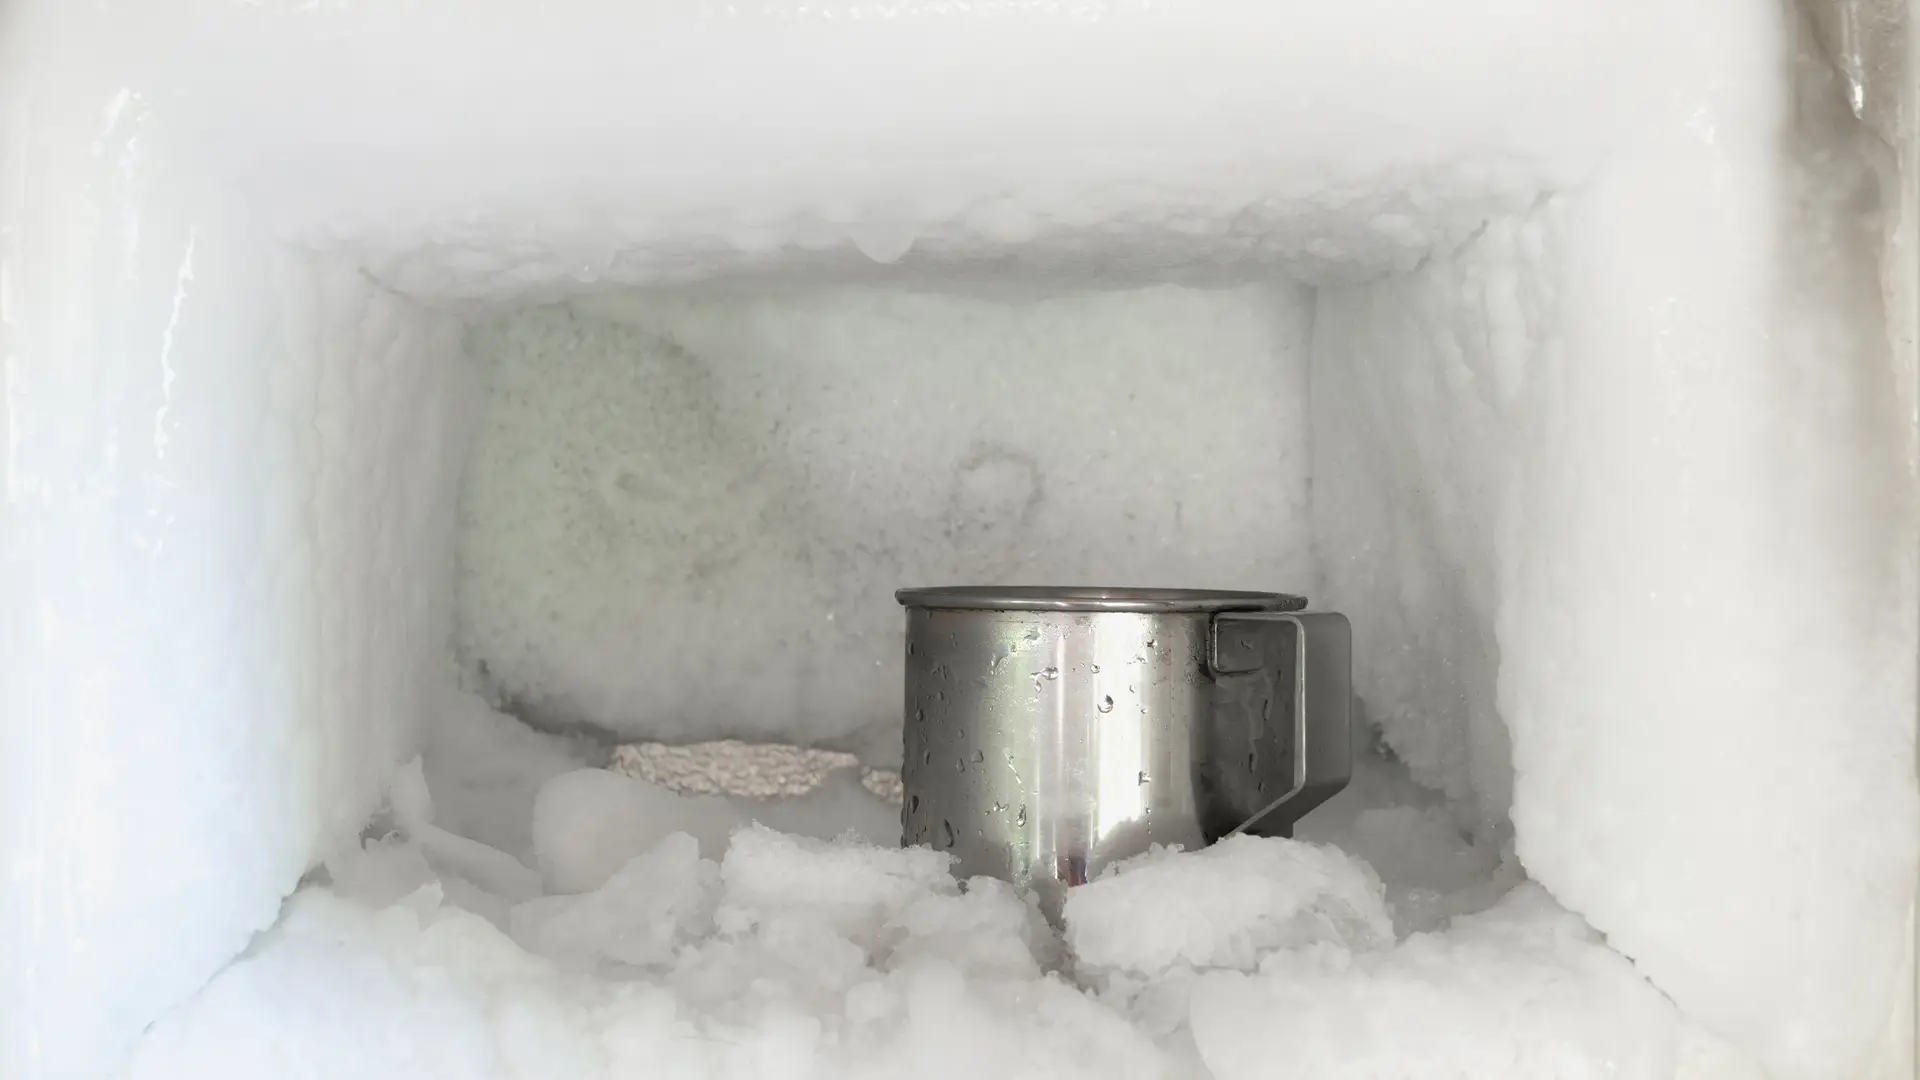
Frost thickness of 5mm or more
This is the standard threshold. At 5mm, the ice layer begins to meaningfully reduce the efficiency of heat exchange between the evaporator coils and the air inside the cabinet. The compressor runs longer to maintain temperature, consuming more electricity. Beyond 10mm, performance and energy use are both noticeably affected.
Drawers or baskets are difficult to open
Ice building up around the edges of pull-out baskets or drawers is a clear sign that frost has accumulated to a level that is interfering with normal use. Forcing these components risks cracking the plastic, which then allows even more cold air to escape and accelerates further build-up.
The compressor runs almost continuously
All freezers cycle on and off. If yours seems to be running far more than it used to, or barely stops, excess frost is the most common culprit. The insulating effect of thick ice forces the compressor to work harder to push cold through to the interior air space.
Food is not freezing as quickly as usual
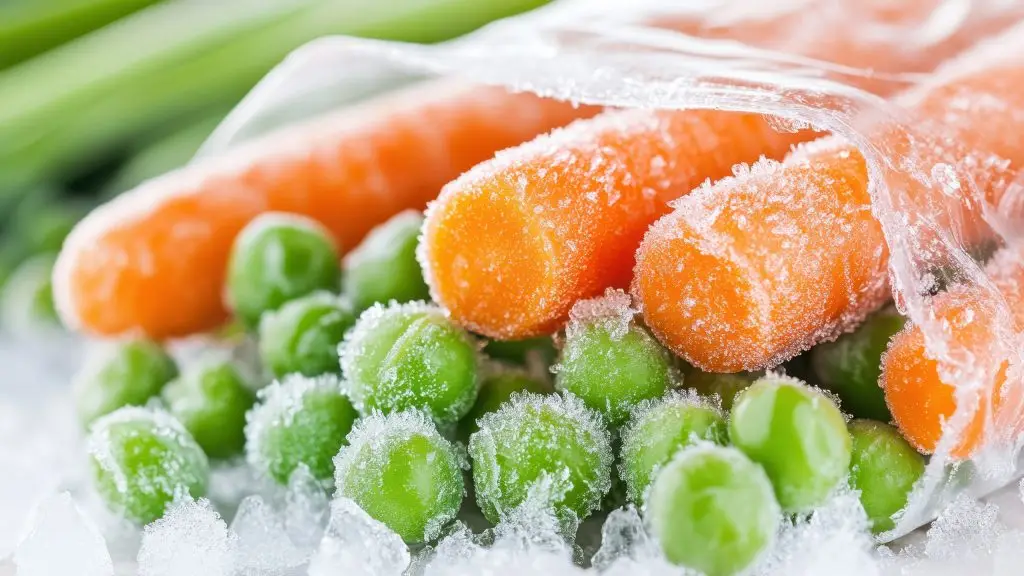
Heavy frost reduces airflow inside the compartment and insulates the interior surfaces from the cooling coils. Food placed in the freezer may take noticeably longer to freeze solid, which affects food safety for items that should freeze quickly after cooking.
How to Defrost Your Freezer Step by Step
Defrosting properly takes a few hours but most of that time requires no active involvement. The key is preparation beforehand and patience during the thaw itself.
- 1
Plan around a low-stock moment
Choose a day when the freezer is relatively empty to minimise the amount of food that needs temporary storage. Use up items in the weeks beforehand if you can, or coordinate with a large shop so the freezer is naturally low before you start.
- 2
Transfer food to cool bags or a second freezer
Pack frozen food into insulated cool bags with ice packs, or move it to a second fridge-freezer if available. On a cold day, a garage or outdoor space works as a temporary holding area. Food stays safe at 0°C or below; work quickly to minimise time above freezing temperature.
- 3
Switch off and unplug the freezer
Turn the thermostat to zero or switch the appliance off at the socket before unplugging. Leave the door or lid open to allow warm air to begin melting the frost naturally. Place old towels around the base to absorb meltwater.
- 4
Speed up the thaw if needed
Natural thawing takes two to four hours depending on frost thickness. To speed this up, place bowls of hot (not boiling) water inside the compartment and close the door for 20 to 30 minutes. The steam softens the ice without introducing moisture onto surfaces you are about to clean. Replace the water as it cools. Alternatively, a fan heater directed at the open compartment from a safe distance accelerates thawing without the moisture.
- 5
Remove loosened ice carefully
Once the frost has softened sufficiently, use a plastic spatula or the defrost scraper supplied with many appliances to remove the larger pieces. Work gently from the edges inward, allowing ice to fall free rather than forcing it. Never chip aggressively at frost near the evaporator coils at the back, as puncturing these causes a refrigerant leak that requires professional repair.
- 6
Clean the interior thoroughly
Once all ice has melted, wipe the interior down with a solution of one tablespoon of bicarbonate of soda in one litre of warm water. This neutralises odours and leaves no chemical residue that could taint food. Dry all surfaces completely with a clean cloth before switching back on, as any residual moisture will freeze immediately and begin a new frost cycle.
- 7
Switch back on and allow to reach temperature before restocking
Plug in and switch on with the door closed. Allow at least 30 minutes, and ideally an hour, for the freezer to return to operating temperature before loading food back in. Putting food in too early slows the cooling process and forces the compressor to work harder during the initial pull-down phase.
What to Avoid When Defrosting
A few common mistakes during defrosting cause damage that is either expensive to repair or impossible to reverse.
Avoid these mistakes
- ! Using a sharp implement to chip ice. Metal knives, screwdrivers, and ice picks risk puncturing the evaporator coils embedded in the back wall or base. A refrigerant leak renders the appliance unusable and is uneconomical to repair on older models.
- ! Using a hairdryer inside the compartment. Directing a hairdryer into the wet interior of a freezer combines electricity and standing water in close proximity. A fan heater used at a sensible distance from the open door achieves the same result safely.
- ! Pouring boiling water directly onto ice. The thermal shock of boiling water on cold interior surfaces, particularly the plastic lining, can cause cracking. Hot water in bowls placed inside the compartment works well; pouring it directly onto surfaces does not.
- ! Leaving food out at room temperature for more than two hours. Food that has partially thawed and been left at room temperature for an extended period should be cooked through rather than refrozen. Bacterial growth in the temperature range between 5°C and 60°C can become significant within two hours.
- ! Cleaning with strongly scented products. Bleach, citrus-based sprays, and strongly fragranced cleaners leave residues that can transfer to food. Bicarbonate of soda solution is the recommended interior cleaner for all cooling appliances.
- ! Switching back on before surfaces are fully dry. Any moisture remaining on interior surfaces will freeze within minutes of the appliance restarting, forming a fresh layer of frost before food is even returned. Take the time to dry thoroughly.
Keeping Ice Build-up Under Control
How quickly frost returns after defrosting depends almost entirely on habits around door use and the condition of the door seal. Two distinct maintenance areas make the biggest difference.
Reducing frost through better door habits
Every time the freezer door is opened, warm moist air from the kitchen enters the compartment. When that air cools, its moisture condenses onto the cold surfaces and freezes. The more often the door is opened and the longer it is left open, the faster frost accumulates.
- Decide what you need before opening the door, rather than browsing with it open.
- Keep the freezer reasonably well stocked. A full freezer recovers temperature faster after the door is closed because the frozen mass acts as a thermal buffer.
- Cool cooked food to room temperature before placing it in the freezer. Warm food releases steam that condenses and freezes on interior surfaces.
- If you regularly access the freezer multiple times during cooking, group the items you will need and retrieve them in one opening rather than several.
- In a household with children, consider posting a reminder on the freezer about closing the door fully after each use.
These habits will not eliminate frost entirely in a manual-defrost appliance, but they can meaningfully extend the interval between defrost sessions.
Checking and maintaining the door seal
A worn or damaged door gasket is one of the most common causes of unusually rapid frost build-up. Even a small gap in the seal allows a continuous trickle of warm air into the compartment, producing frost significantly faster than normal usage would.
- Test the seal by closing the door on a piece of paper. If you can pull the paper out easily with no resistance, the seal is not gripping properly in that area.
- Clean the gasket regularly with warm soapy water. Dirt and food residue accumulate in the folds and prevent the seal from closing fully. Dry thoroughly after cleaning.
- Check for visible cracks, tears, or sections that have flattened and lost their compressibility. A deformed gasket can sometimes be restored by running a warm cloth along it to soften the rubber, but a cracked one needs replacing.
- Replacement gaskets are available for most models and are straightforward to fit at home. The model number on the rating plate is all you need to source the correct part.
A freezer with a well-fitting door seal and sensible usage habits should only need defrosting once a year at most in most UK households.
If you have questions about good food hygiene practice during defrosting, including safe handling of partially thawed food, the Food Standards Agency publishes clear guidance at food.gov.uk on safe chilling. For tips on protecting your food from freezer burn before and after defrosting, see our guide on freezer burn prevention.
Frequently Asked Questions
A lightly frosted upright freezer with thin walls of ice typically takes two to three hours to defrost naturally with the door open. A heavily frosted chest freezer with thick accumulation can take four to six hours. Using bowls of hot water inside the compartment or a fan heater directed at the open door from a safe distance can reduce this to around one to two hours. Set aside a morning rather than expecting the job to be done in thirty minutes.
Not immediately. The freezer needs time to pull down to operating temperature before food is loaded back in. Switch it on with the door closed and wait at least 30 to 60 minutes. Most appliances will indicate they have reached temperature either via a thermostat light or simply by the sound of the compressor cycling normally. Loading food in too early forces the compressor to work harder and can cause partially thawed food to sit in a borderline temperature range for longer than is ideal.
Yes, measurably so. Ice is a poor thermal conductor. When it builds up on the evaporator coils, it insulates them from the air they are supposed to be cooling. The compressor has to run longer to achieve the same interior temperature, and the thermostat triggers more frequent cycles. Research cited by the Energy Saving Trust has suggested that a heavily frosted freezer can use up to 30% more electricity than a clean one of the same model. Regular defrosting is genuinely one of the more cost-effective maintenance habits for a household appliance.
Possibly. A small amount of surface frost on food packaging in a frost-free freezer is normal if the door has been opened frequently or left open. But visible ice build-up on the interior walls of a frost-free model is a sign that the automatic defrost system is not working correctly. Common causes include a faulty defrost heater, a failed defrost thermostat, or a blocked drain line that prevents meltwater from draining away. These faults are worth investigating promptly, as a frost-free freezer running with a failed defrost cycle will deteriorate in efficiency quickly.
The safest options, in order of preference, are: a second freezer if available; well-insulated cool bags with frozen ice packs; or the coldest part of the fridge for items that can be used up within the next day or two. On a genuinely cold winter day, an unheated garage or shed can hold frozen food safely for the duration of a defrost, provided temperatures are at or below 0°C. Avoid leaving items at room temperature for more than two hours. Use the opportunity to audit what is in the freezer and discard anything that has deteriorated beyond being worth keeping.
Usually less often. Chest freezers are opened from the top, which means the cold air inside falls downward and does not escape as readily when the lid is opened. Less warm air enters per opening, so moisture accumulation is slower and frost builds up at a lower rate. Many chest freezers only need defrosting once a year, or even less frequently with careful usage habits. The trade-off is that when defrosting is needed, the process takes longer because of the larger internal volume and the tendency for ice to accumulate thickly on the base.
Summary
Defrosting frequency depends on your freezer type, but the condition of the appliance is a better guide than the calendar. The key points:
- Manual-defrost freezers need defrosting every six to twelve months, or when frost reaches 5mm thick, whichever comes first.
- Frost-free models handle defrosting automatically and need no manual intervention, though an annual clean is still worthwhile.
- Ice build-up causes the compressor to run longer, increasing electricity consumption by up to 30% in severe cases.
- Use bowls of hot water or a fan heater at a safe distance to speed up the thaw. Never use sharp implements near the evaporator coils.
- Clean the interior with bicarbonate of soda solution, dry completely, and allow the appliance to reach temperature before restocking.
- Good door habits and a well-fitting seal are the most effective ways to slow frost accumulation between defrost sessions.
Explore More Kitchen Advice & Buying Guides
Browse our latest articles covering appliance tips, energy-saving advice, and expert guidance – designed to help you choose, use, and get the most from your kitchen appliances.